Zipper Version 2
You can also weld in a zip with less effort than described here.
This method has the advantage that a cover is created at the same time.
In addition, the zip can be placed closer to any seams. This in turn enables more compact designs.
In contrast to the more complex method, the cover is significantly narrower.
However, as you save a lot of time and labour, this variant is a good alternative and should definitely be considered.
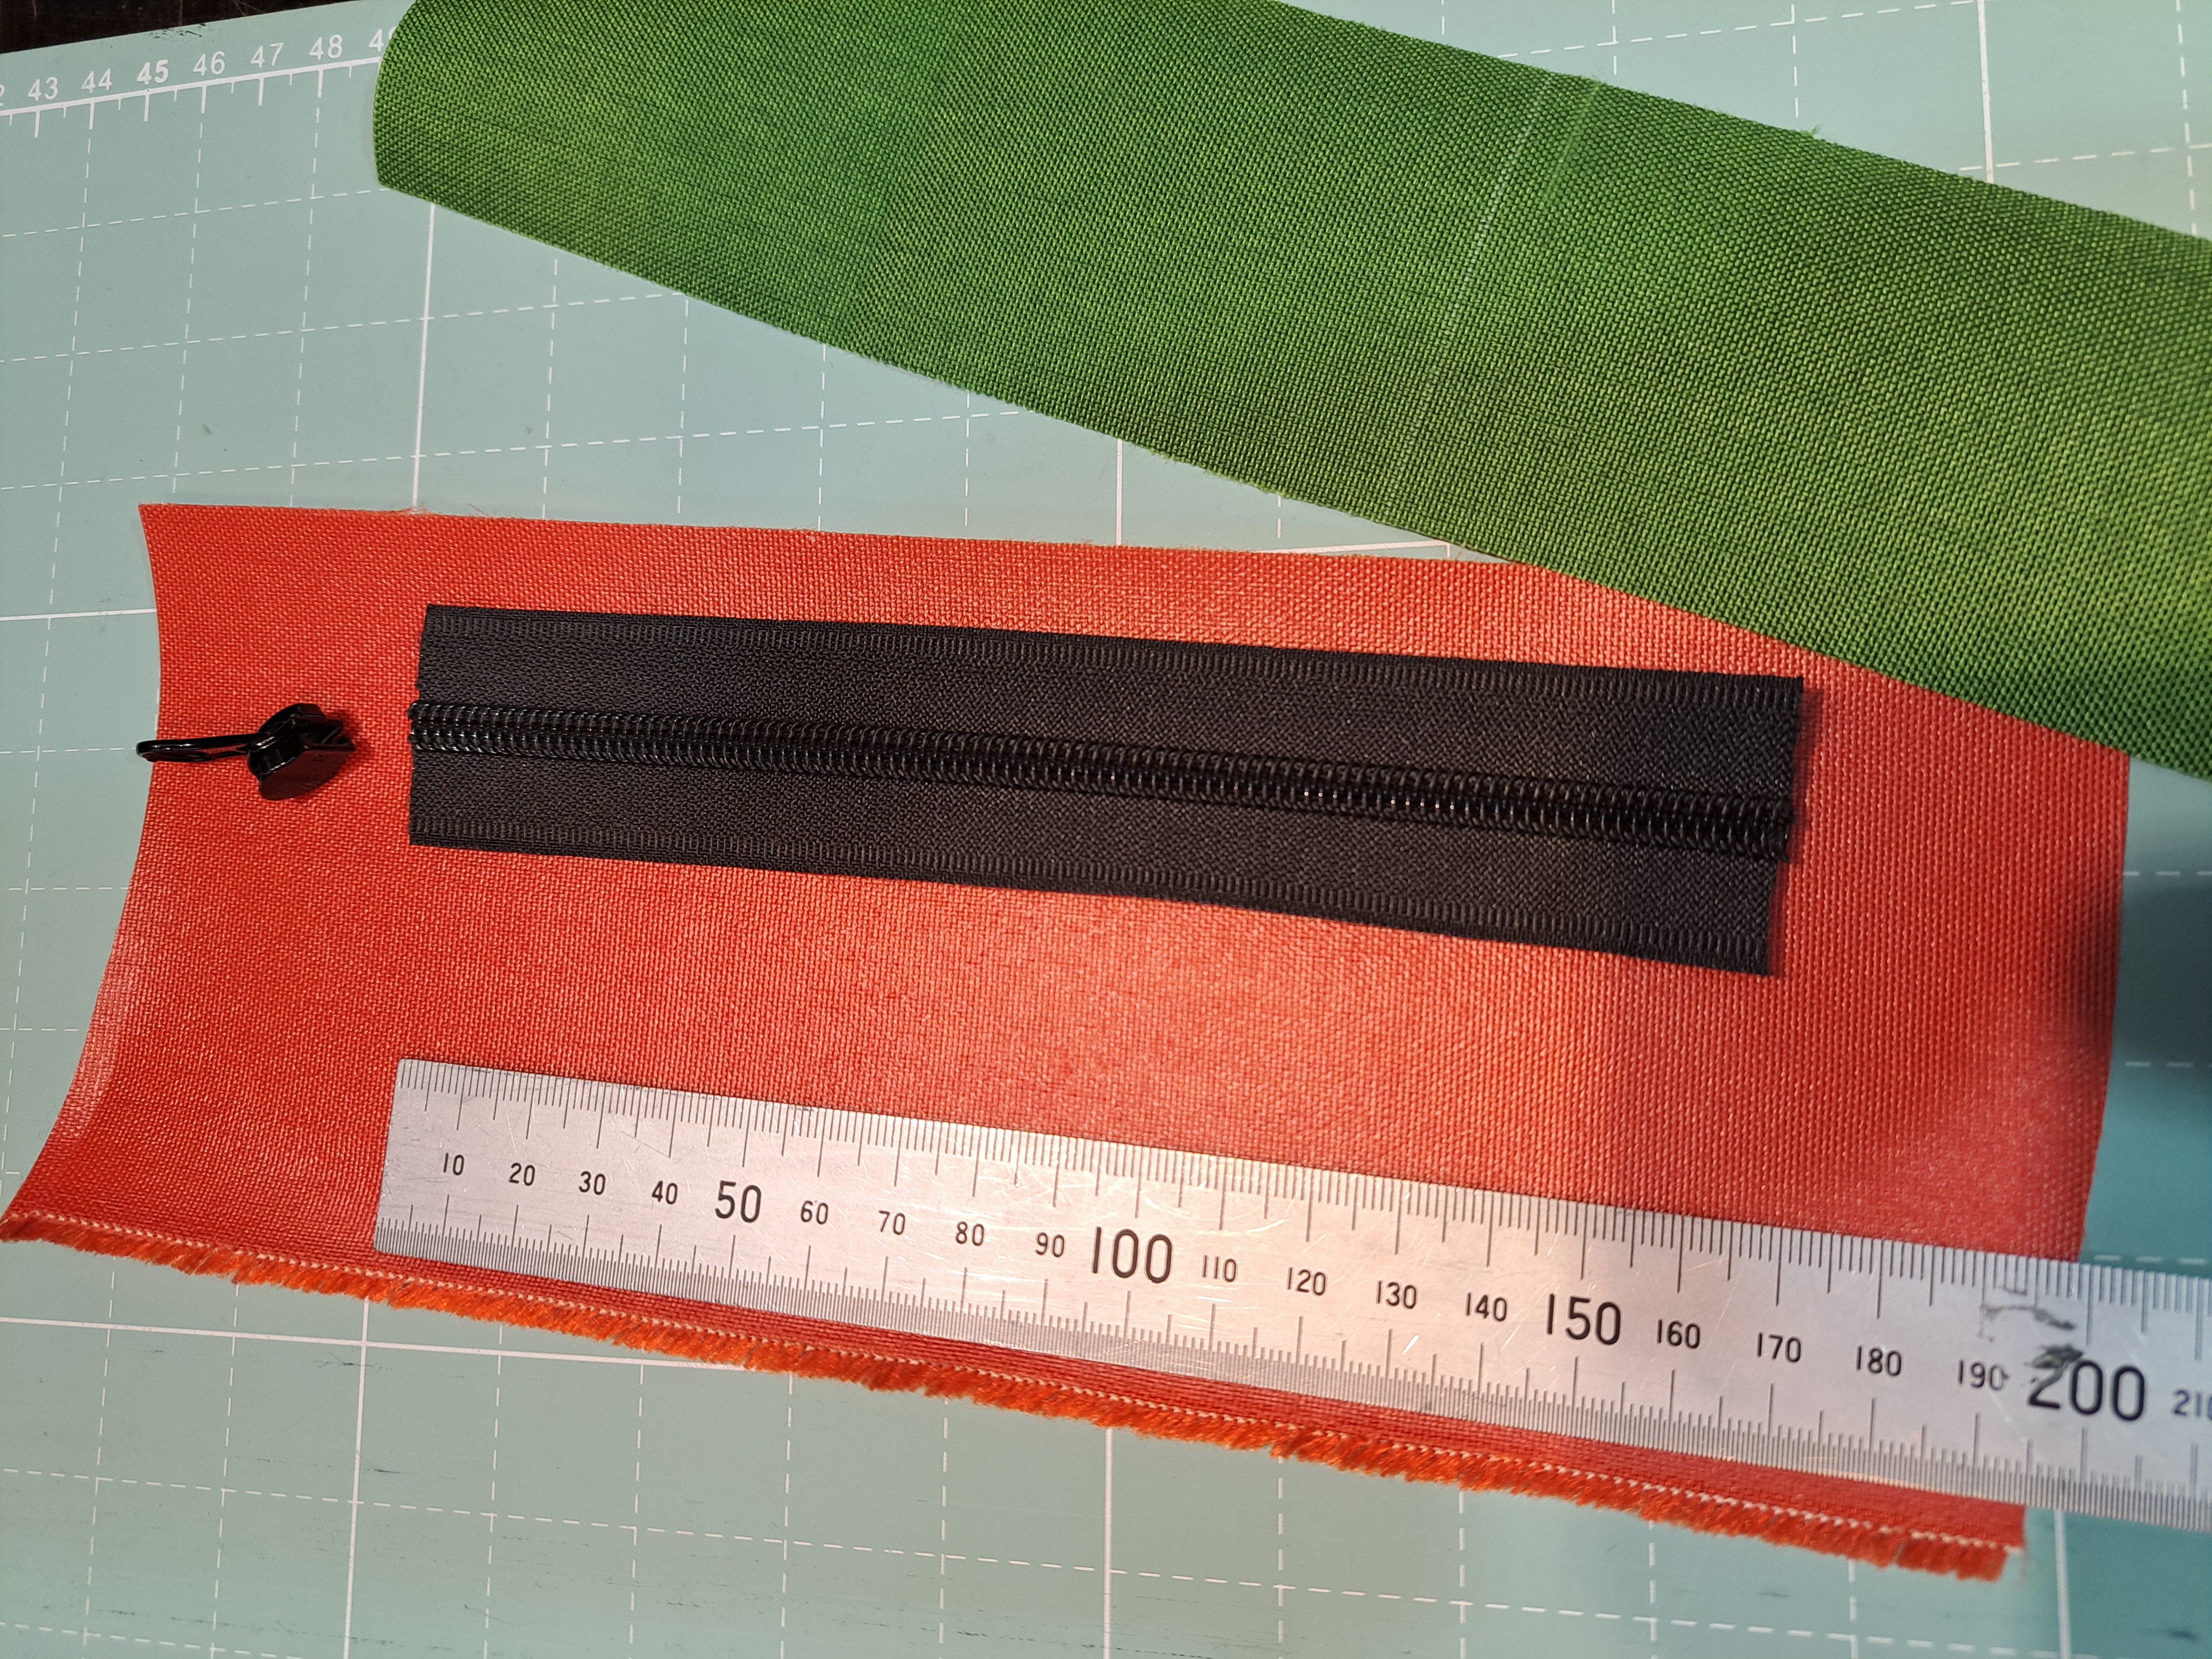
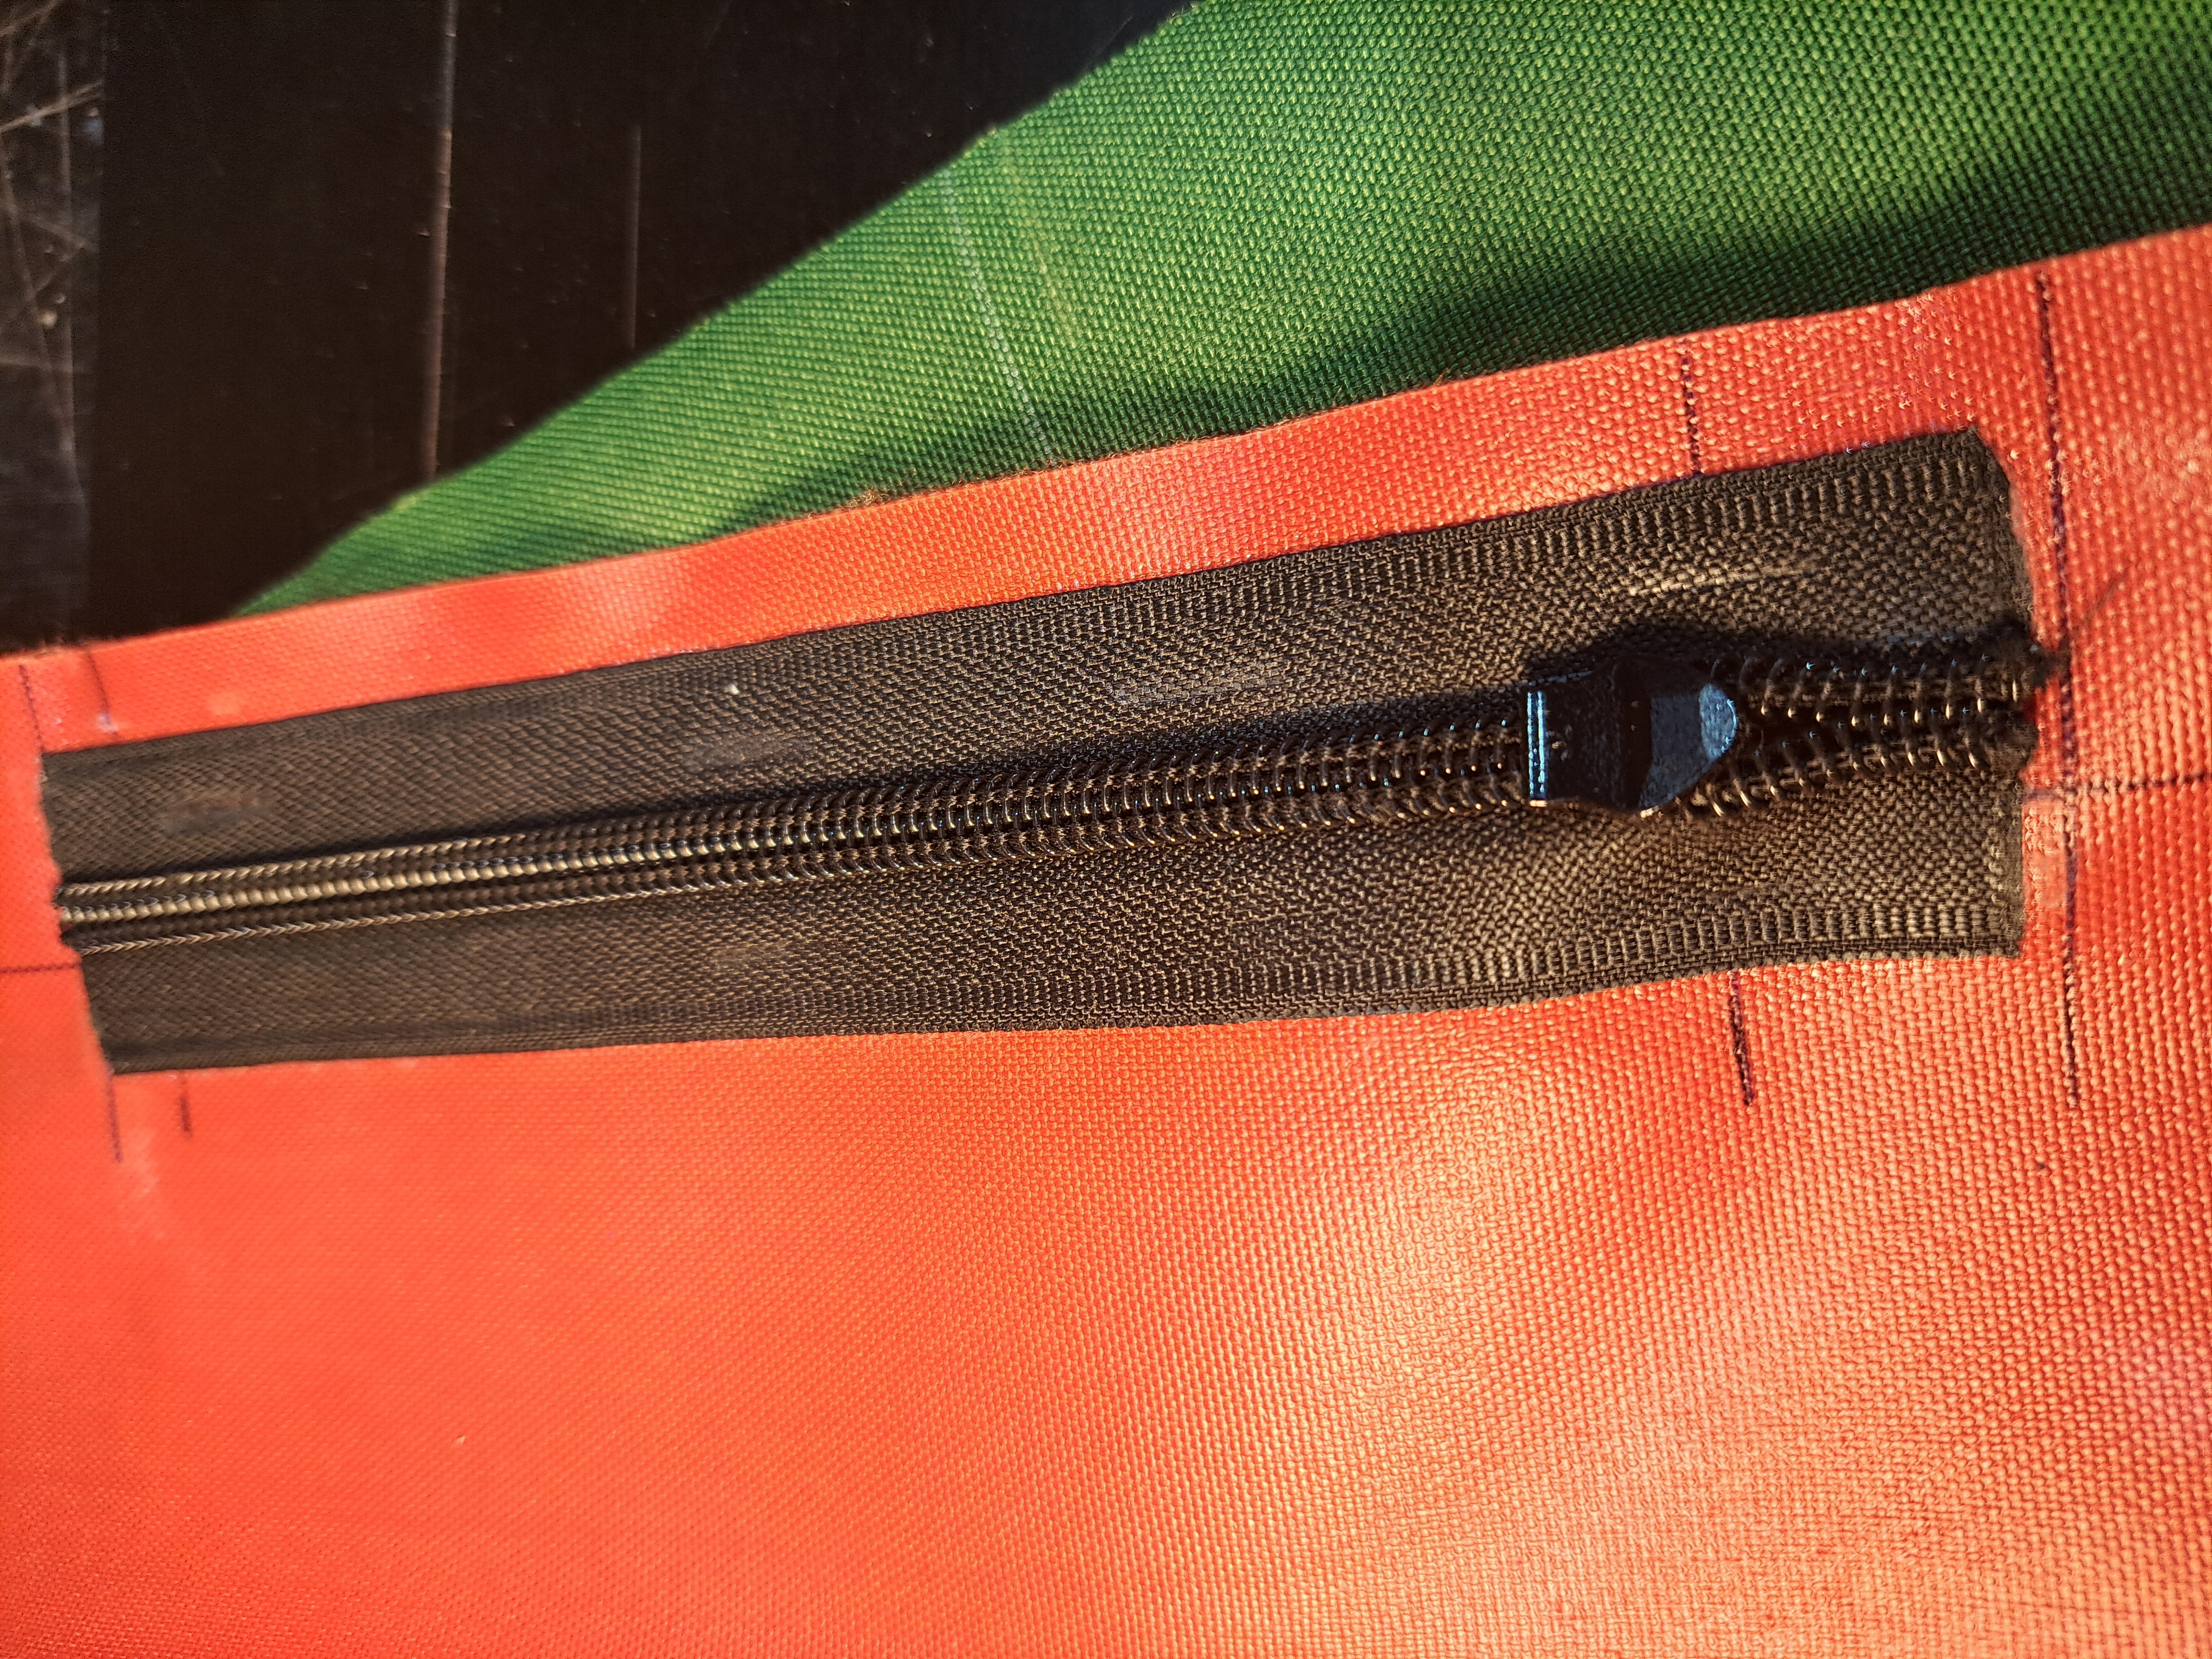
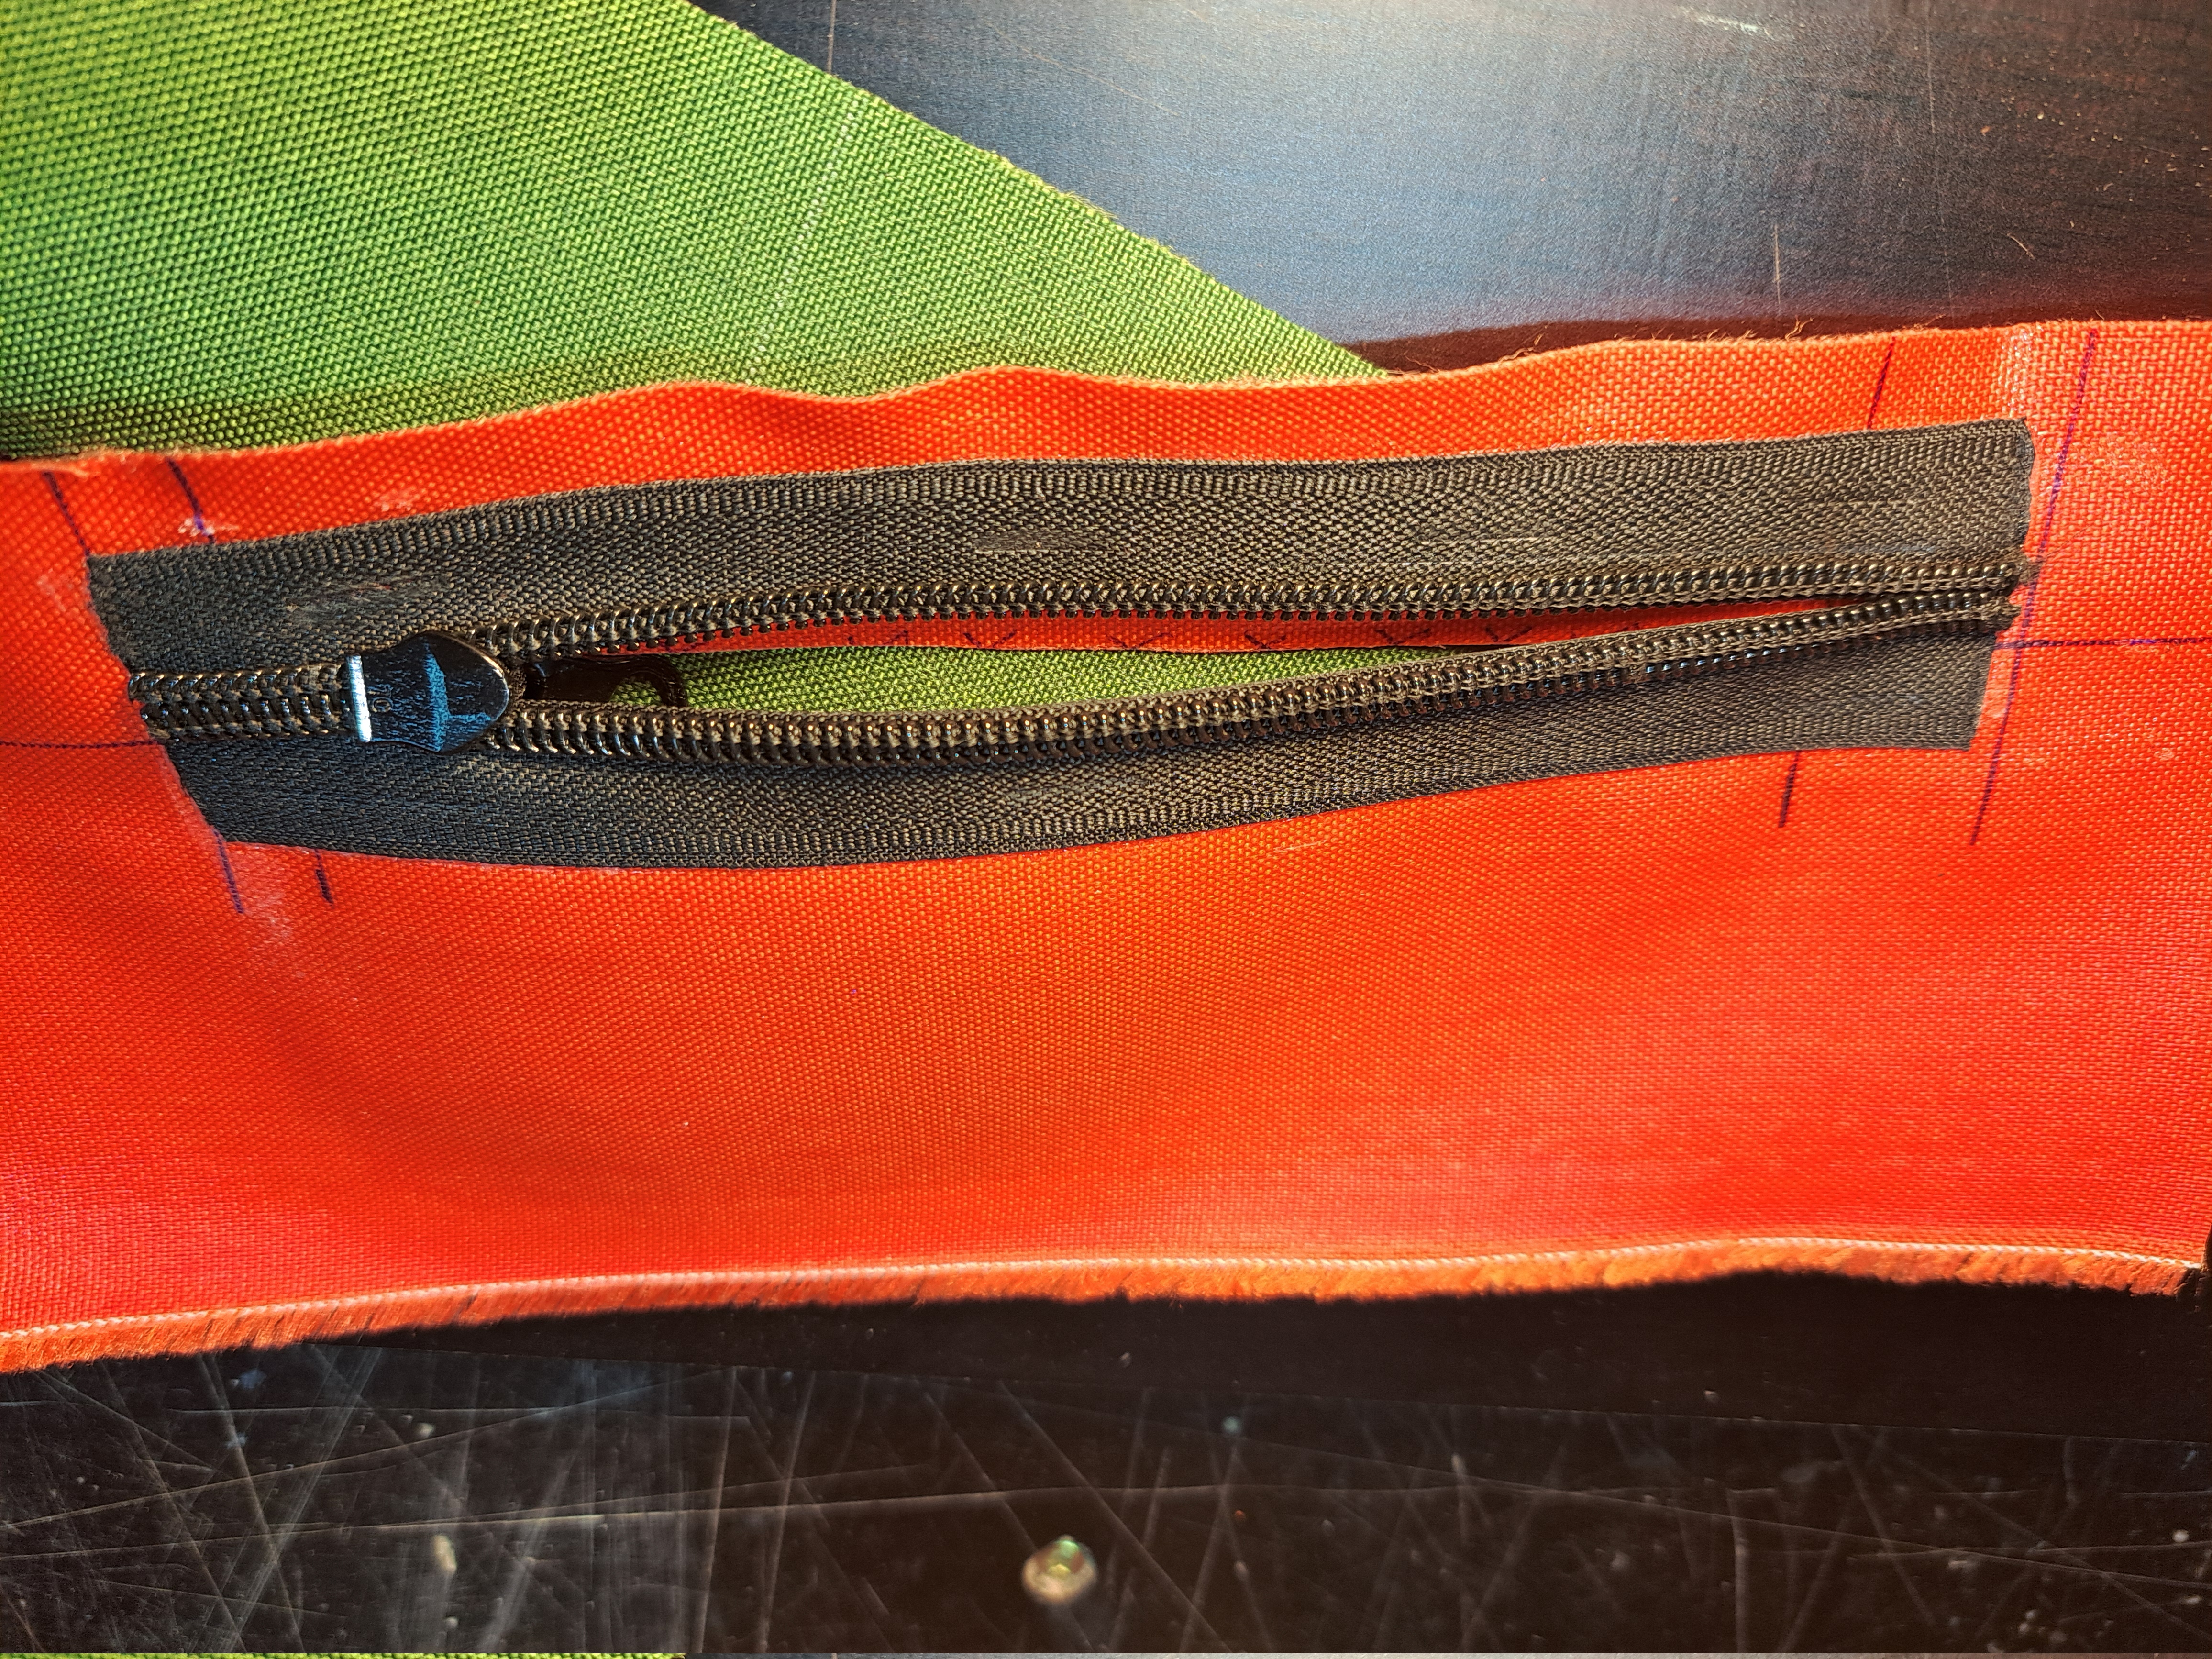
A zip is to be welded into the red part. The green fabric part is then to be welded on directly next to the zip.
The positioning of the zip and its opening depends on its dimensions.
The narrower you keep the lower weld seam (6 mm has proven to be sufficient), the wider the cover will be.
In the example shown, the upper 10 mm remain for the connecting seam with the green part.
The cut for the opening is set at 32mm.
As already mentioned, you could also go 3-4mm further down to widen the cover.
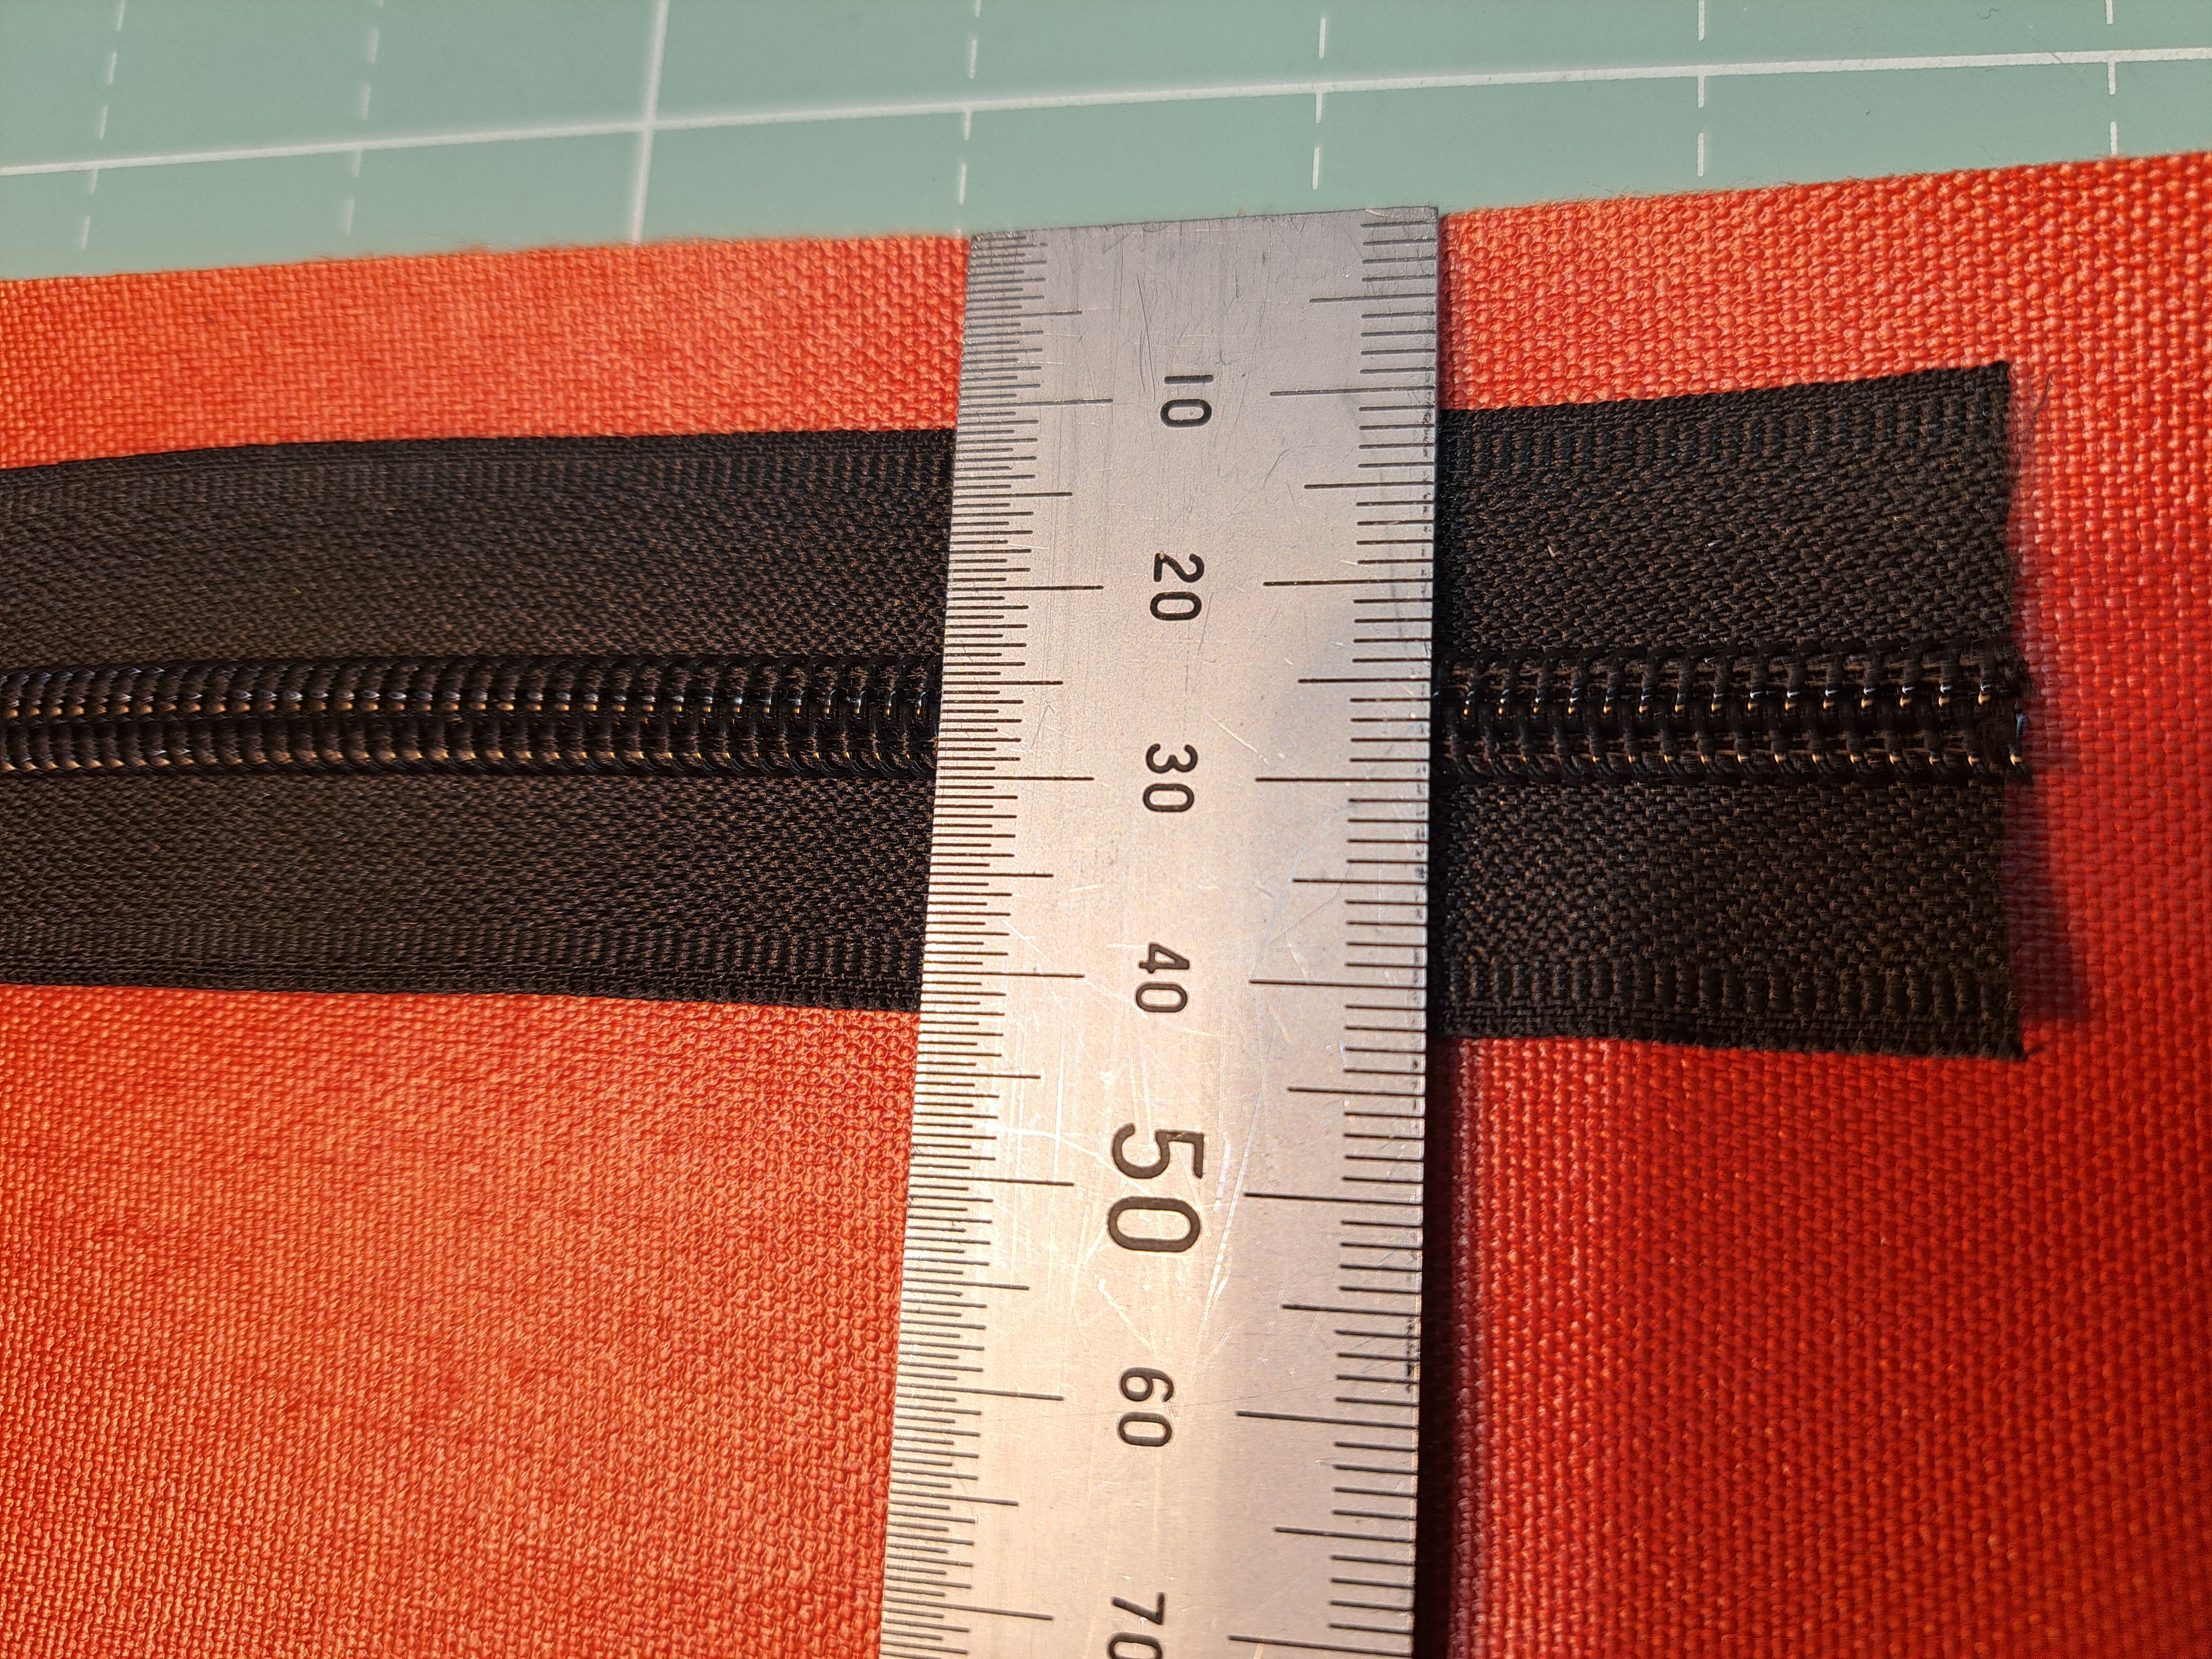
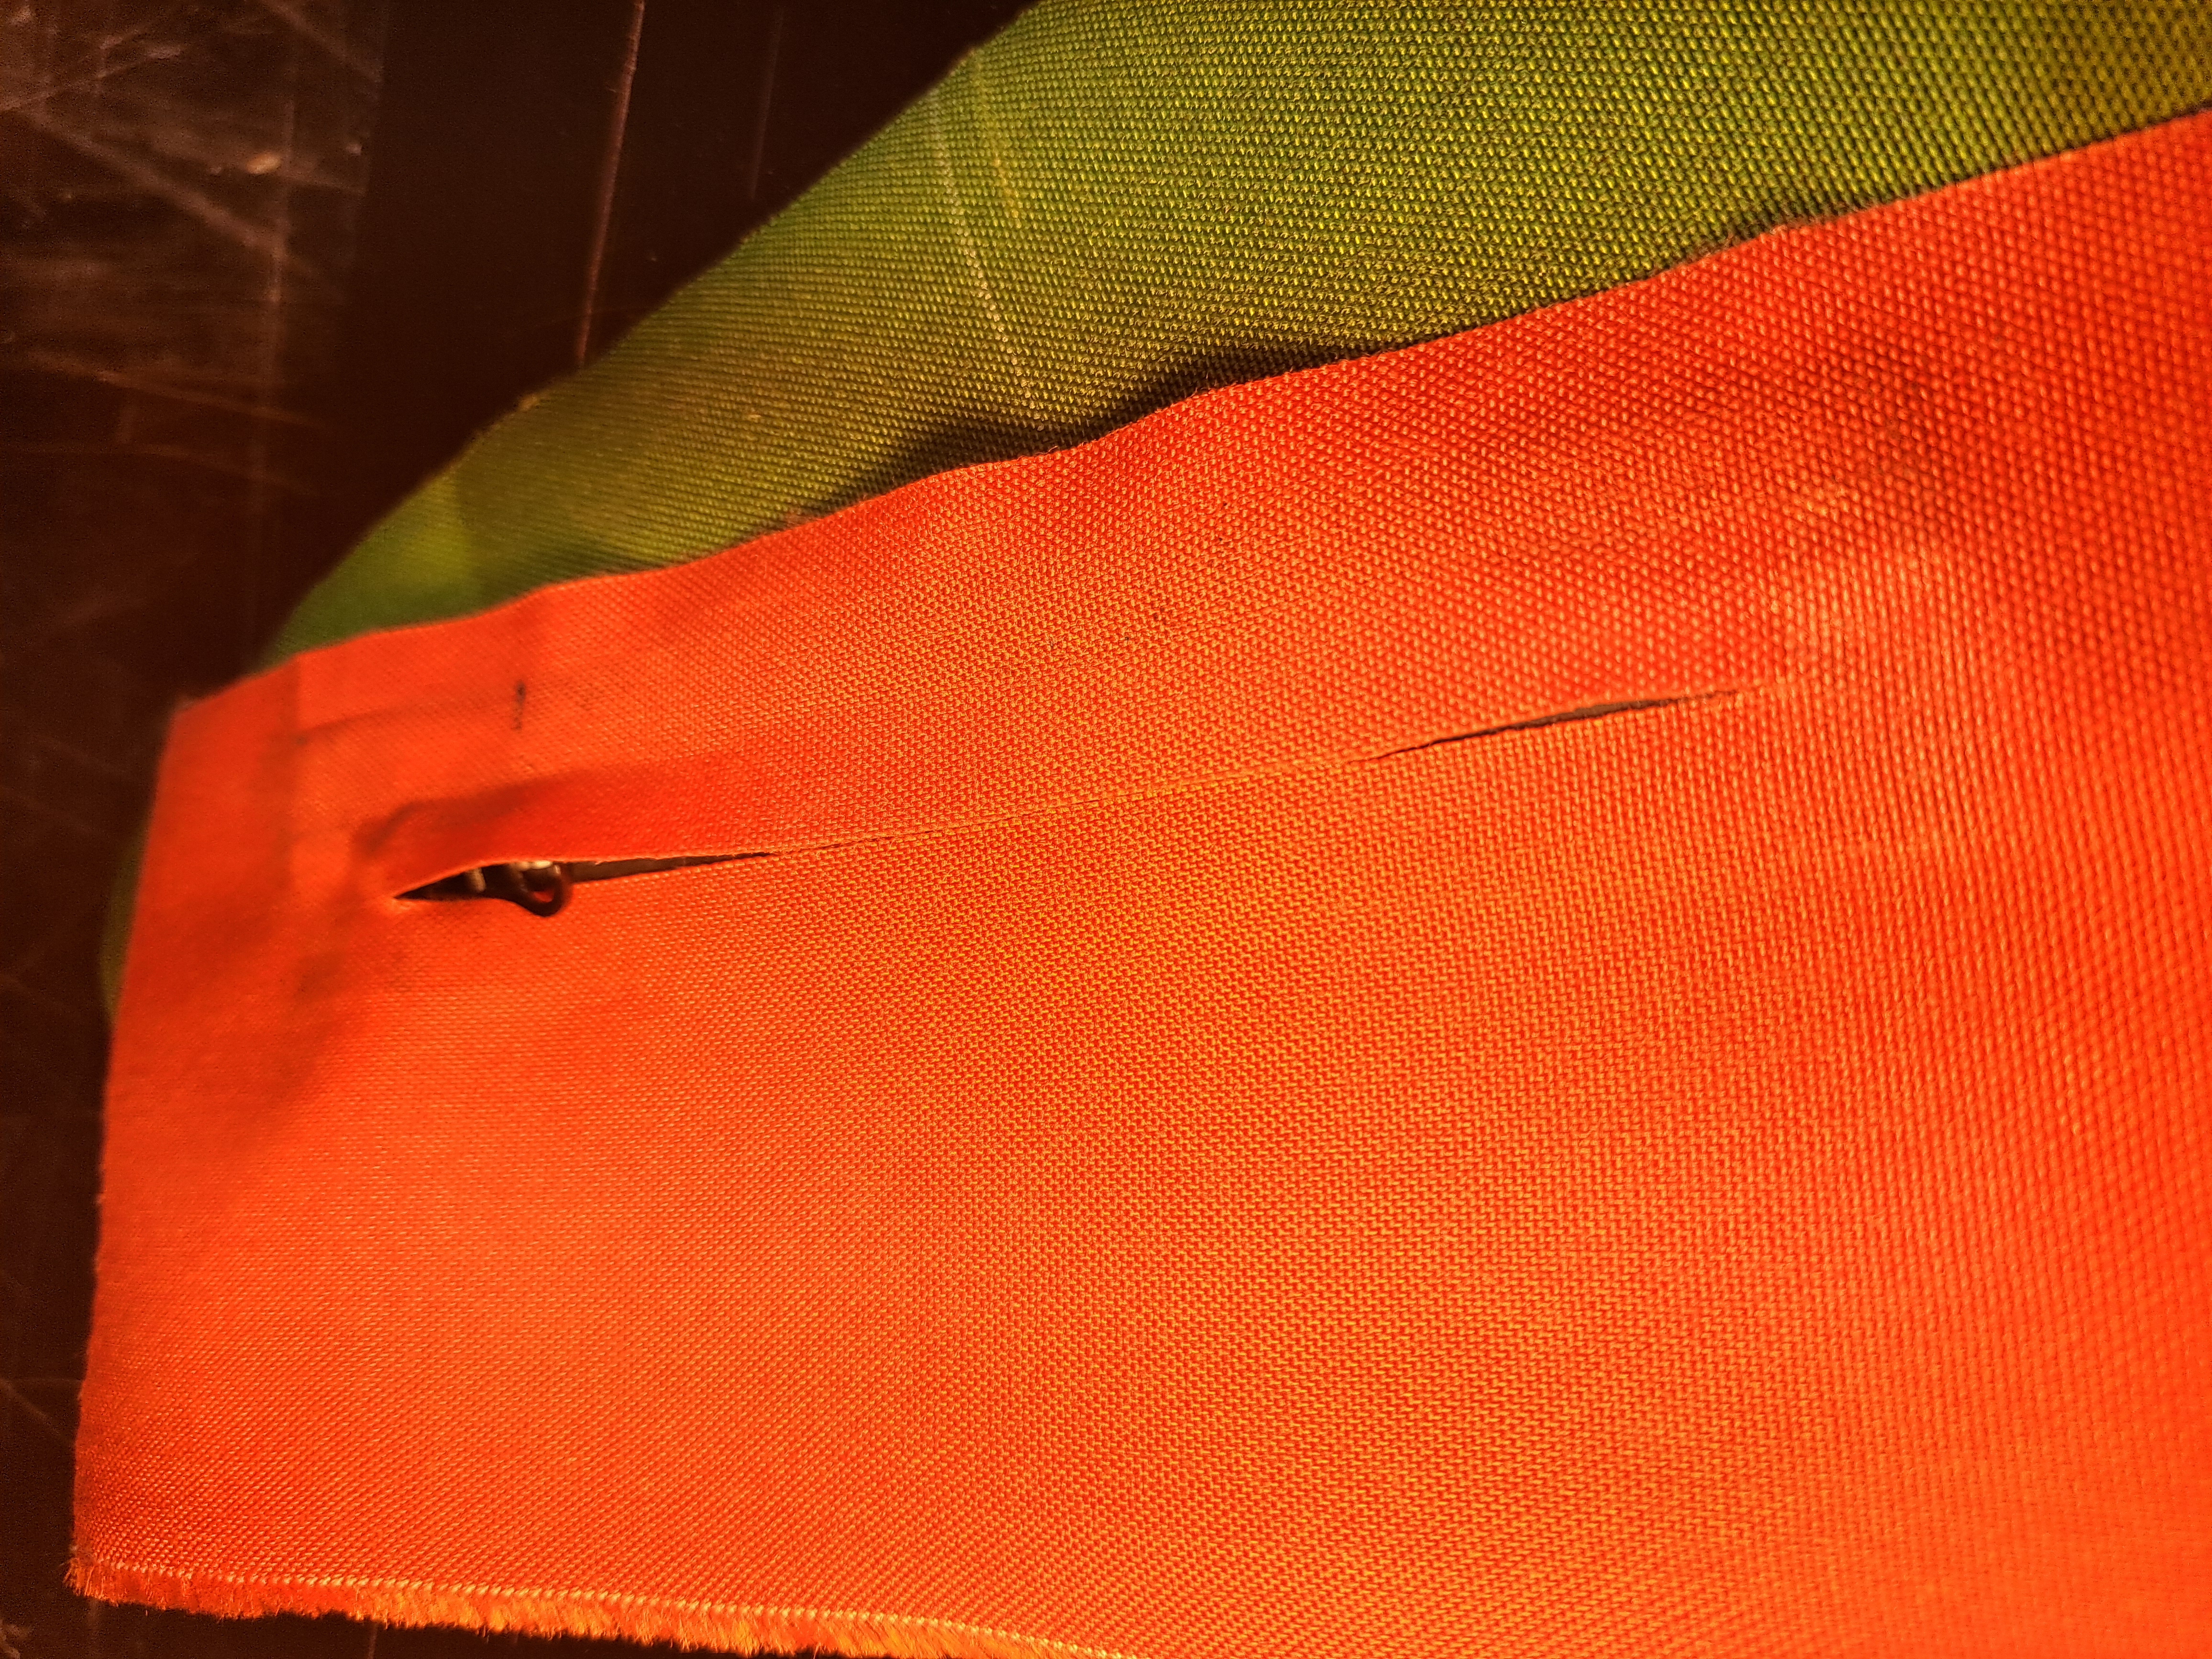
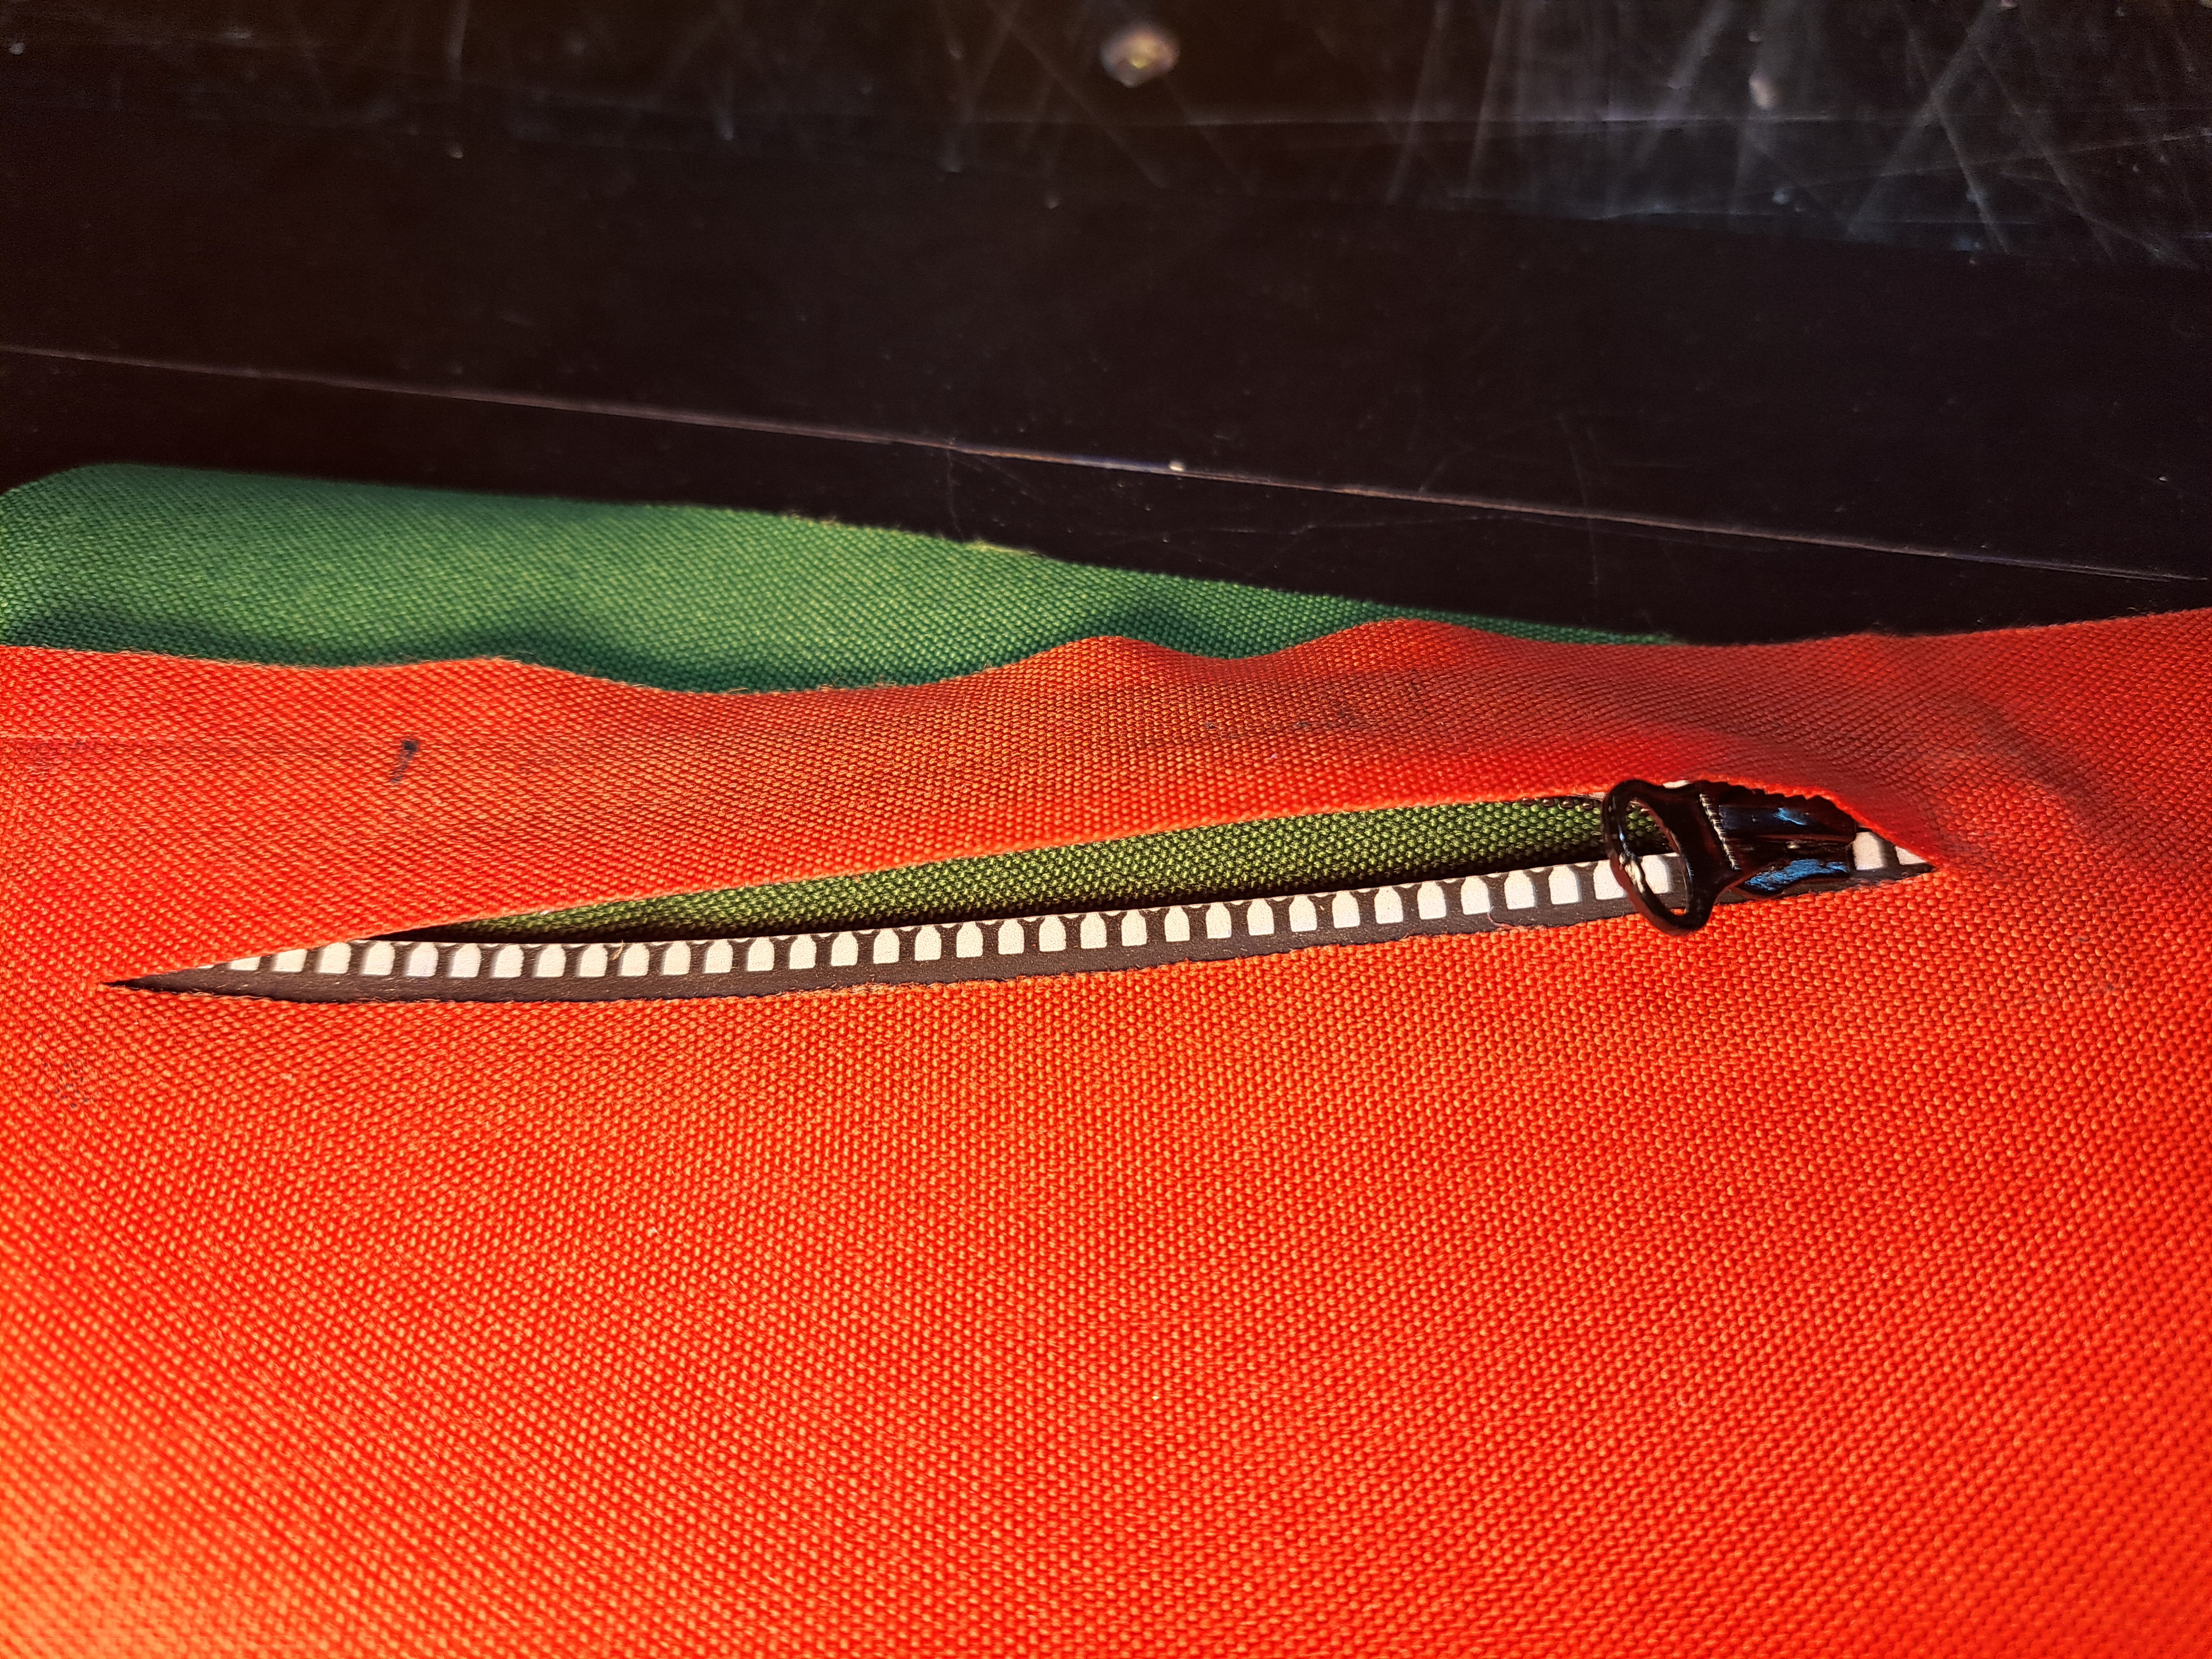
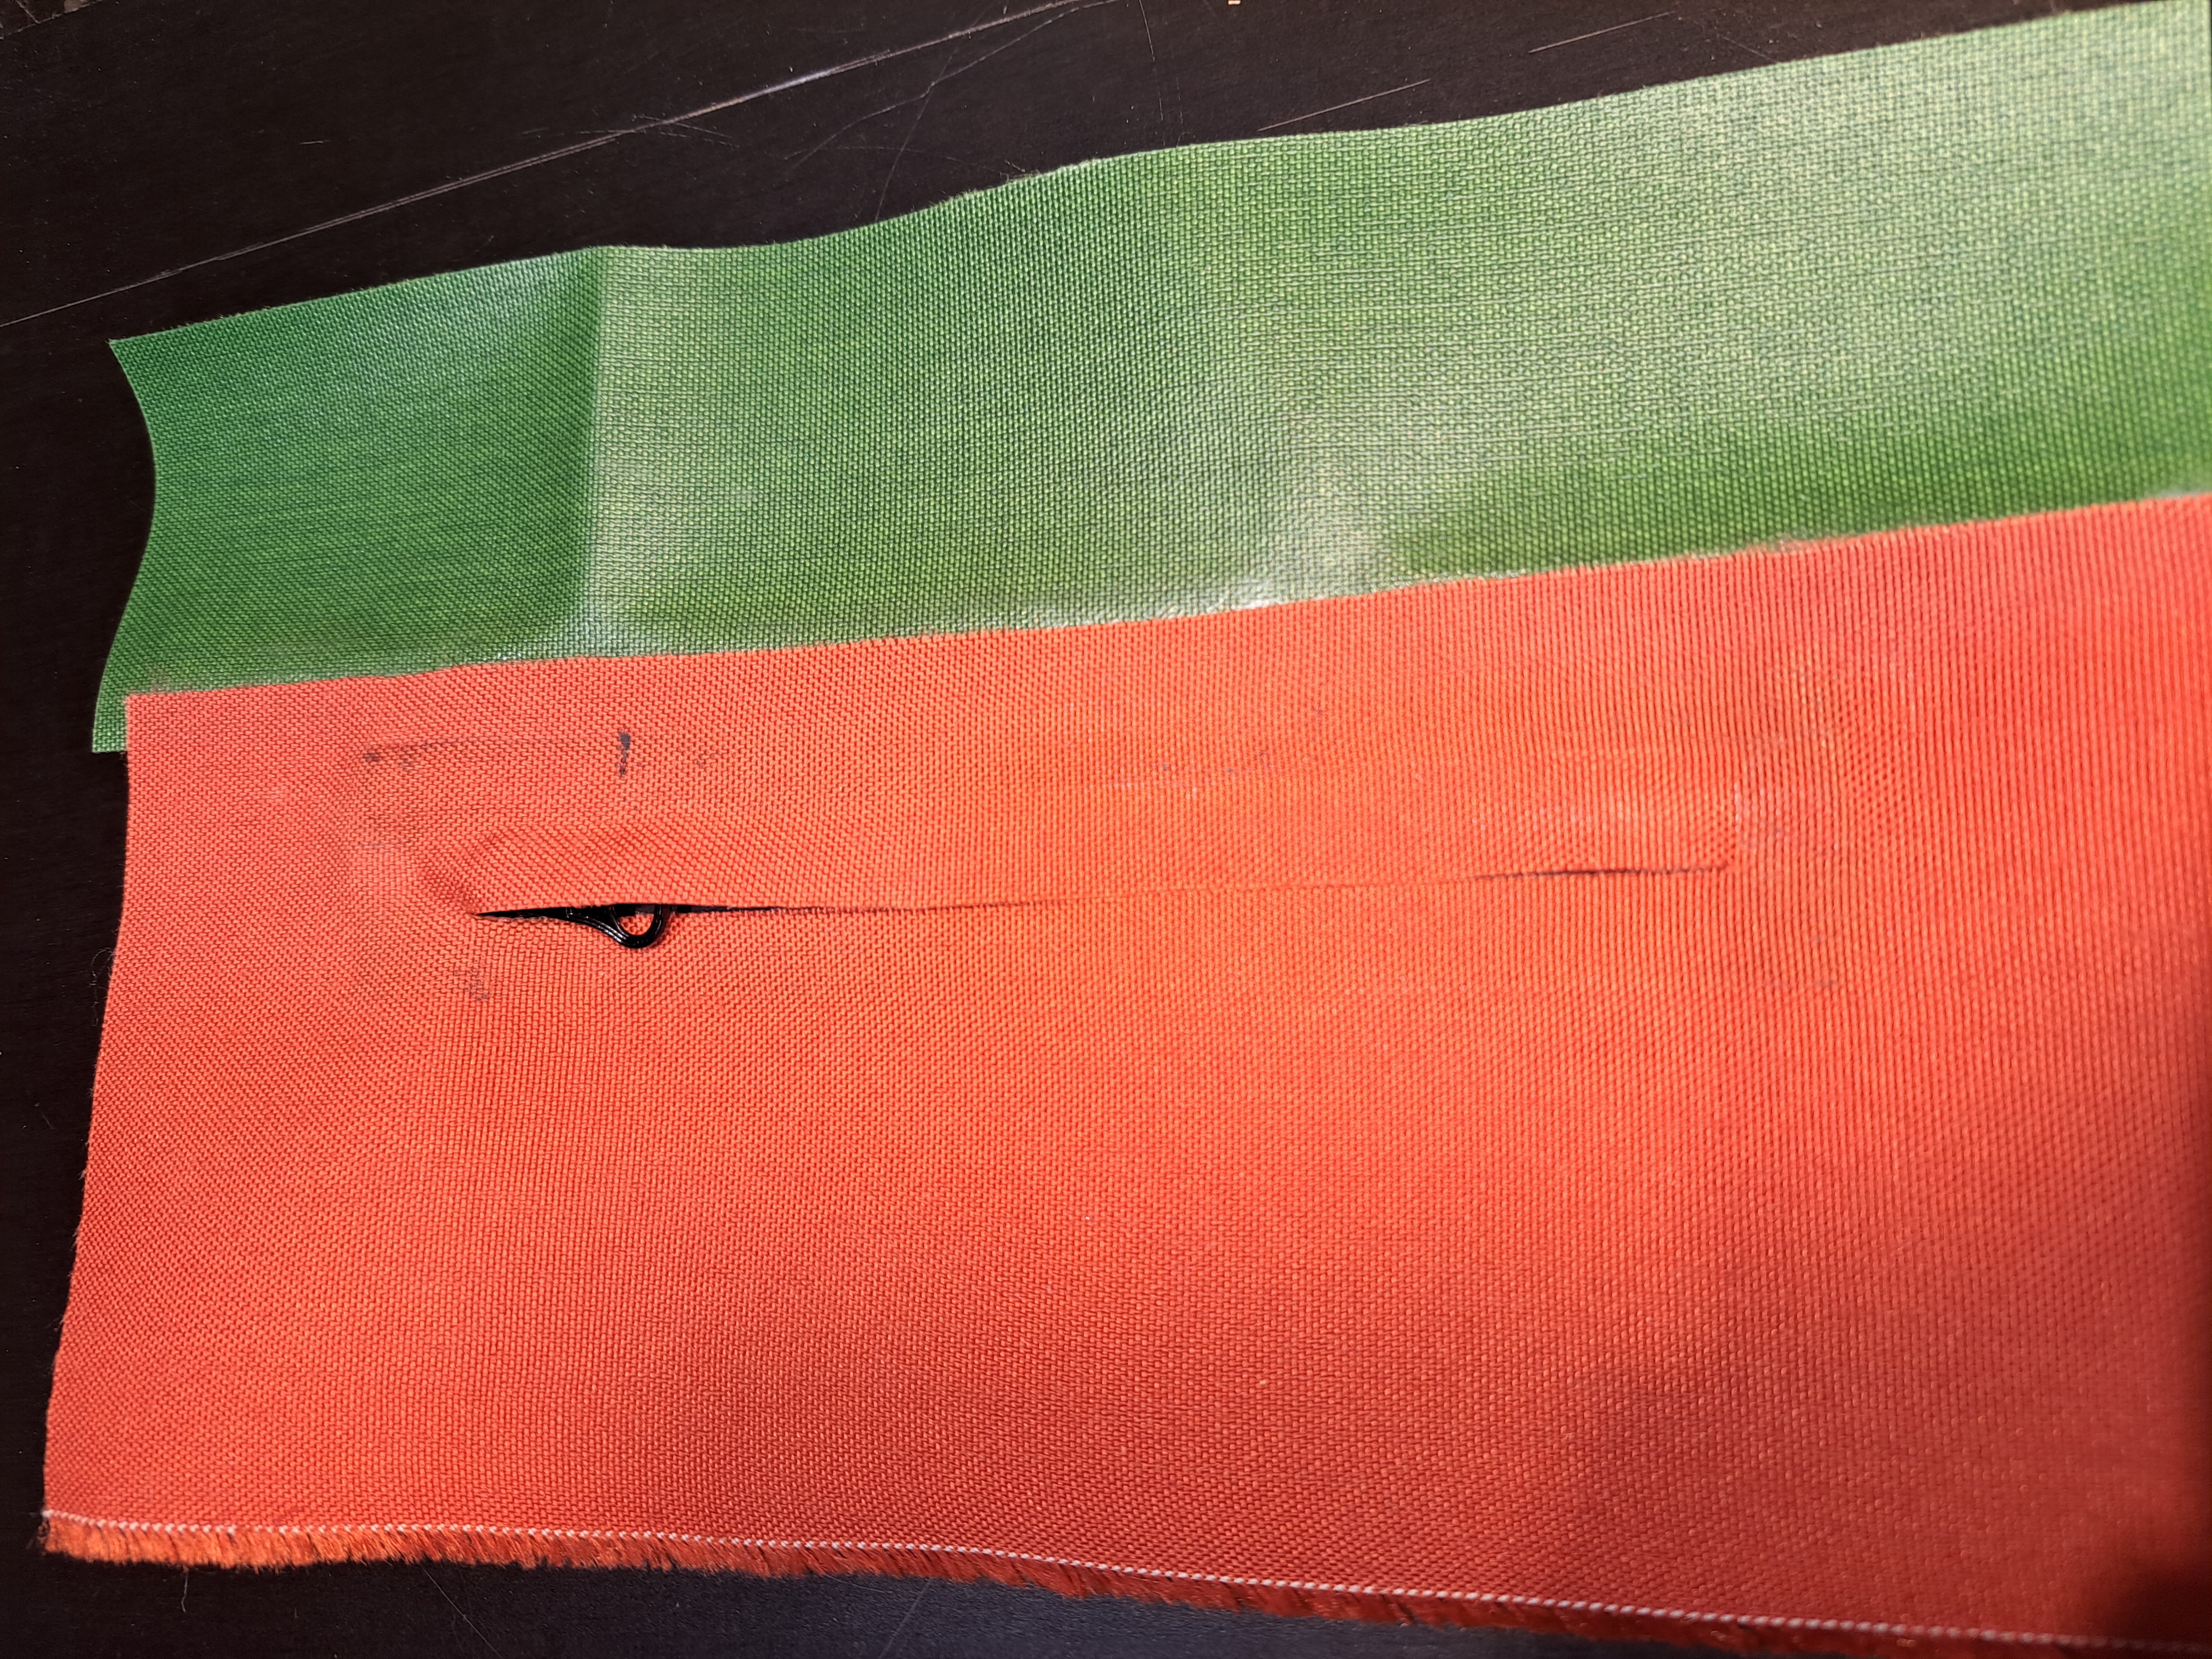
The areas that will later be welded across are marked at both ends of the zipper.
At the end, where the slider is parked in the closed state, it will be slightly wider.
The slider should be covered but still be easy to grip.
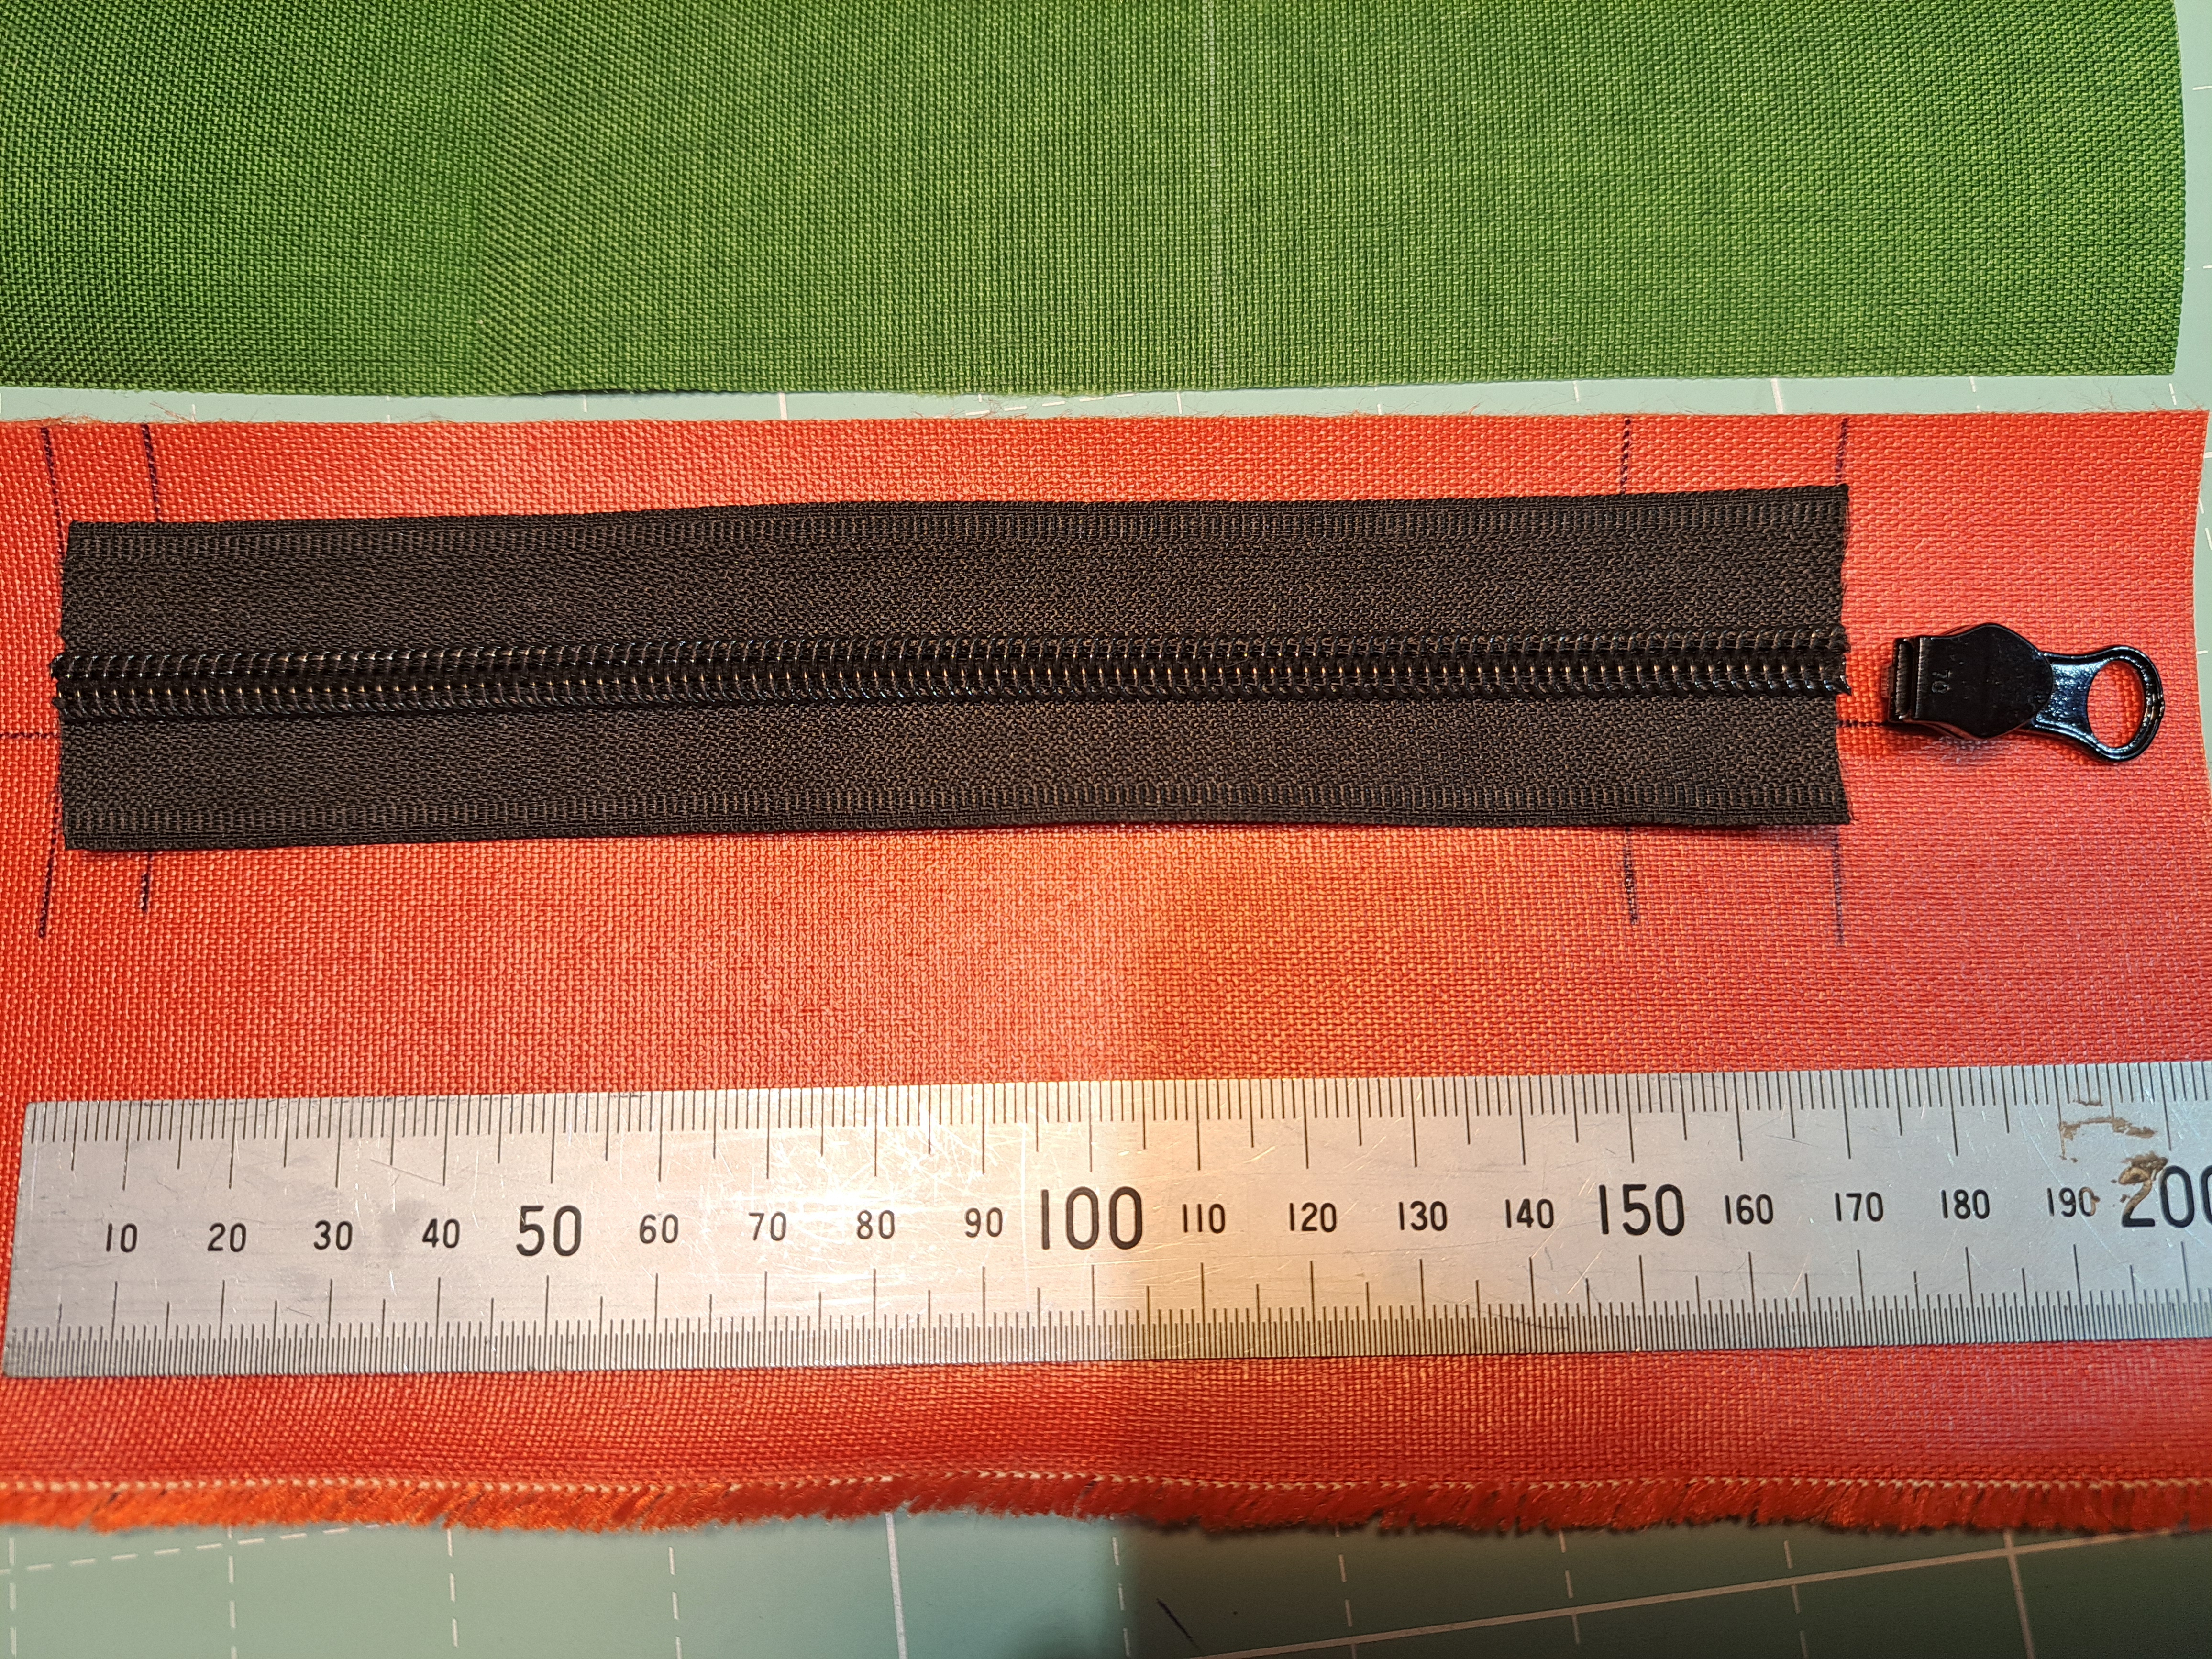
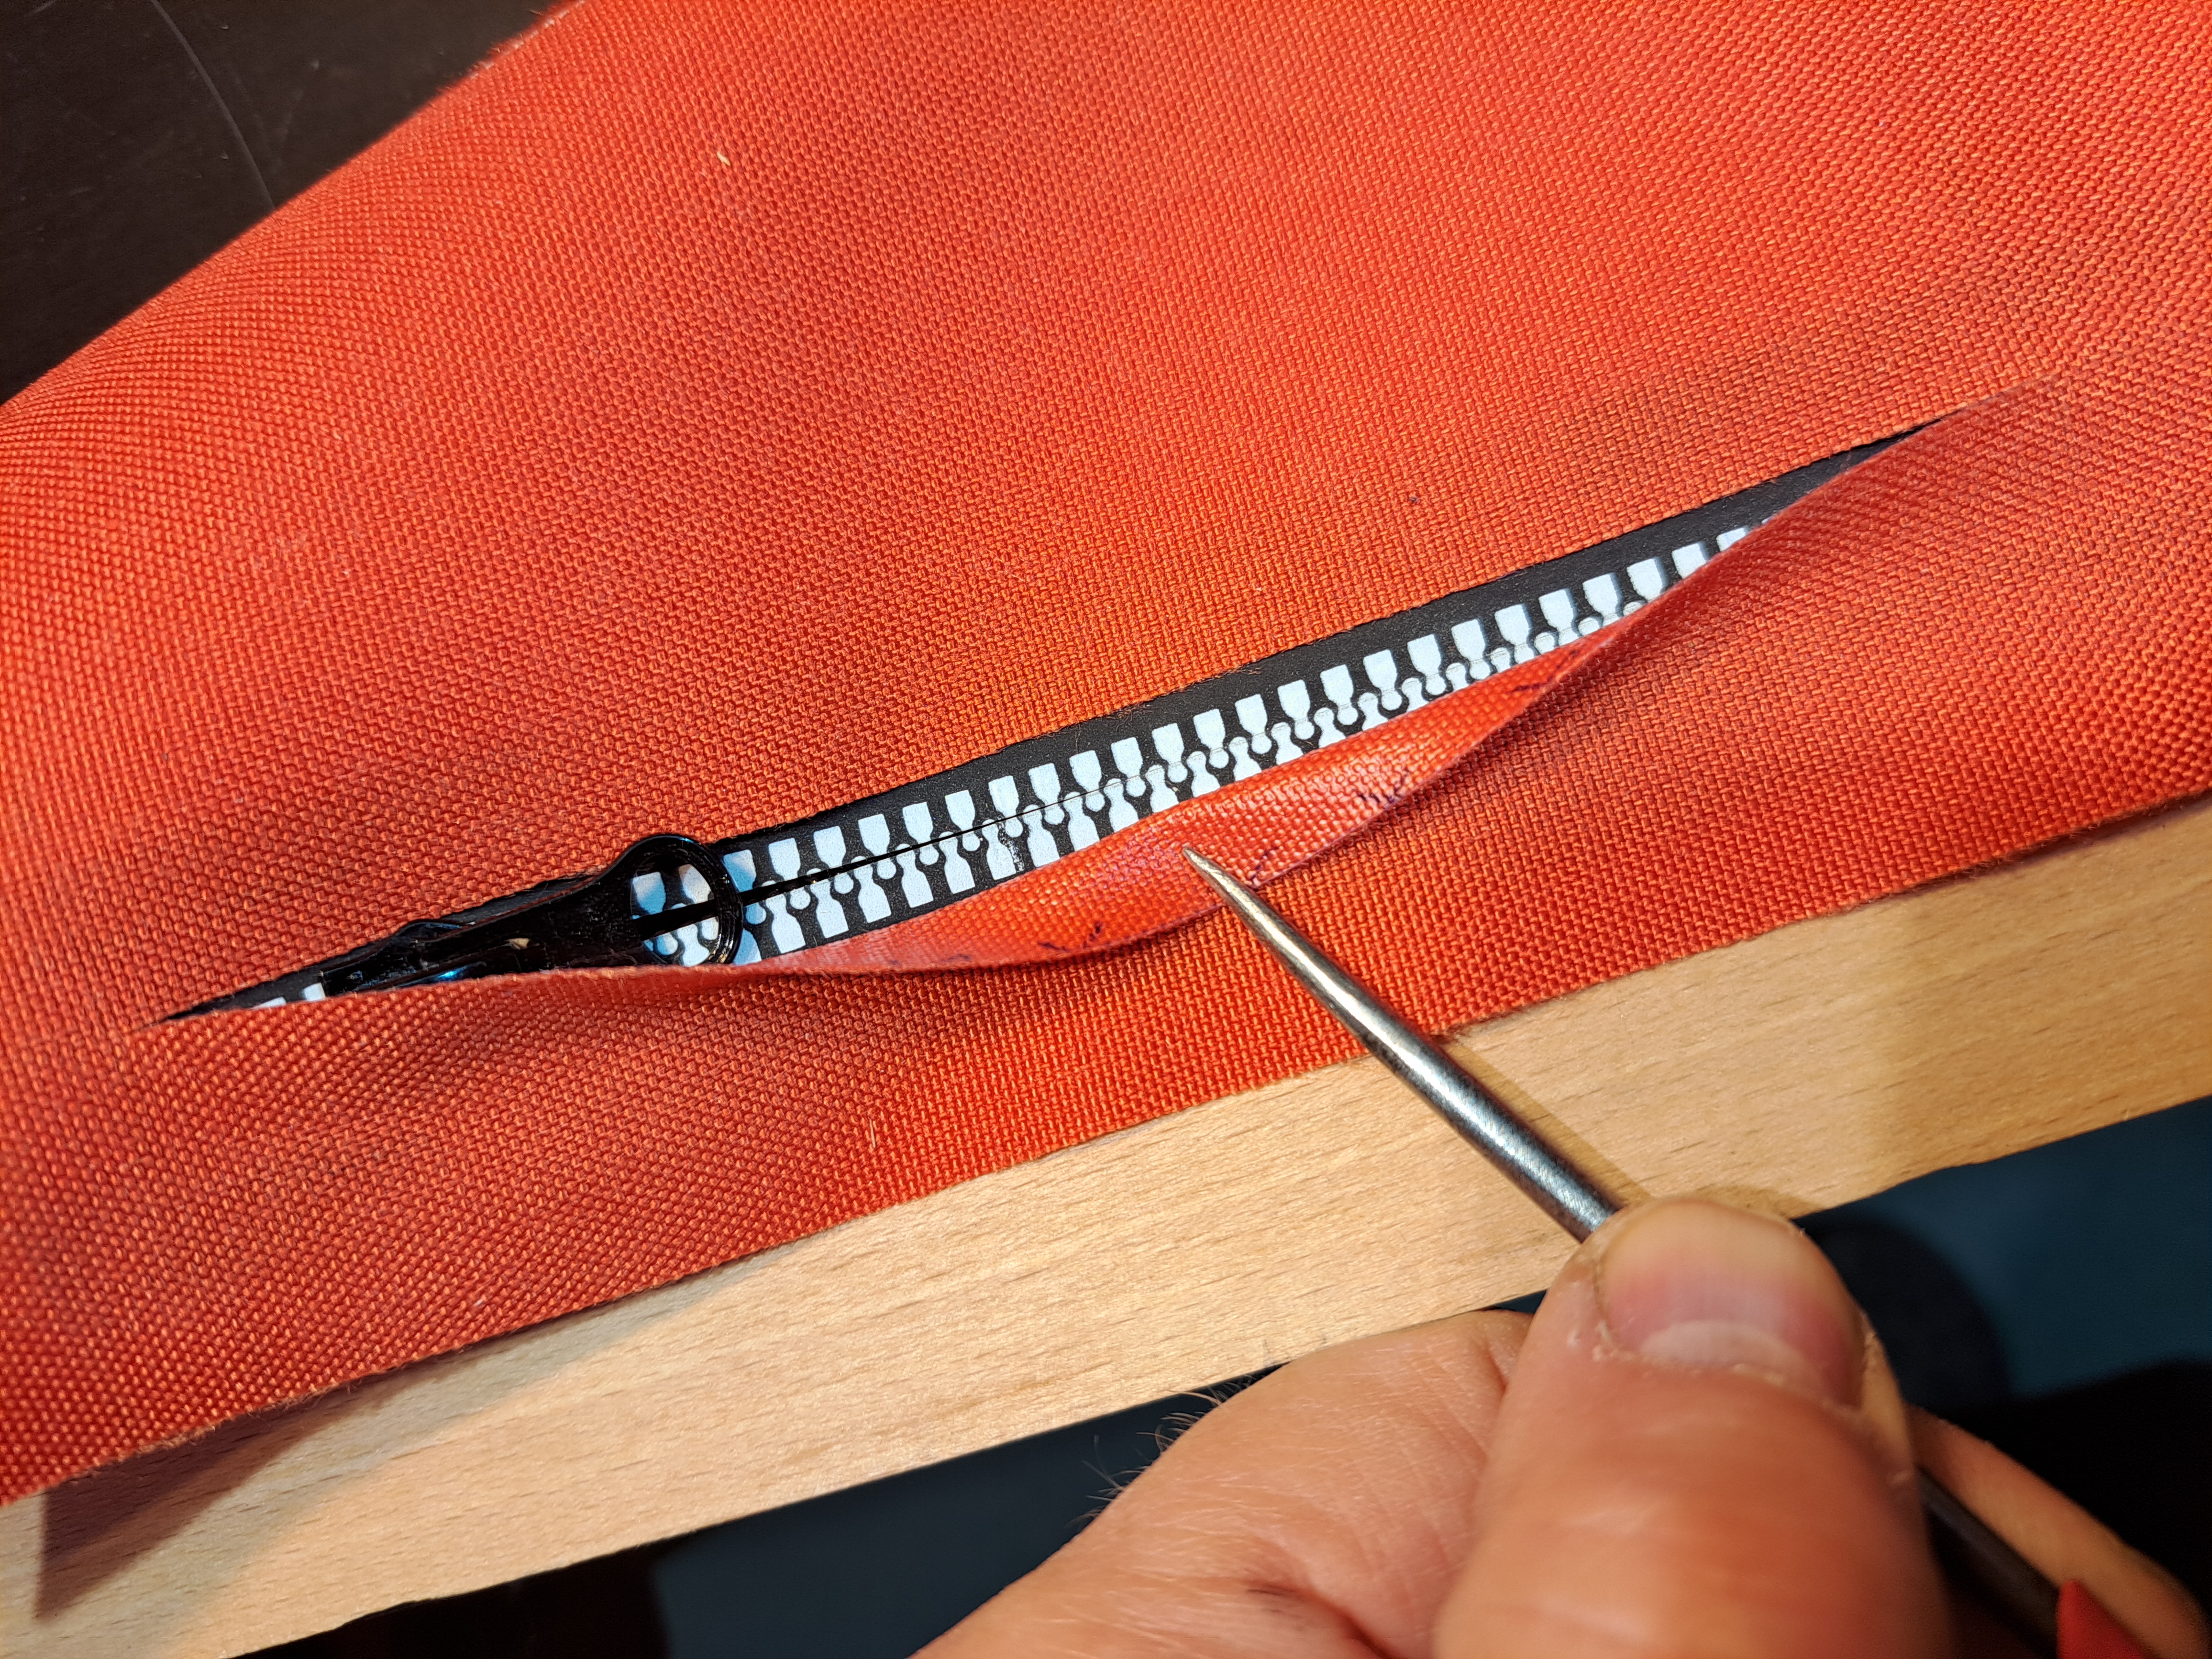
The cut can then be made at the marked point.
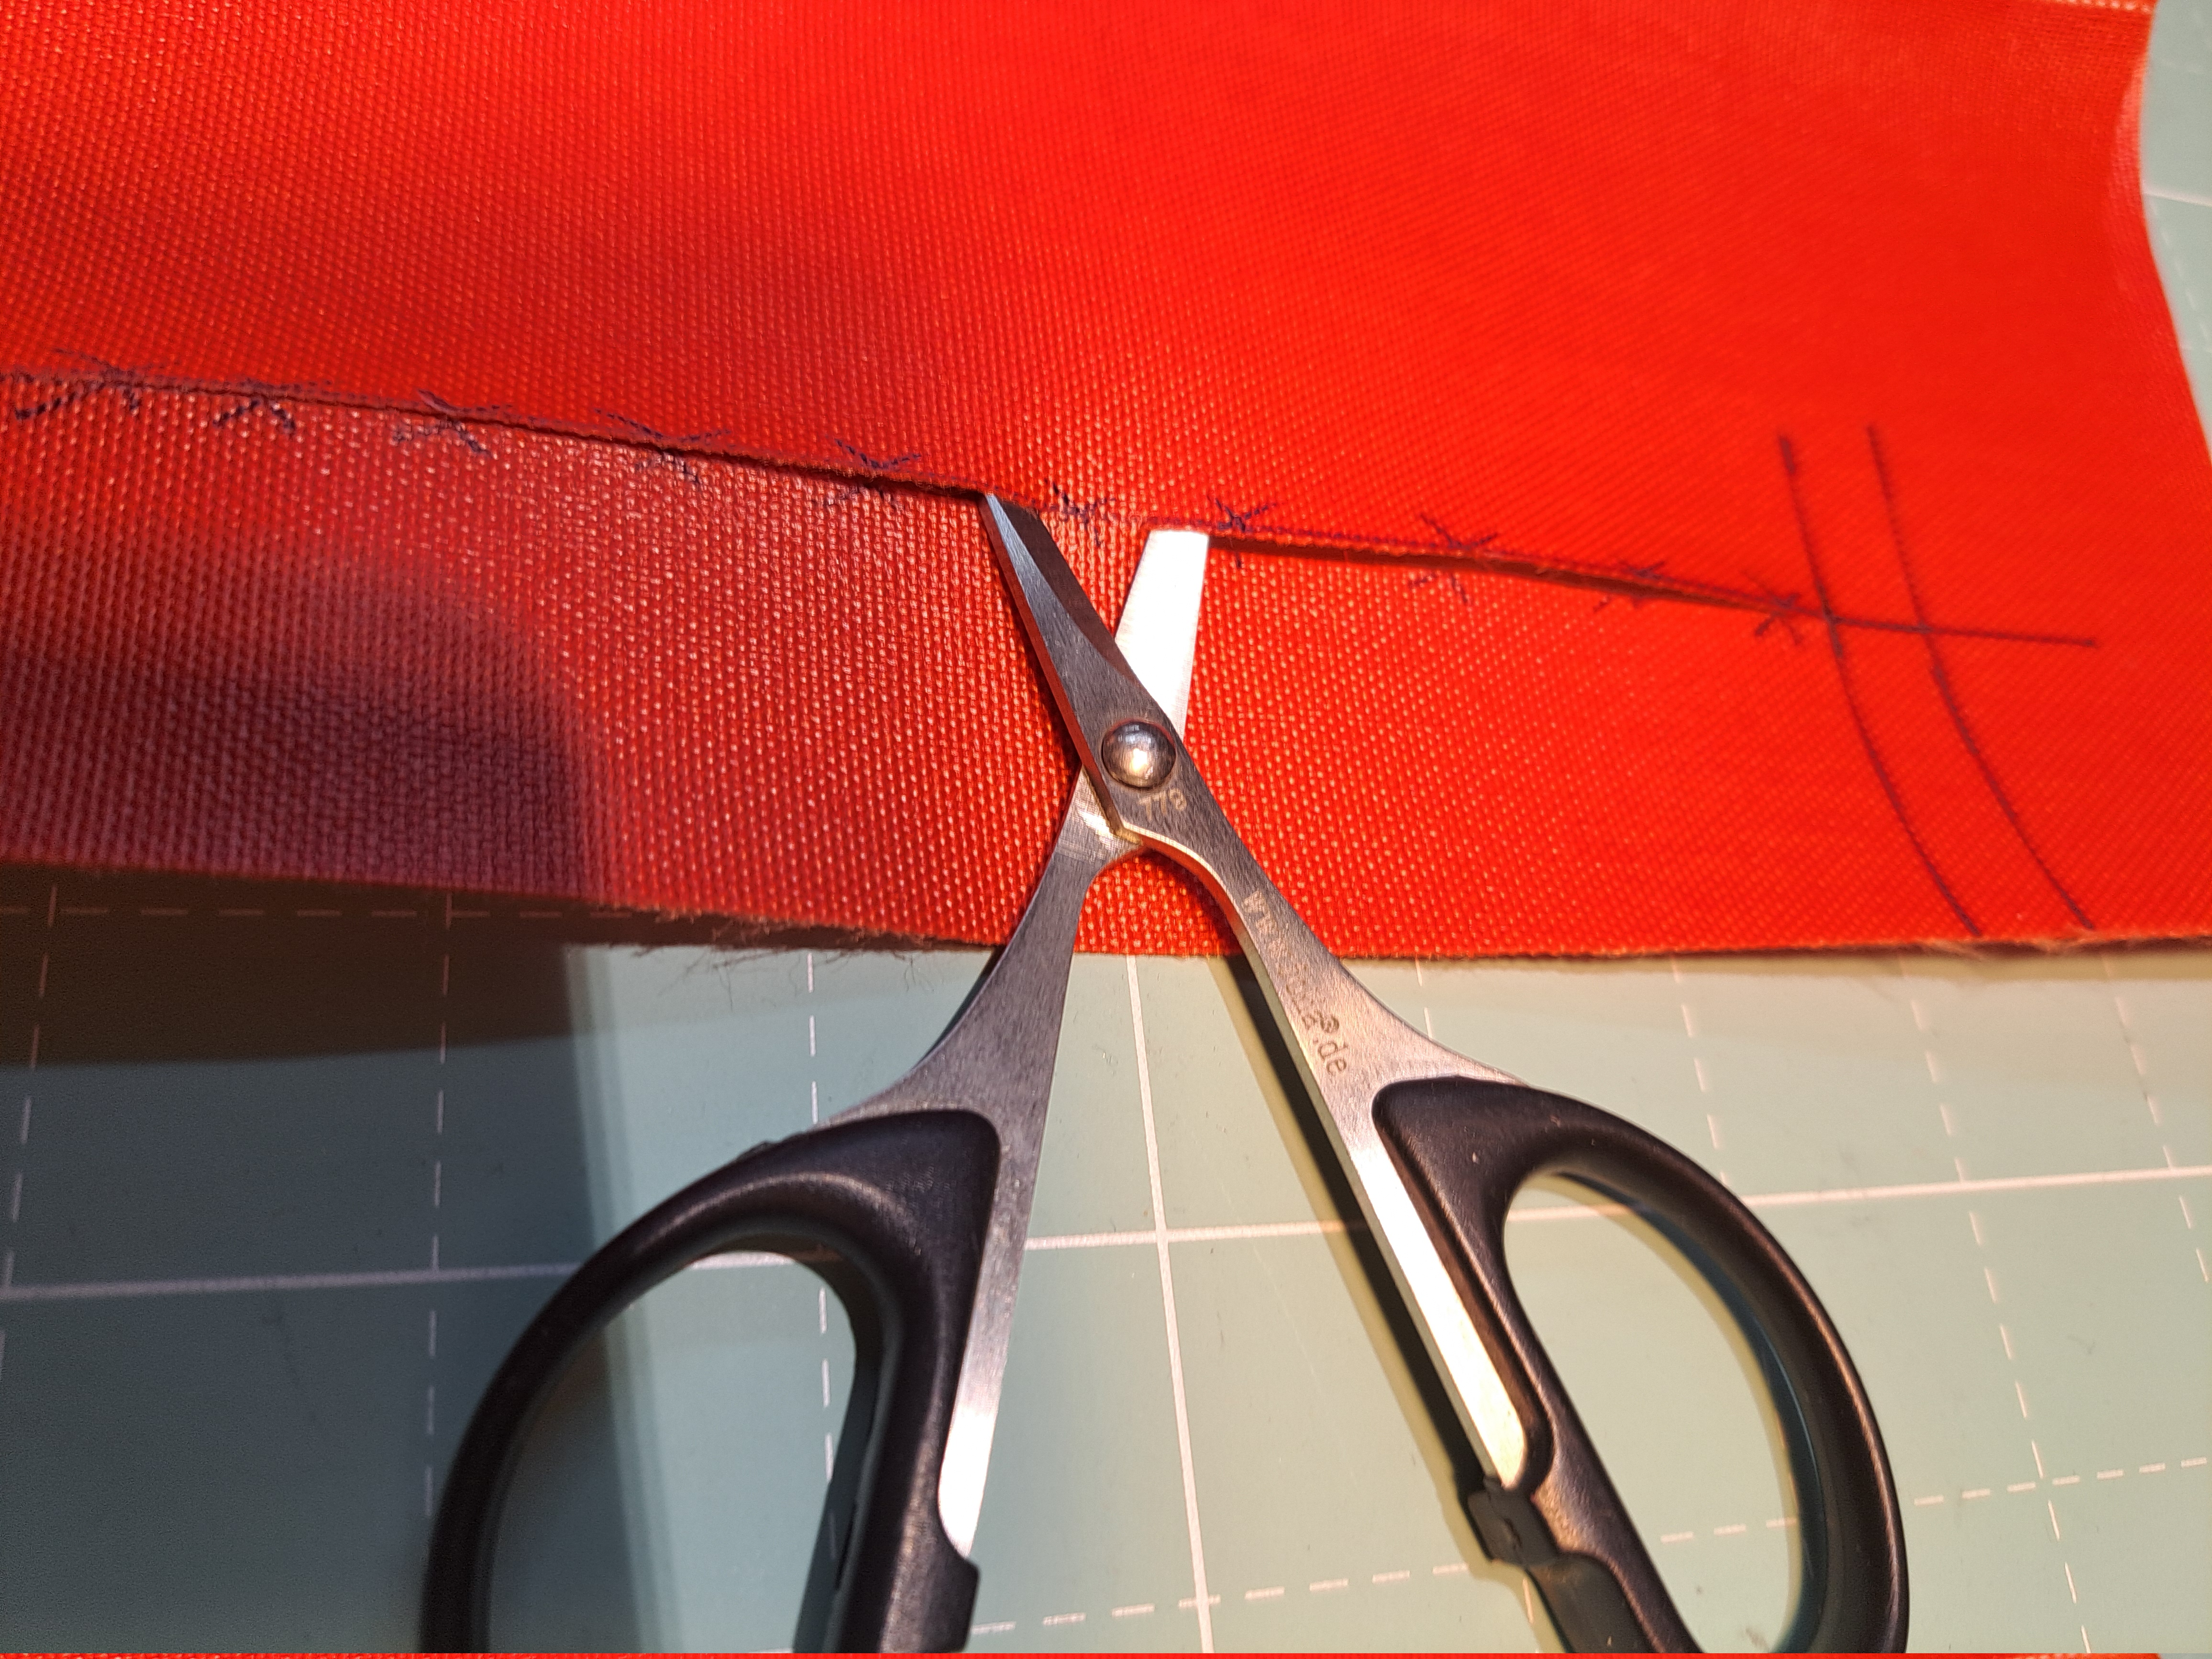
It is advisable to leave bars at suitable intervals when making this cut.
This prevents accidental slipping during welding.
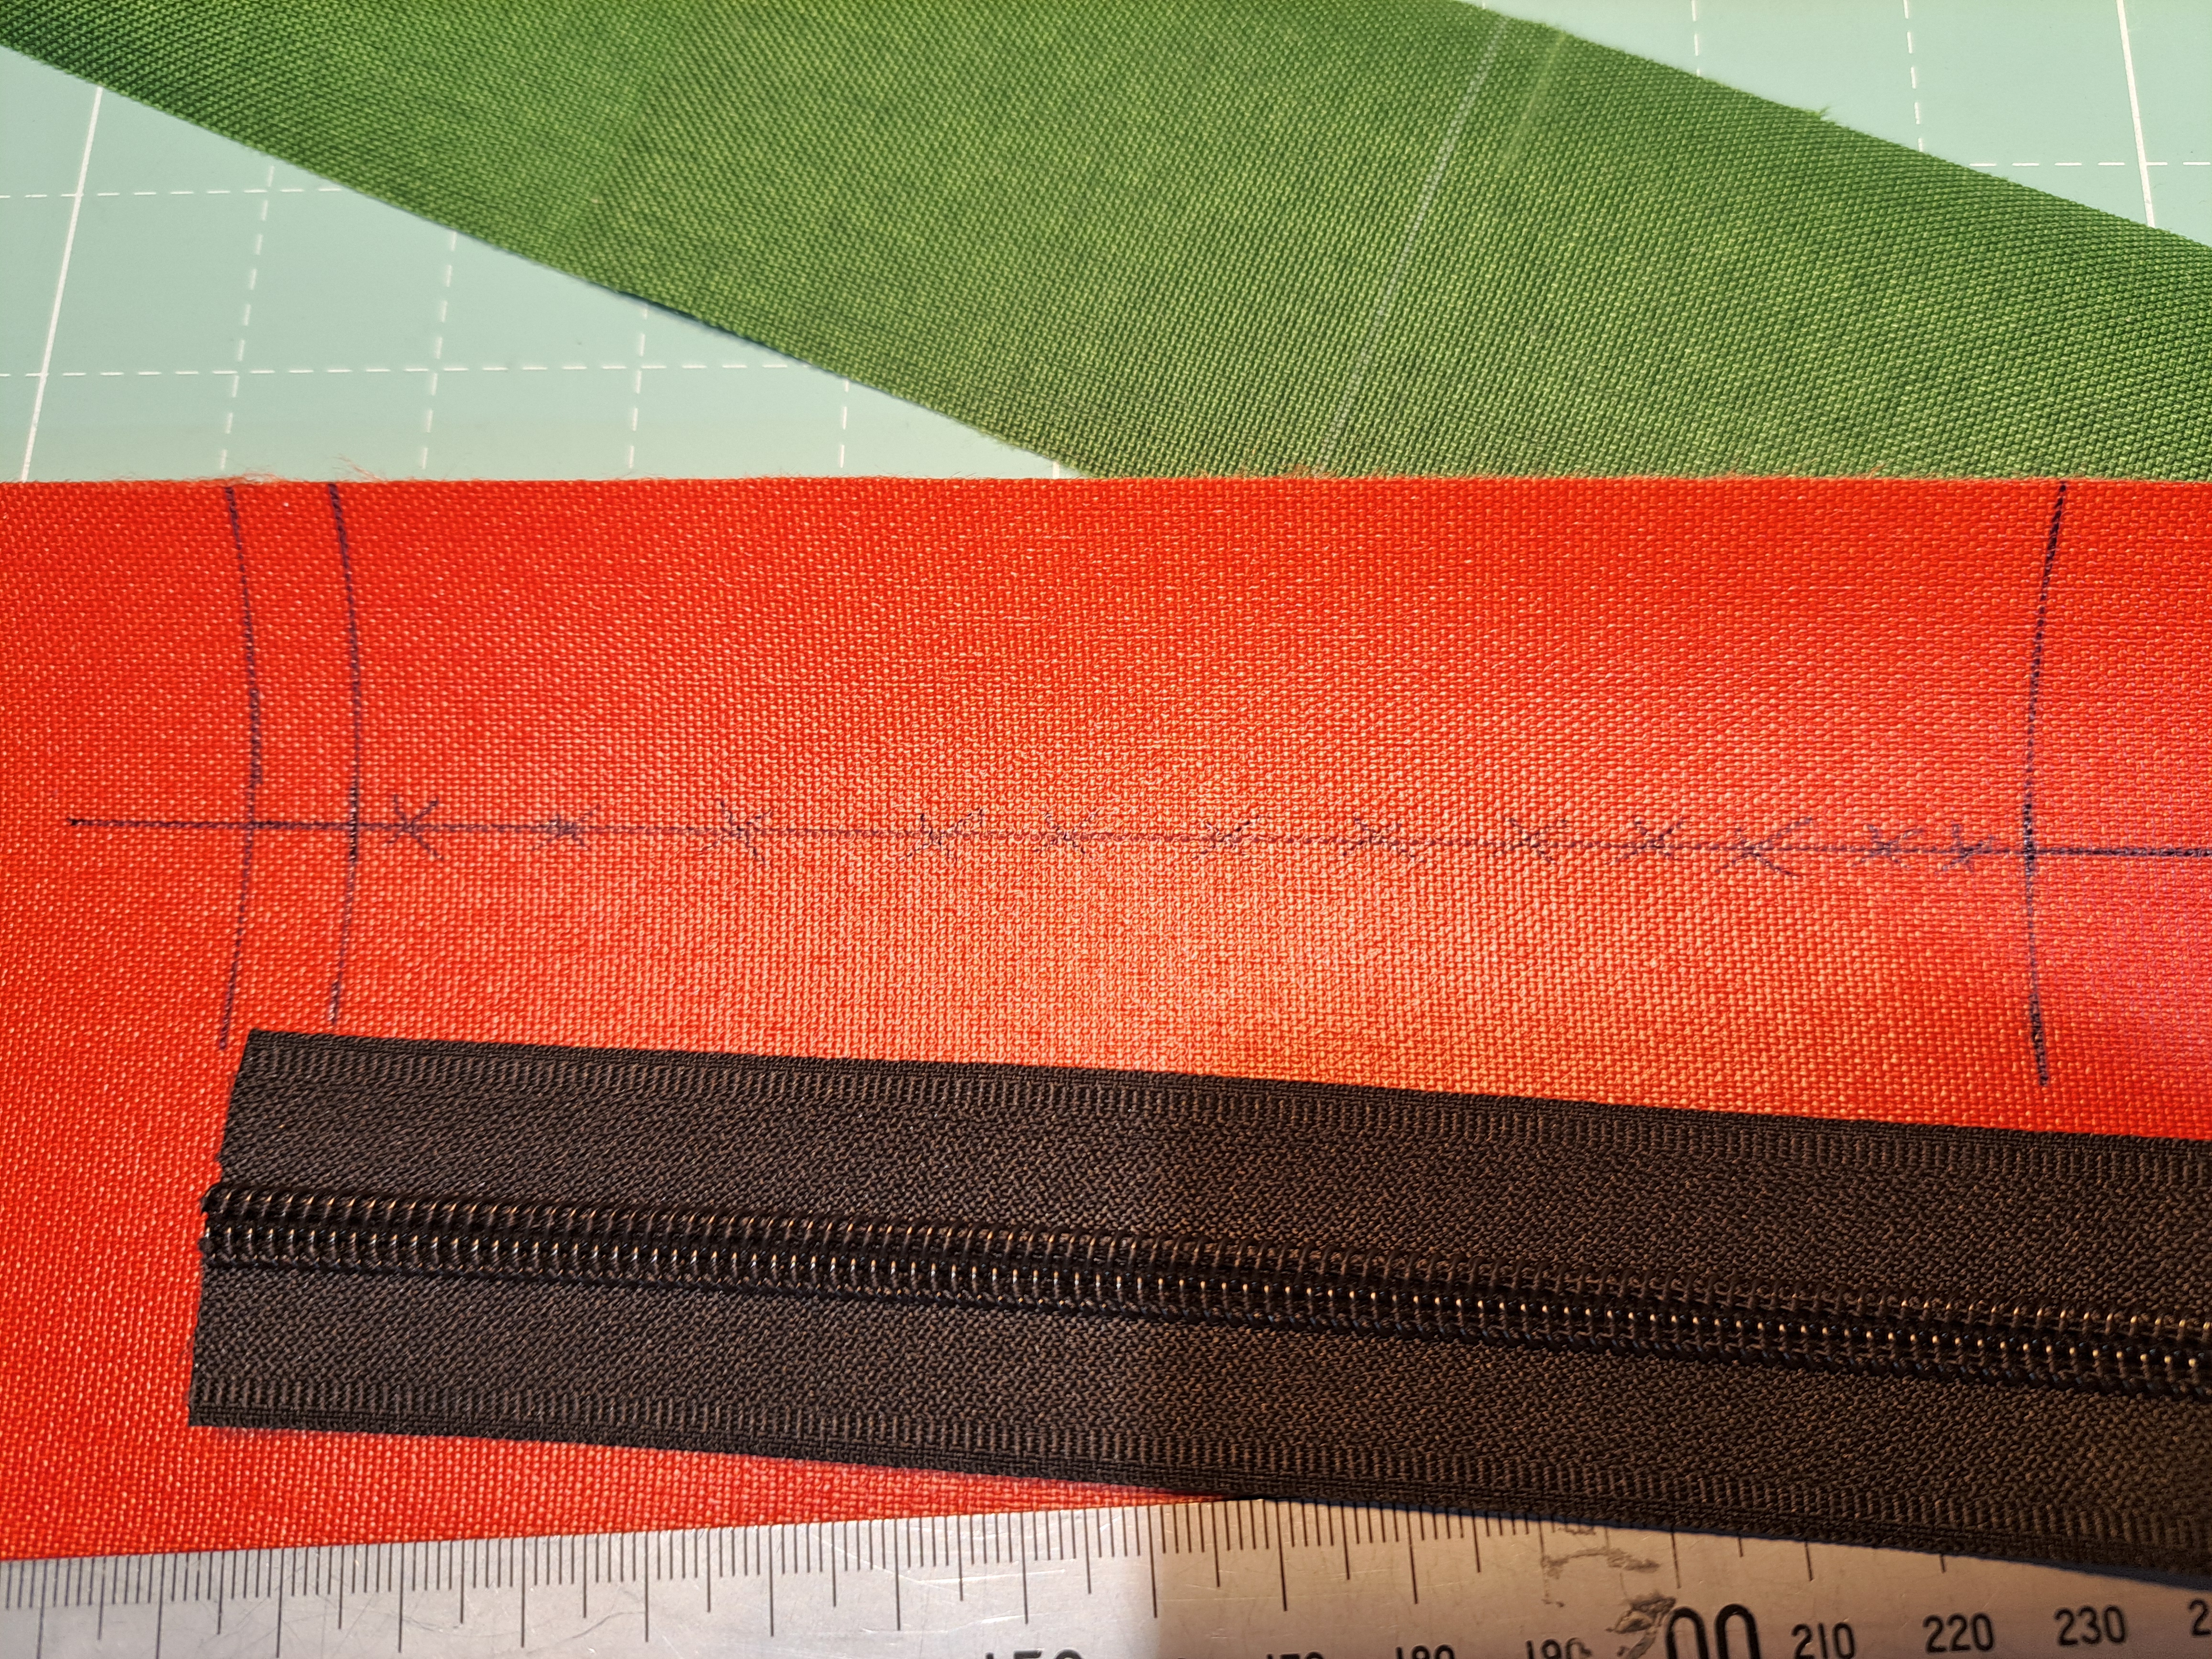
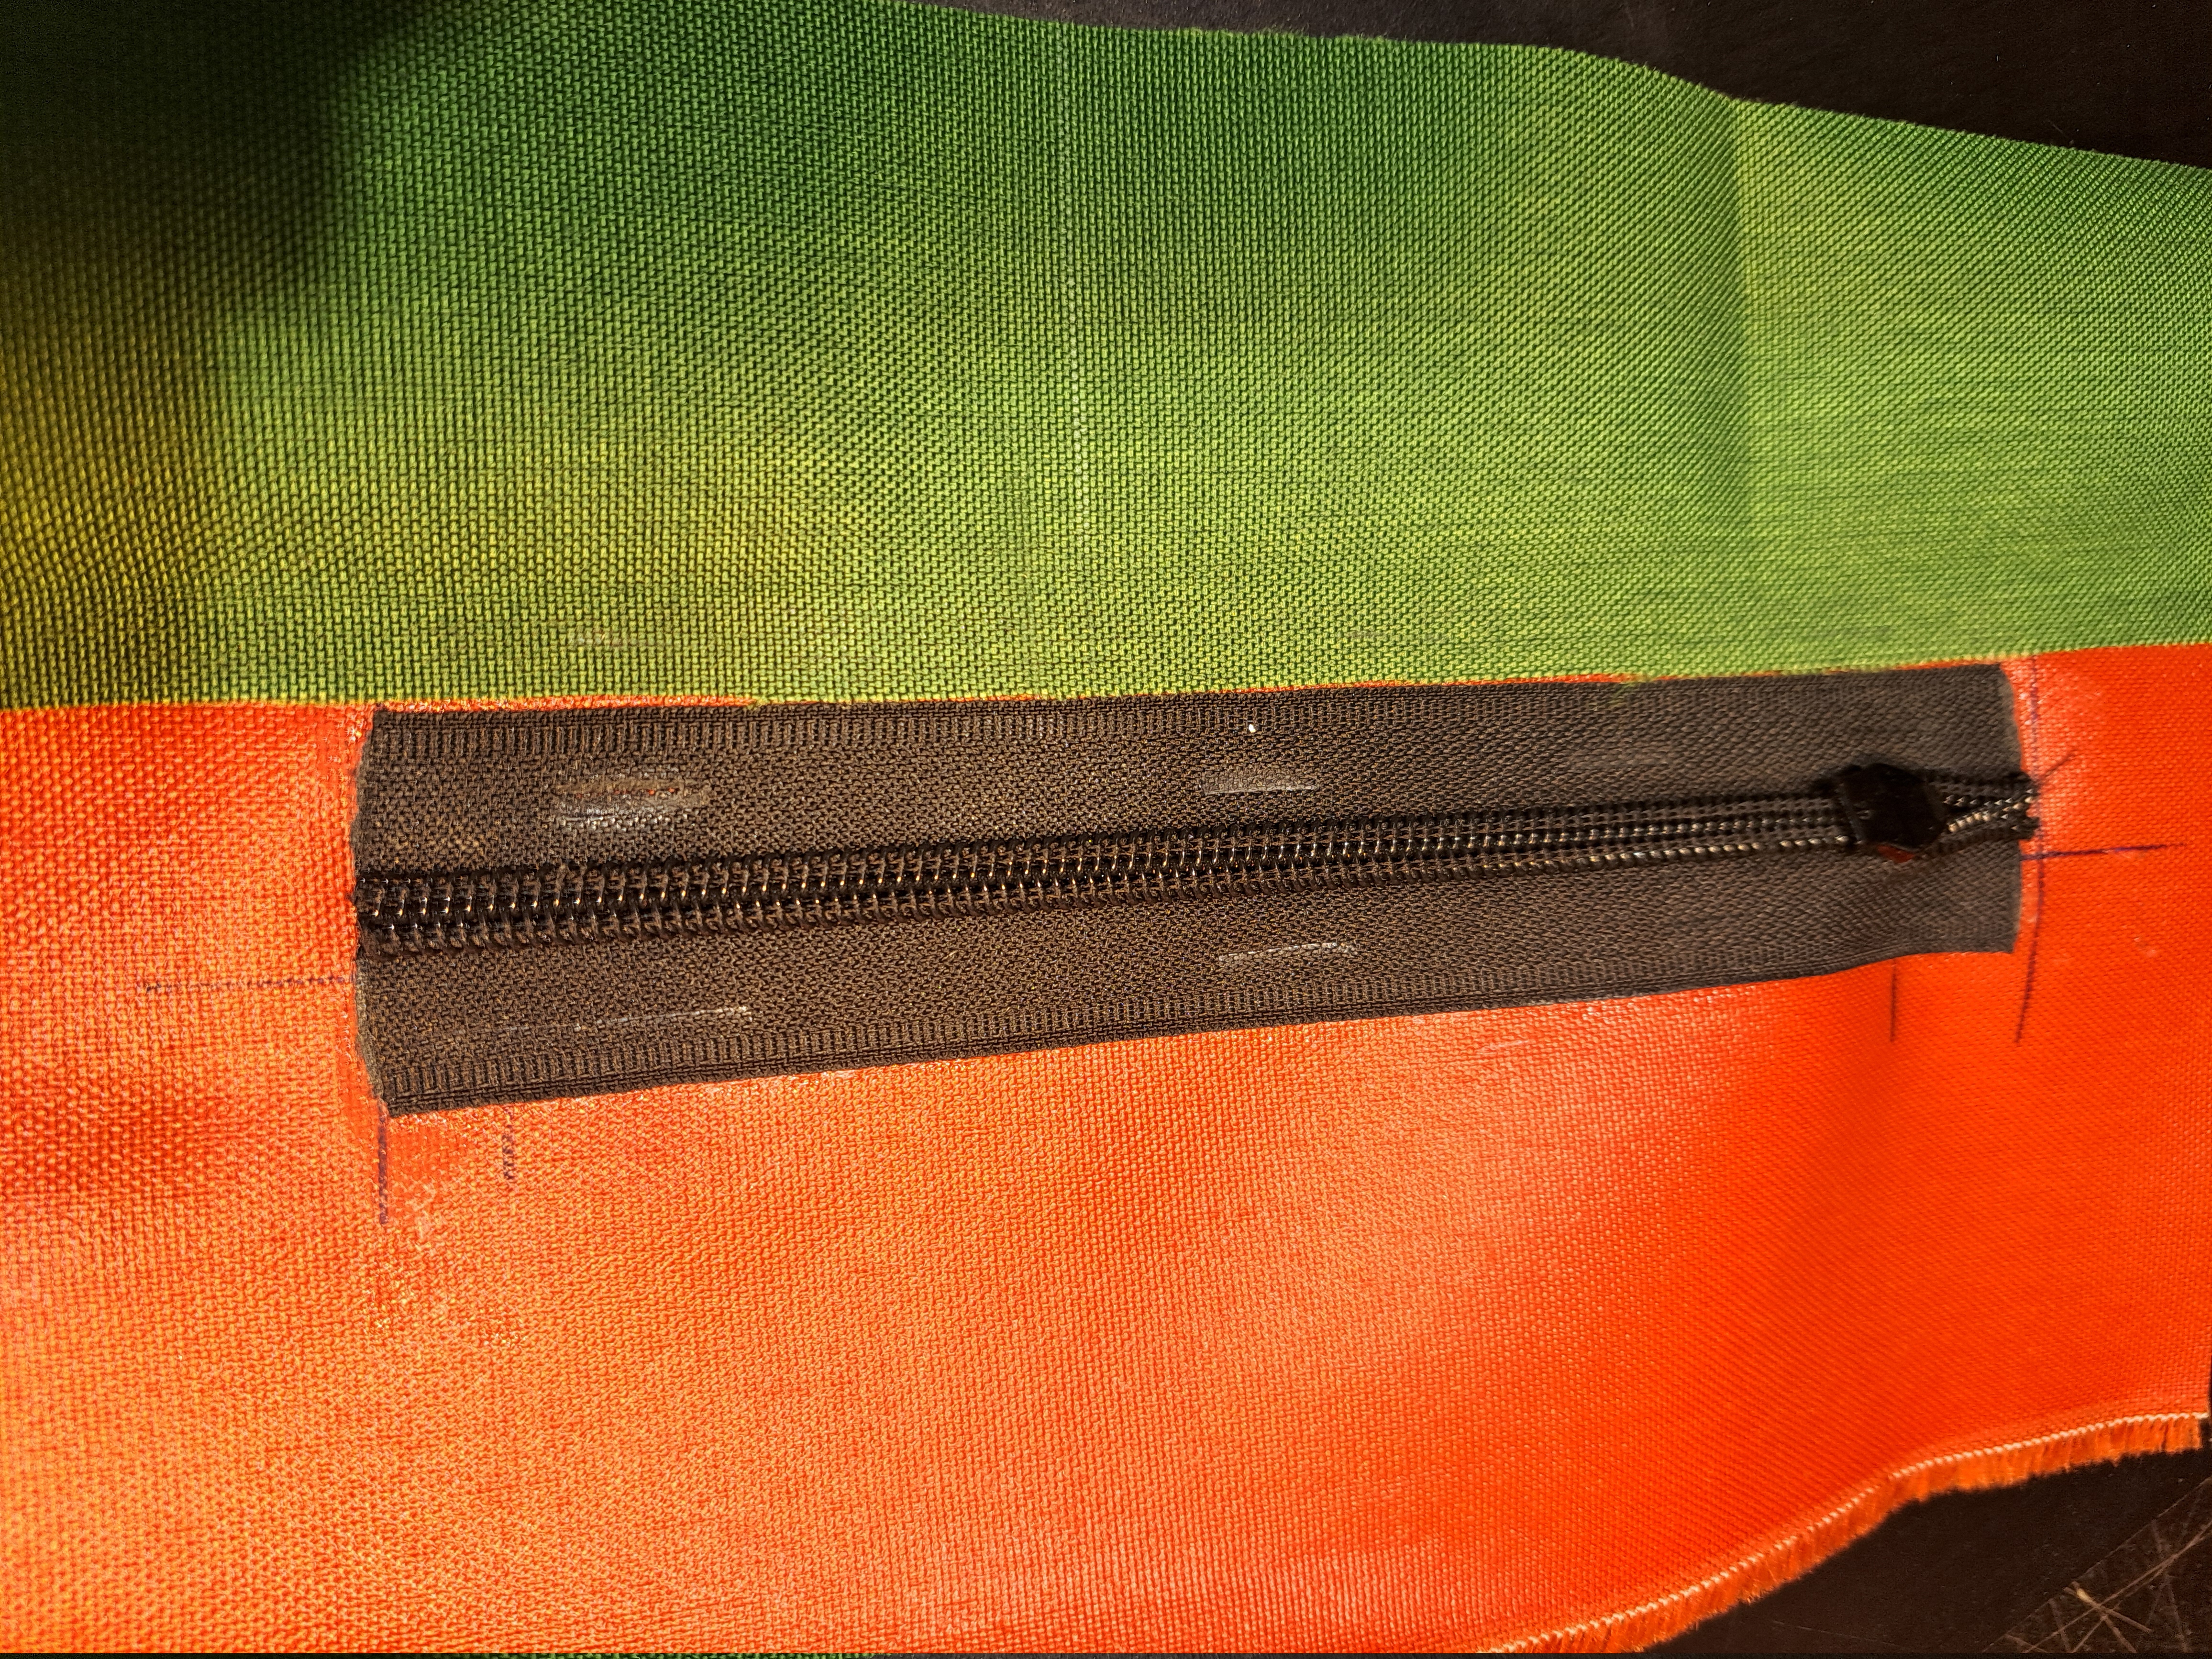
As the backing material of the zip is usually weaker than the fabric part, it is advisable to only place a few stitching points at first.
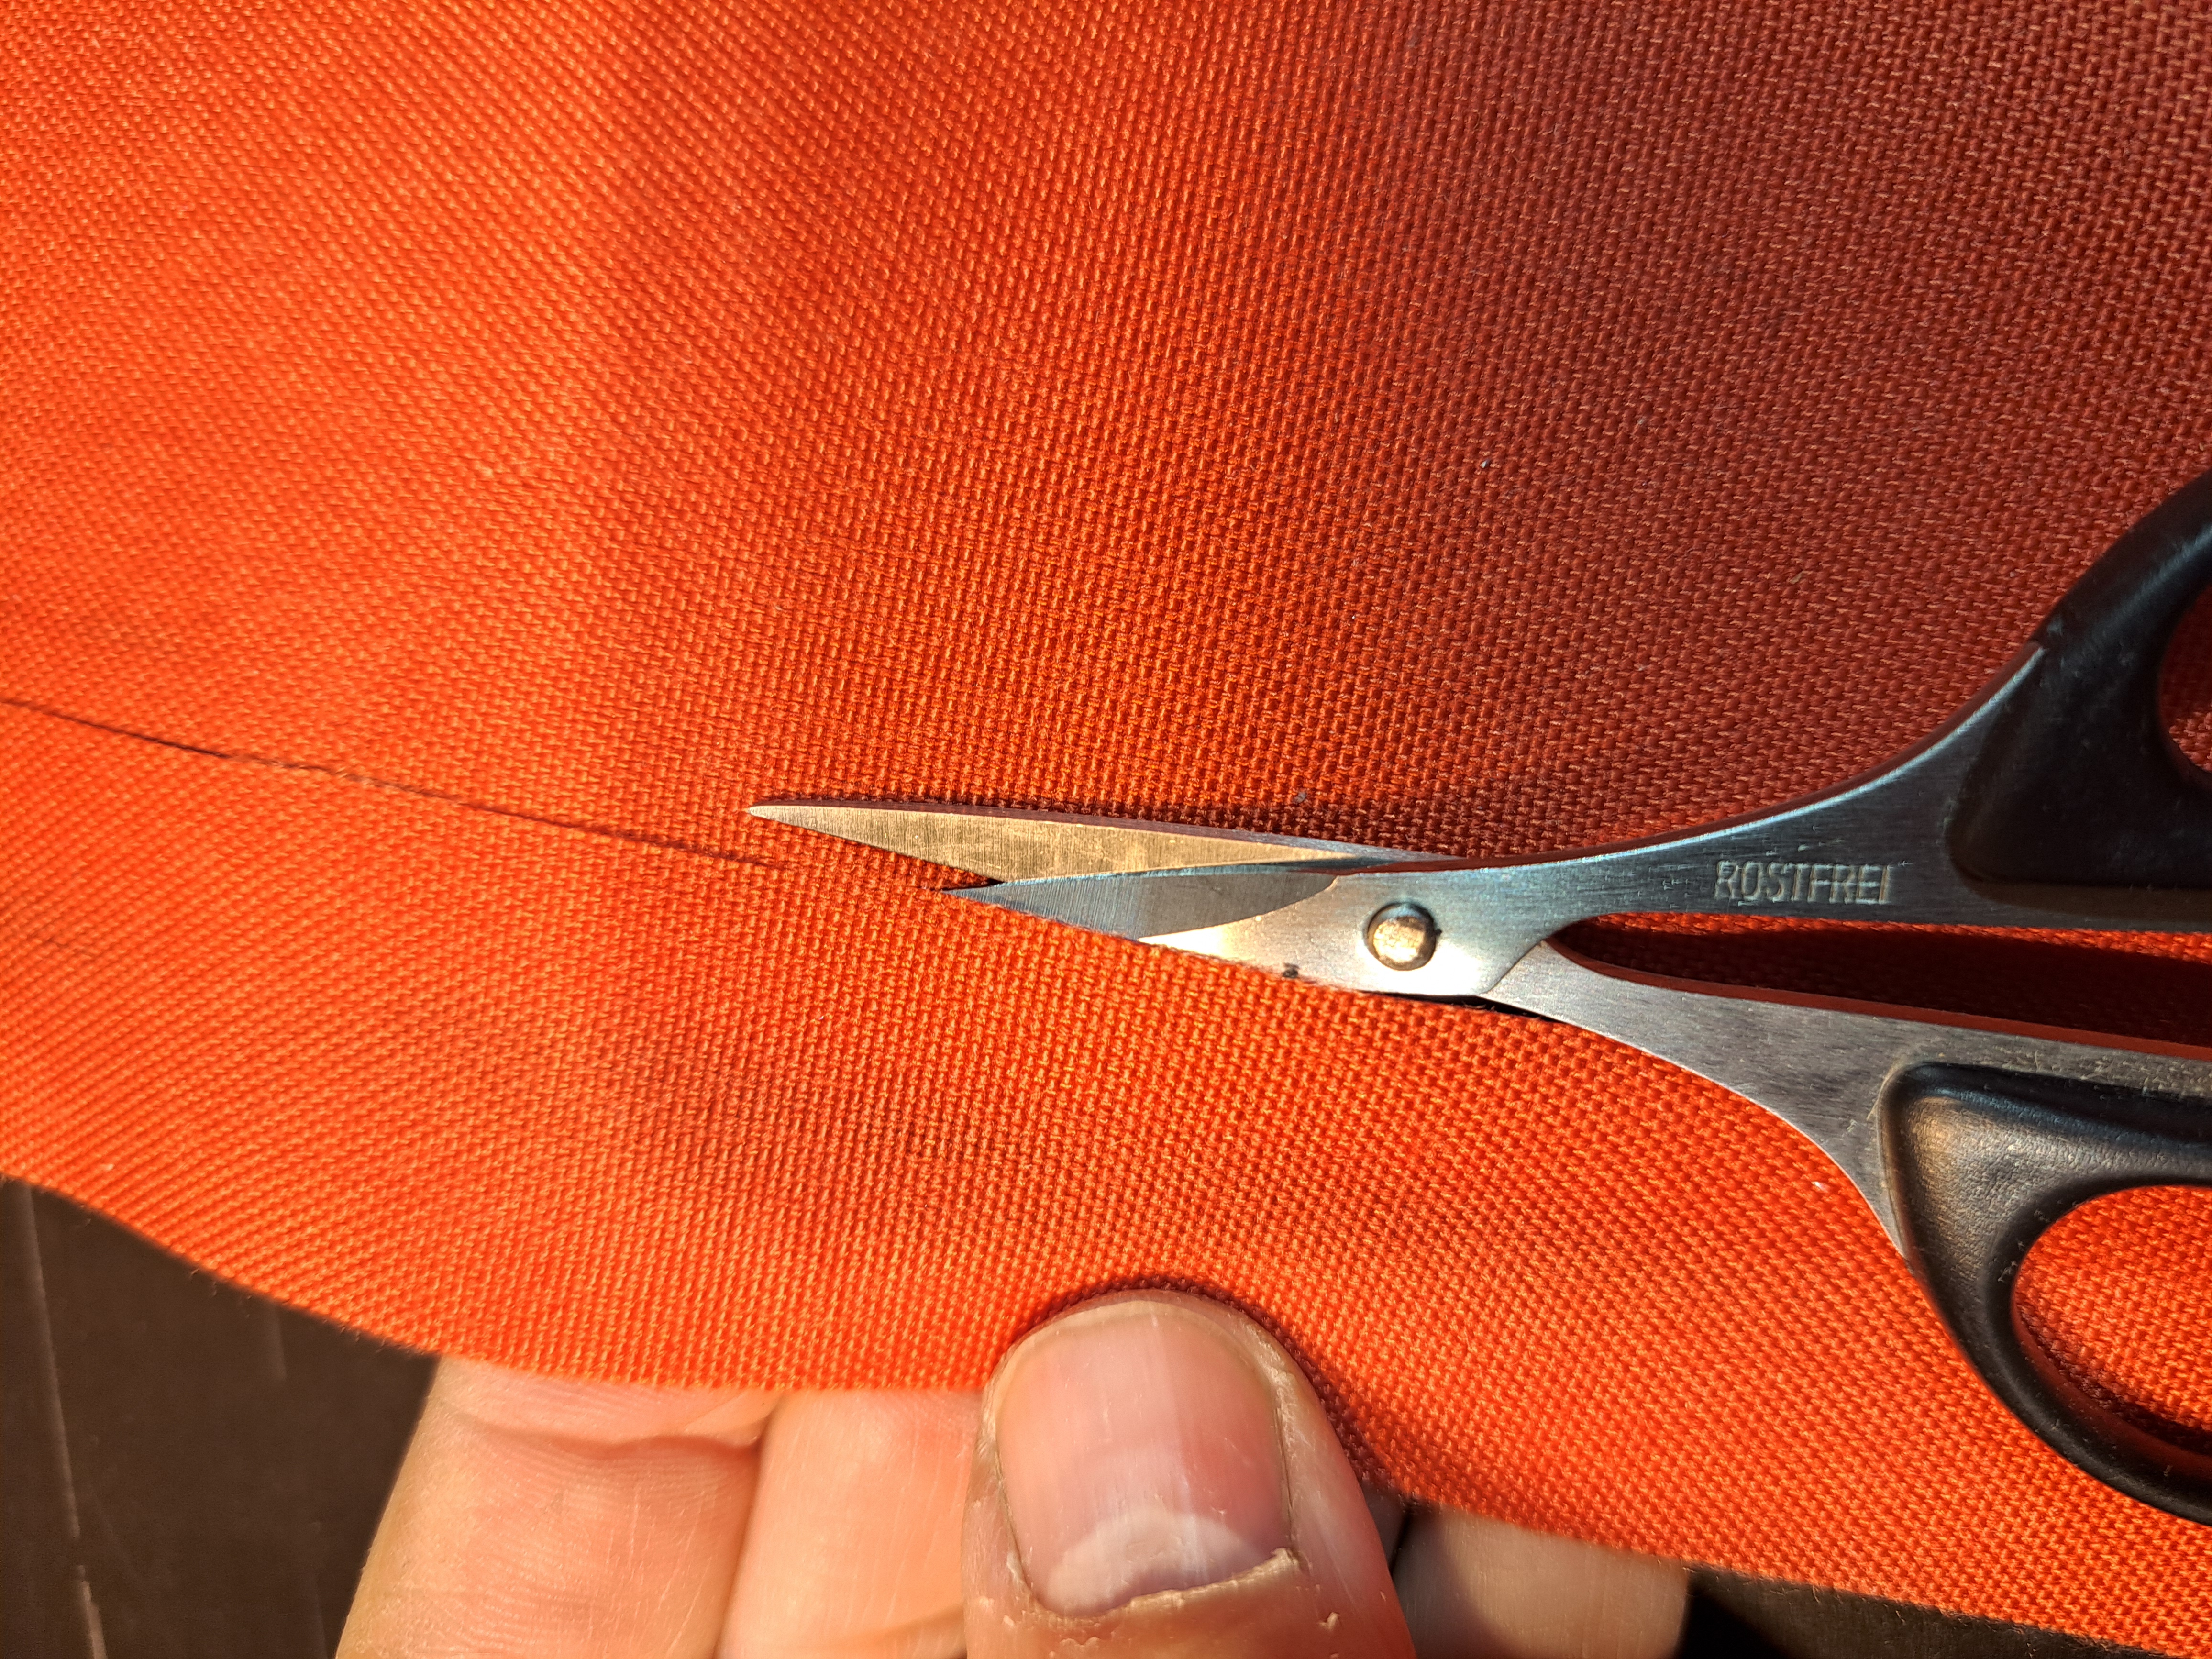
Once the zip is sufficiently fixed in position, the bars can be cut open.
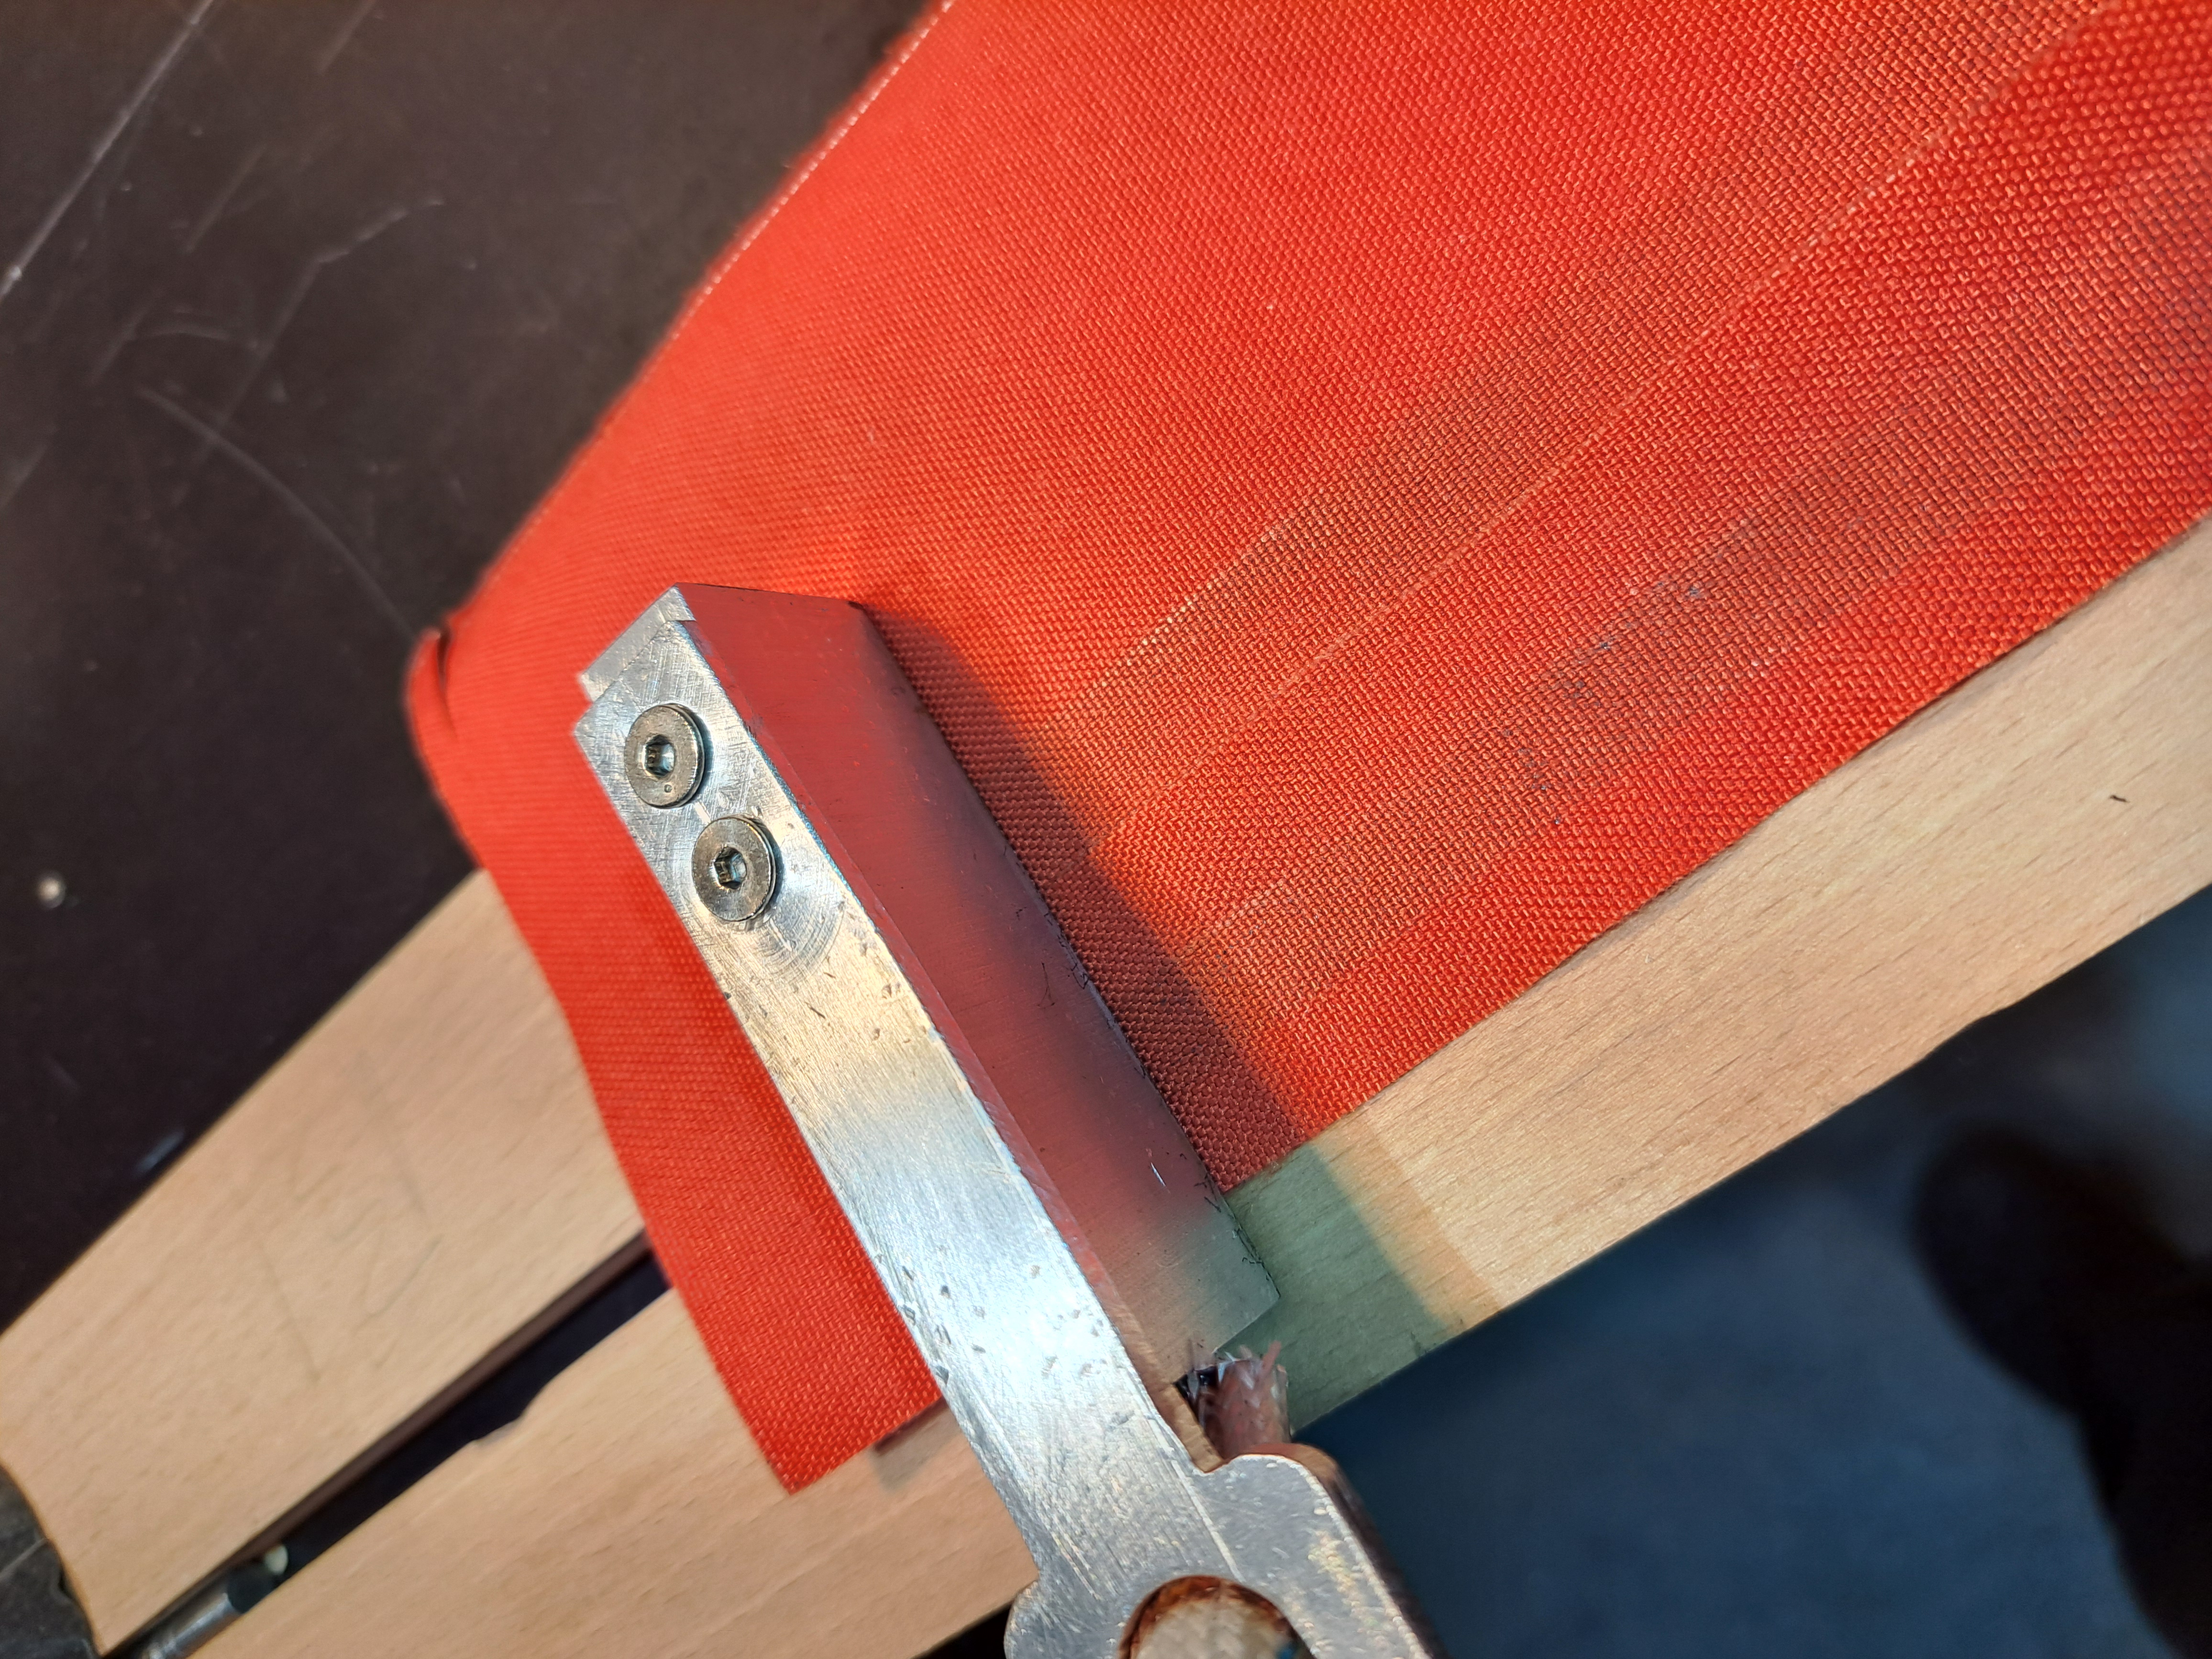
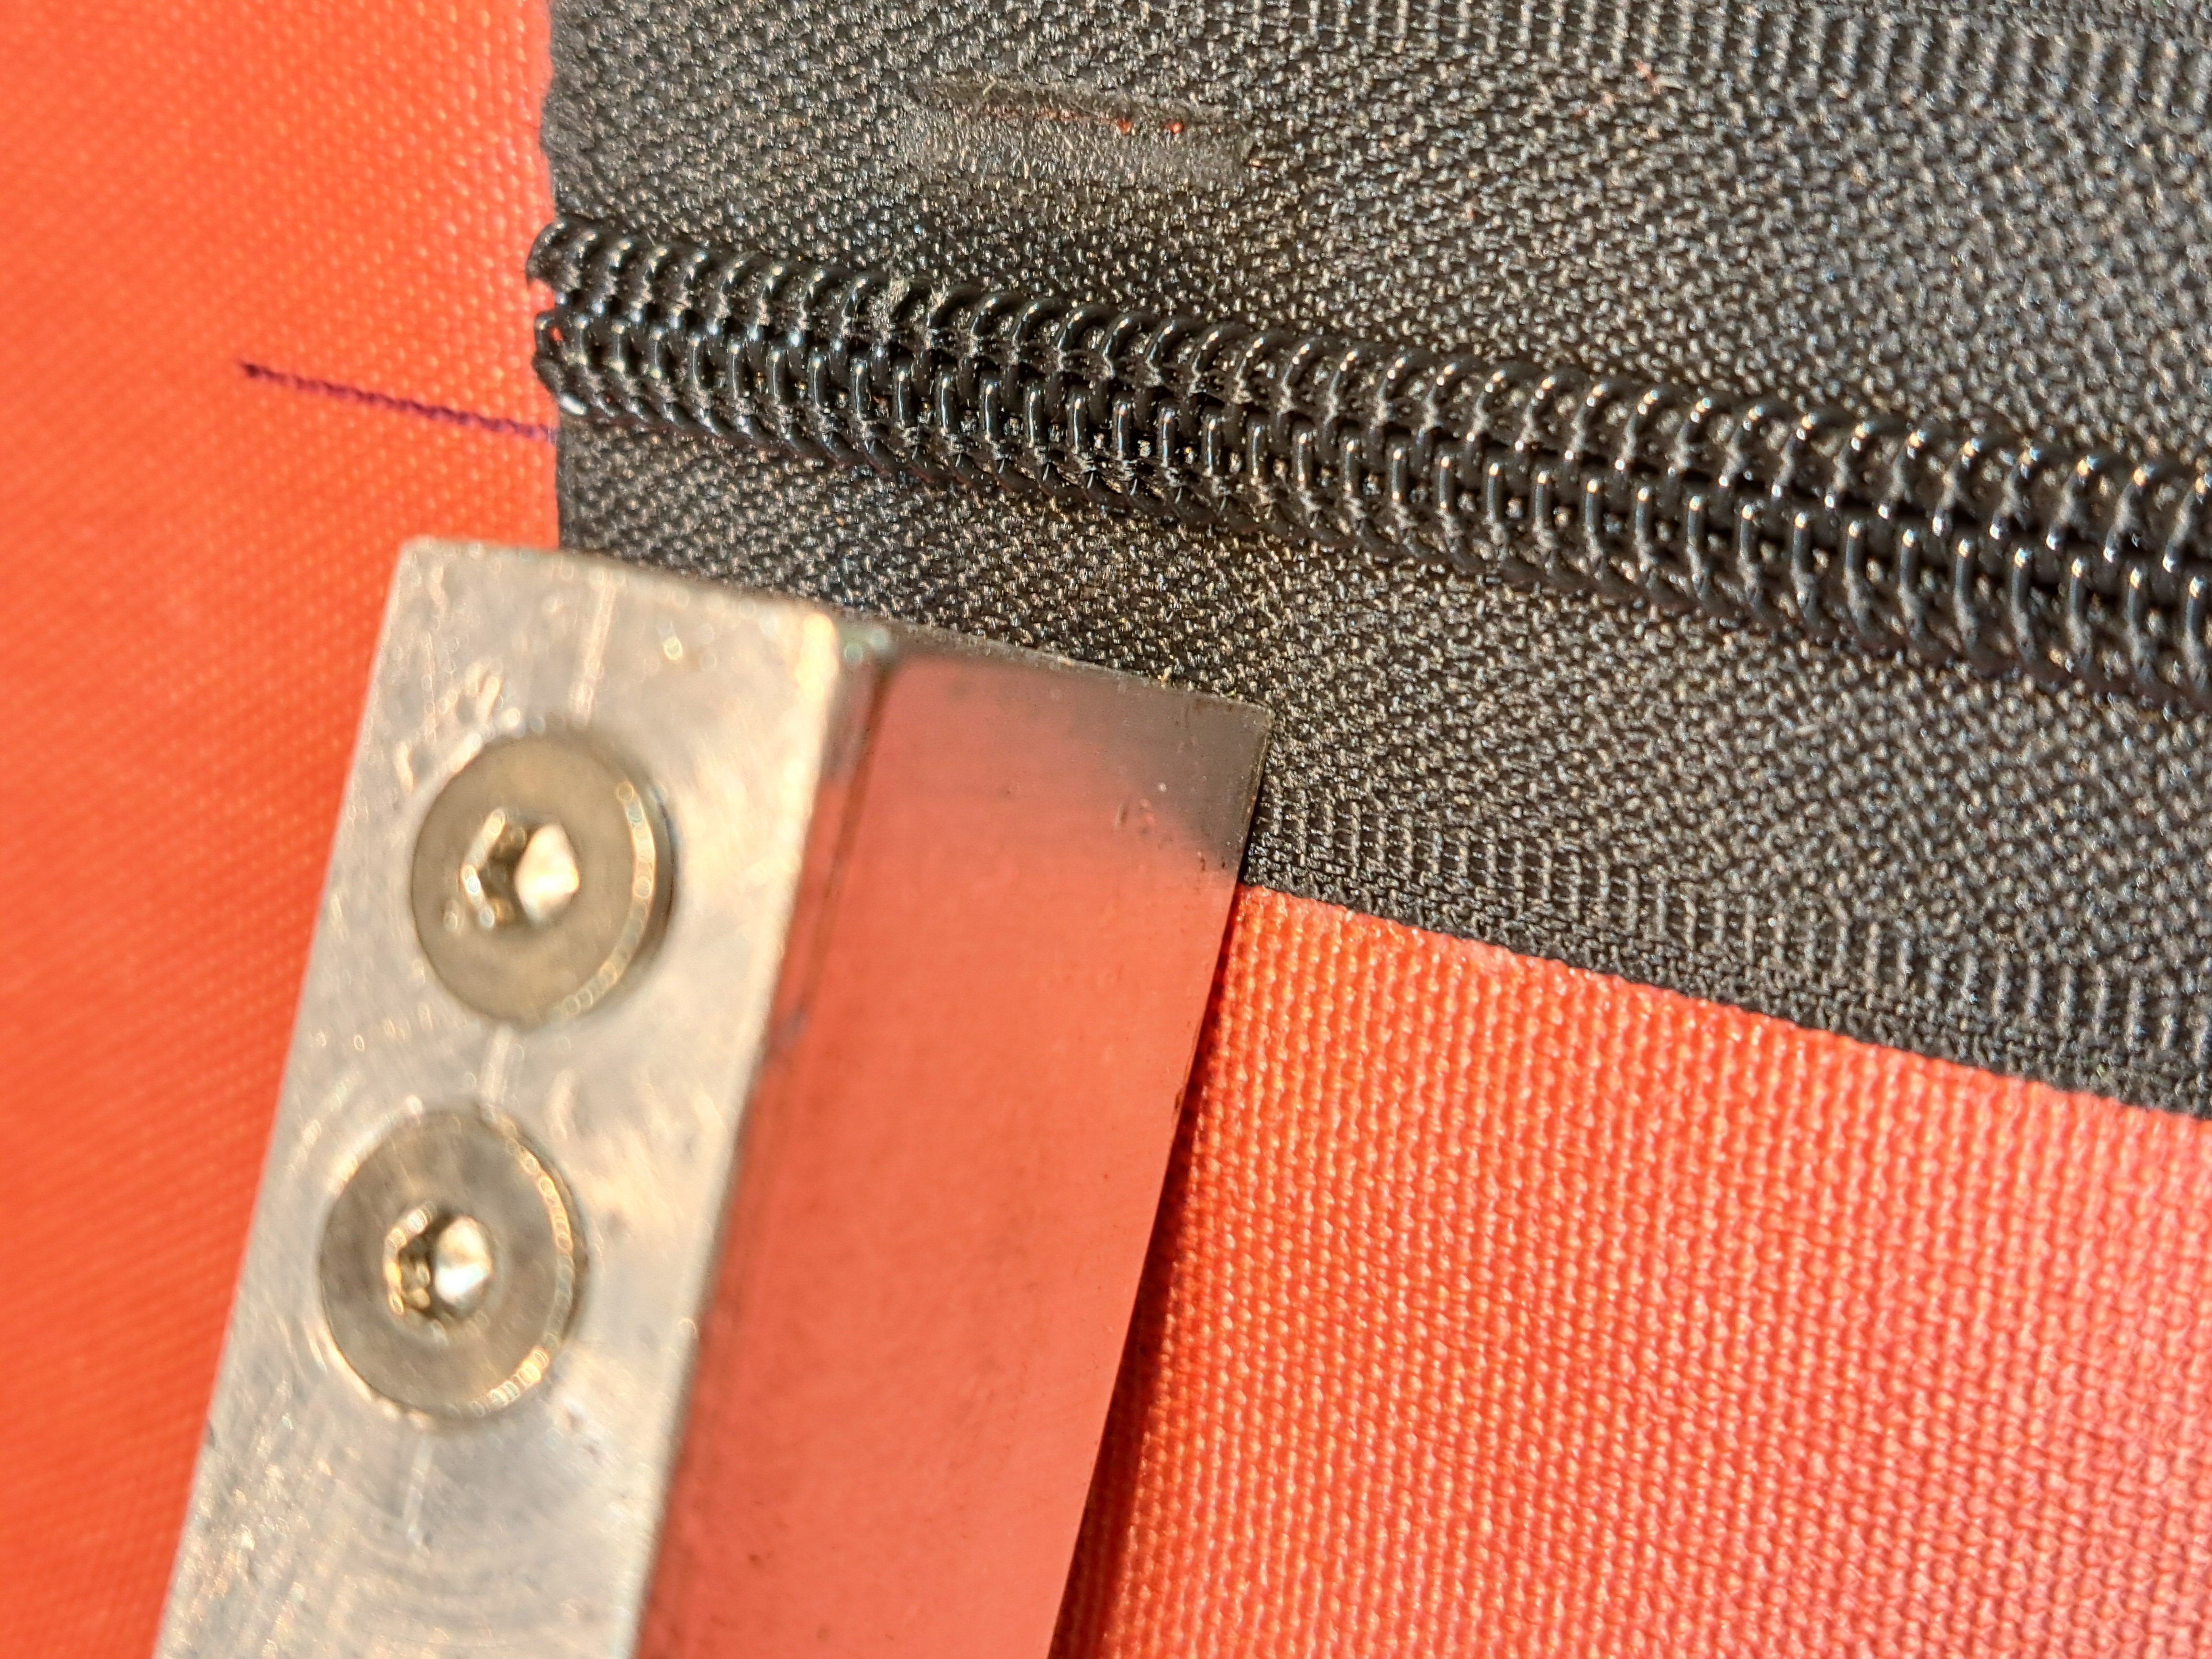
Then turn everything over and weld the zip firmly to the sides and ends.
I use two wooden strips of a suitable size as a base for welding. A gap is left between the strips. The width of this gap depends on the width of the spiral or row of teeth..
Two drill bits with a suitable diameter are useful here as spacers.
This is what the final result should look like
...from the front when closed...
...from behind when closed...
...from the front when open...
...from behind when open...
with the fabric part welded on from the front...
with the fabric part welded on from behind...
diy@einbeispiel.de