DIY waterproof bike bag
Disclaimer: Exact measurements, precise information on welding temperature, the tools used and other details are not available here for the most part. Everyone has to find this out for themselves, as everyone has different conditions, requirements and experience.
I am happy to provide assistance on request.
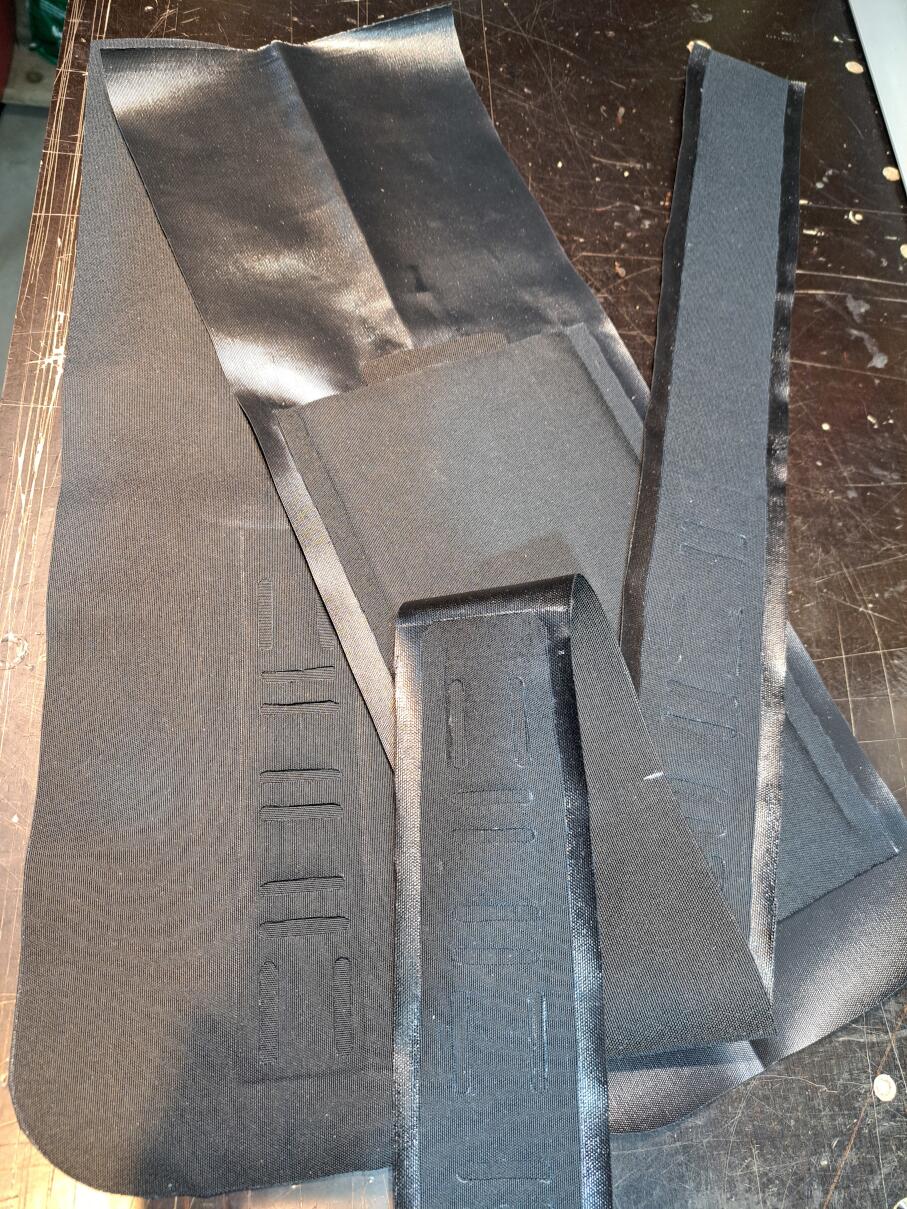
The material used is TPU-coated Cordura.
In the finished state, the Cordura side (fabric side) of the material faces outwards on the front and rear sections of this bag, while the TPU-coated side (TPU side) of the fabric faces outwards on the side strip.
The easiest way to make a bag like this is with the help of a template.
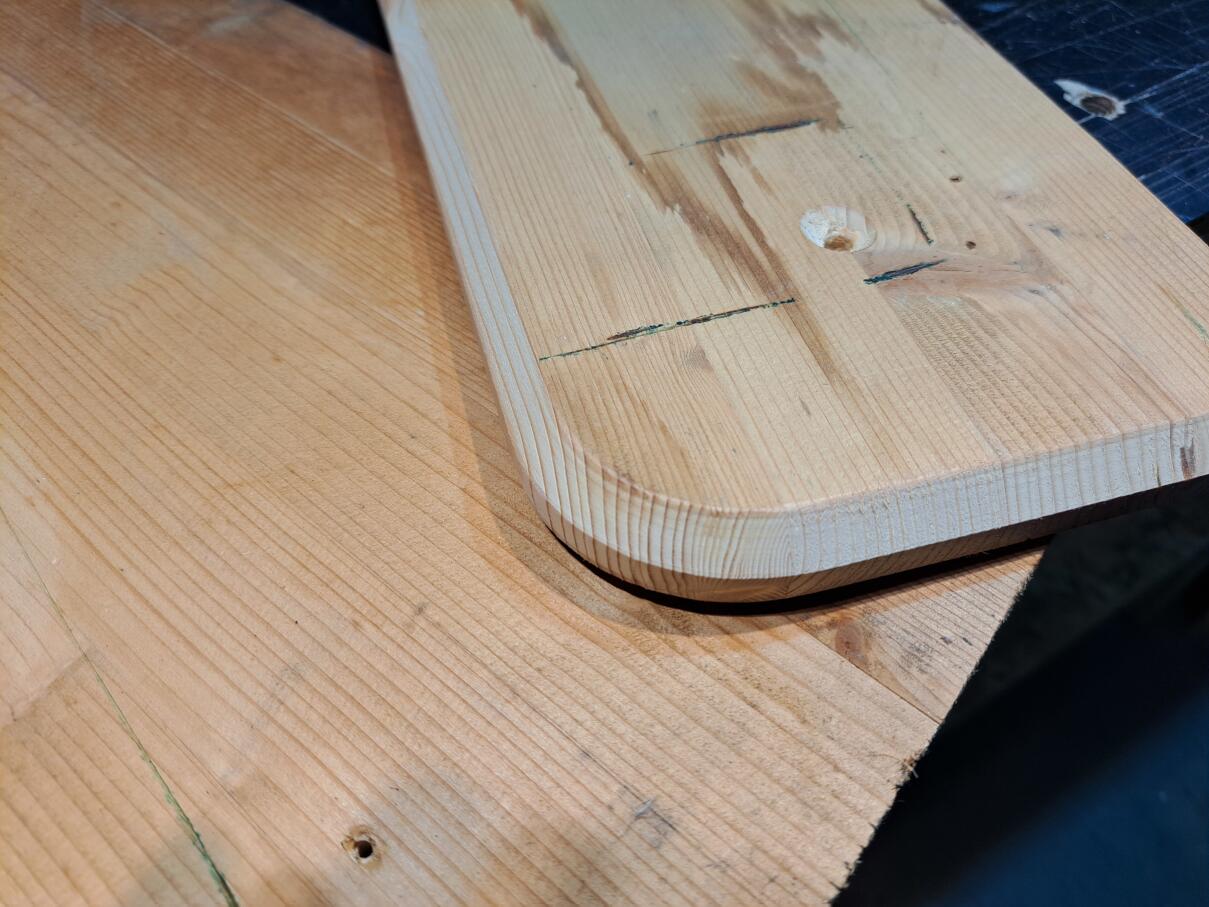
Once the shape and size of the bag has been decided, the template is made from a pine board approx. 18 mm thick. A 45° bevel is milled around one side. The width of the bevel should ideally be approx. 12-14mm.
It is worth the effort to build such a template, especially when welding the individual parts together, but at the latest when you want to build several bags of the same size.
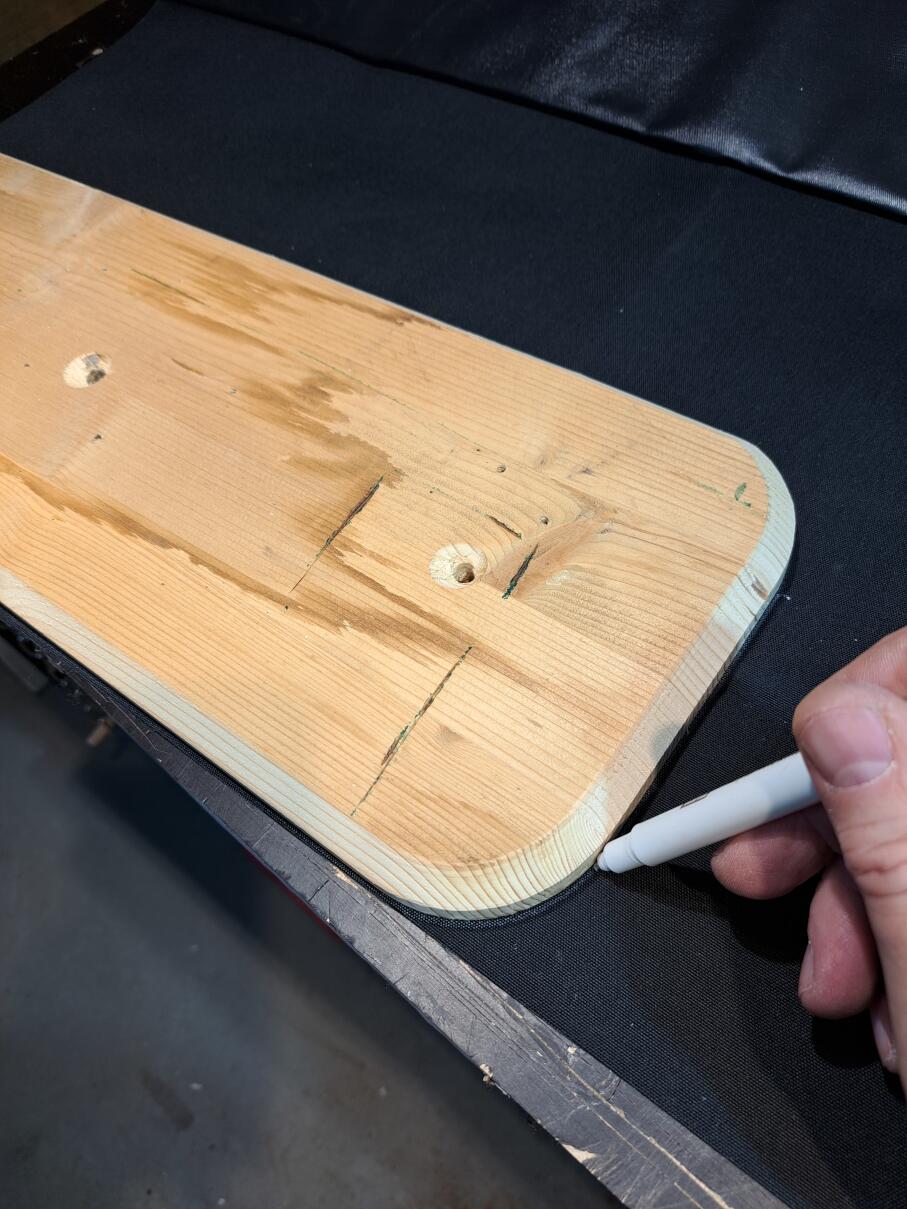
Use the template to first mark the front and back and cut them out.
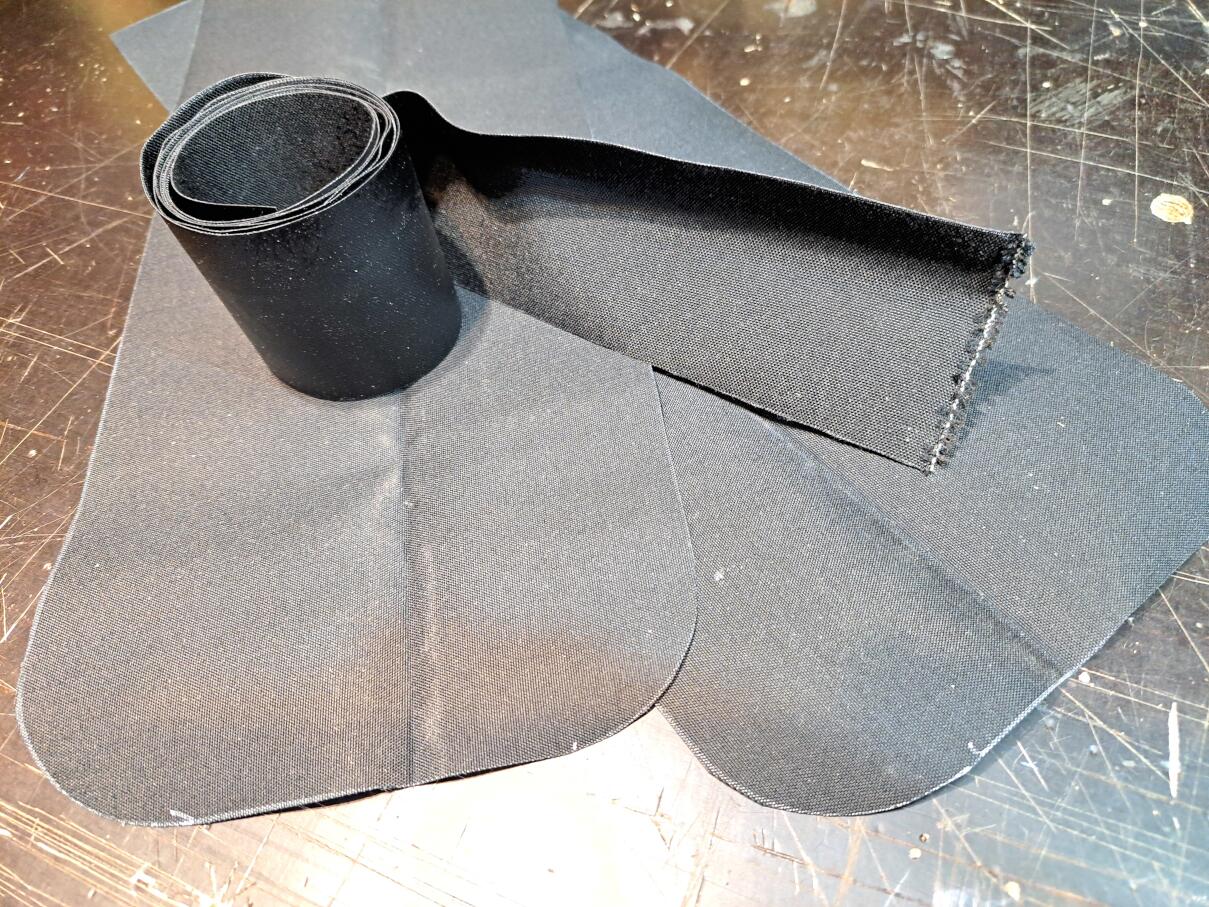
Together with a sufficiently long side strip that forms the sides and base all the way round, we cut all the basic parts to size.
A seam allowance is only necessary on the side strip and is added twice the desired width of the side strip (= depth of the pocket).
A seam width of approx. 5mm has proven to be sufficient for such pockets. More is possible, but often leads to unclean results when welding curves.
Now is the time to think about applications.
On the one hand to install a pocket fastener, on the other hand to create additional attachment points. You should be clear about the type, method, position and dimensions before you weld everything together.
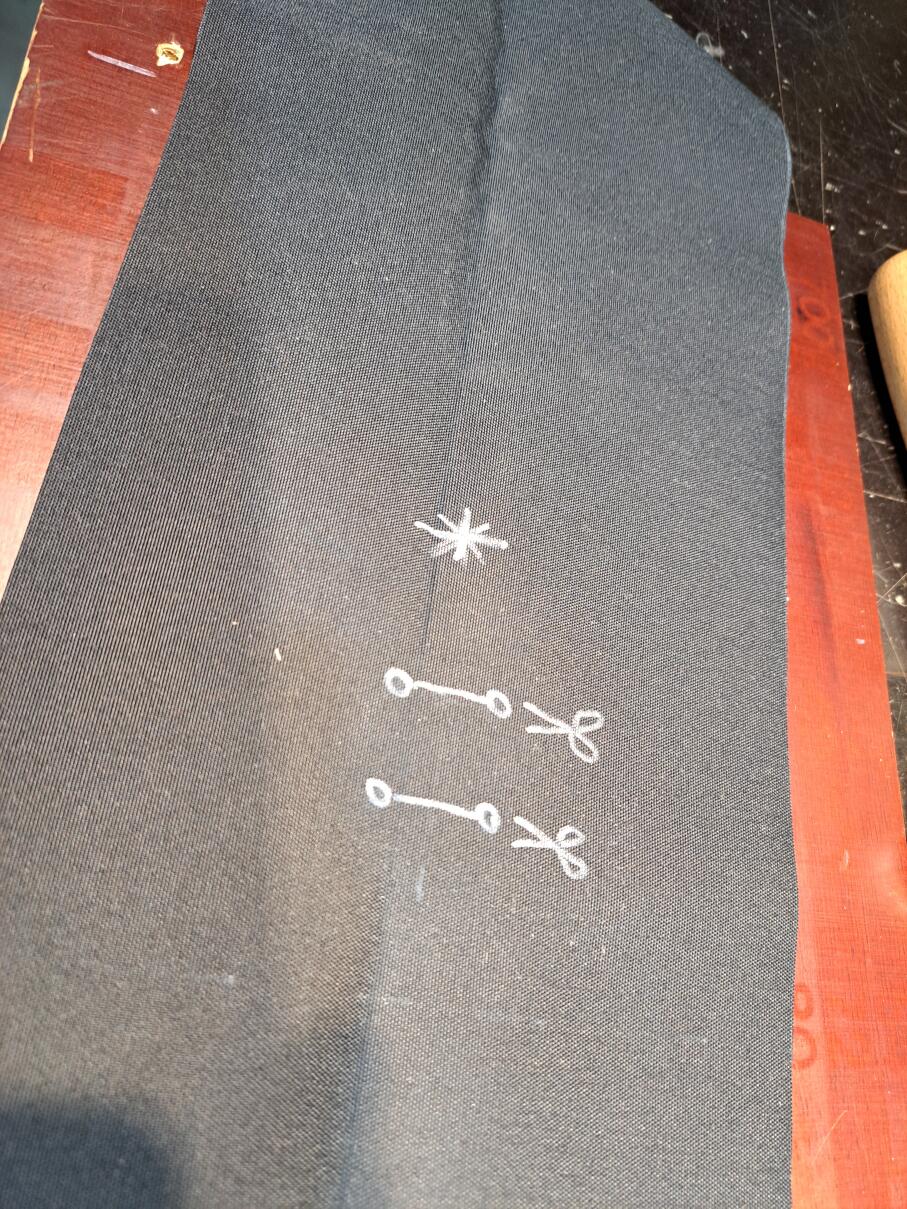
I use a system with which I install slotted holes in fixed sizes and distances.
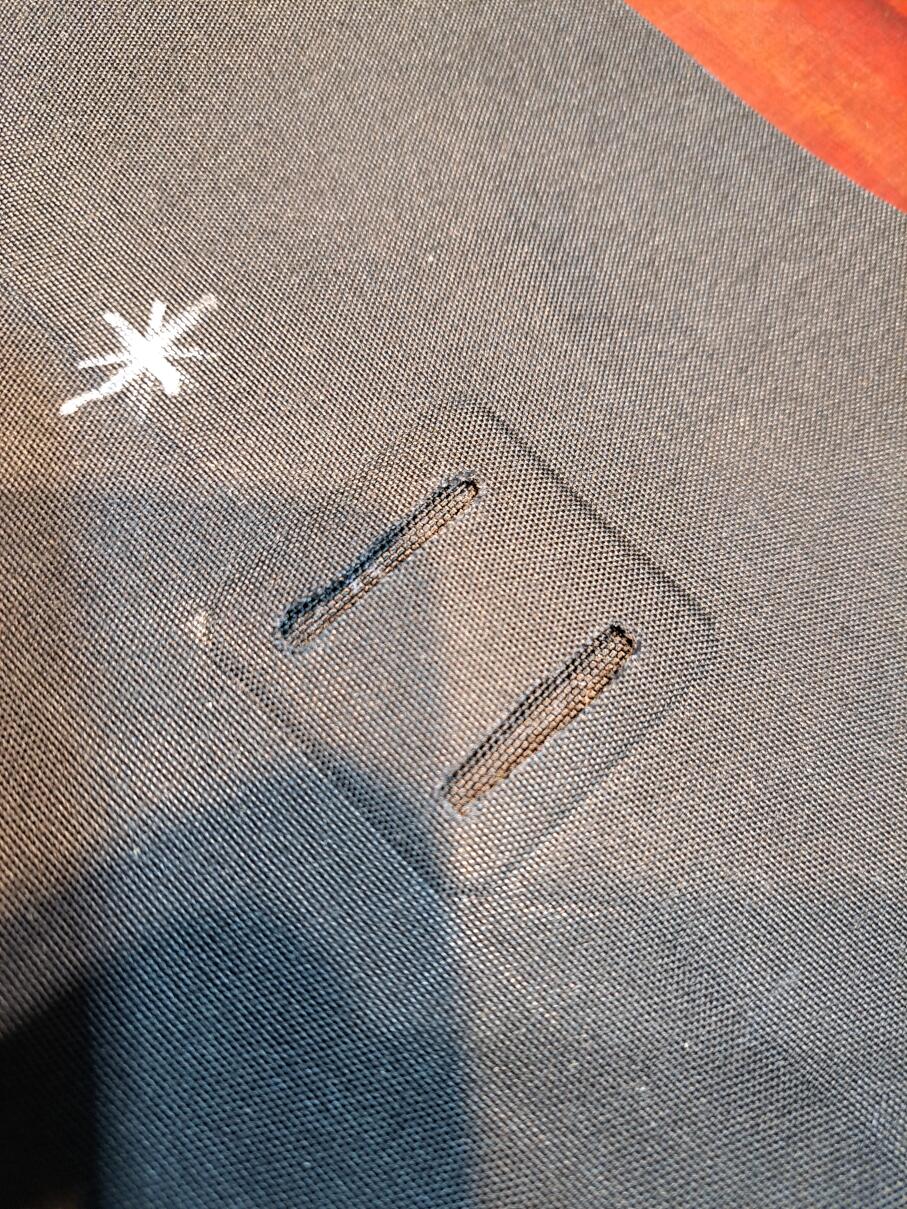
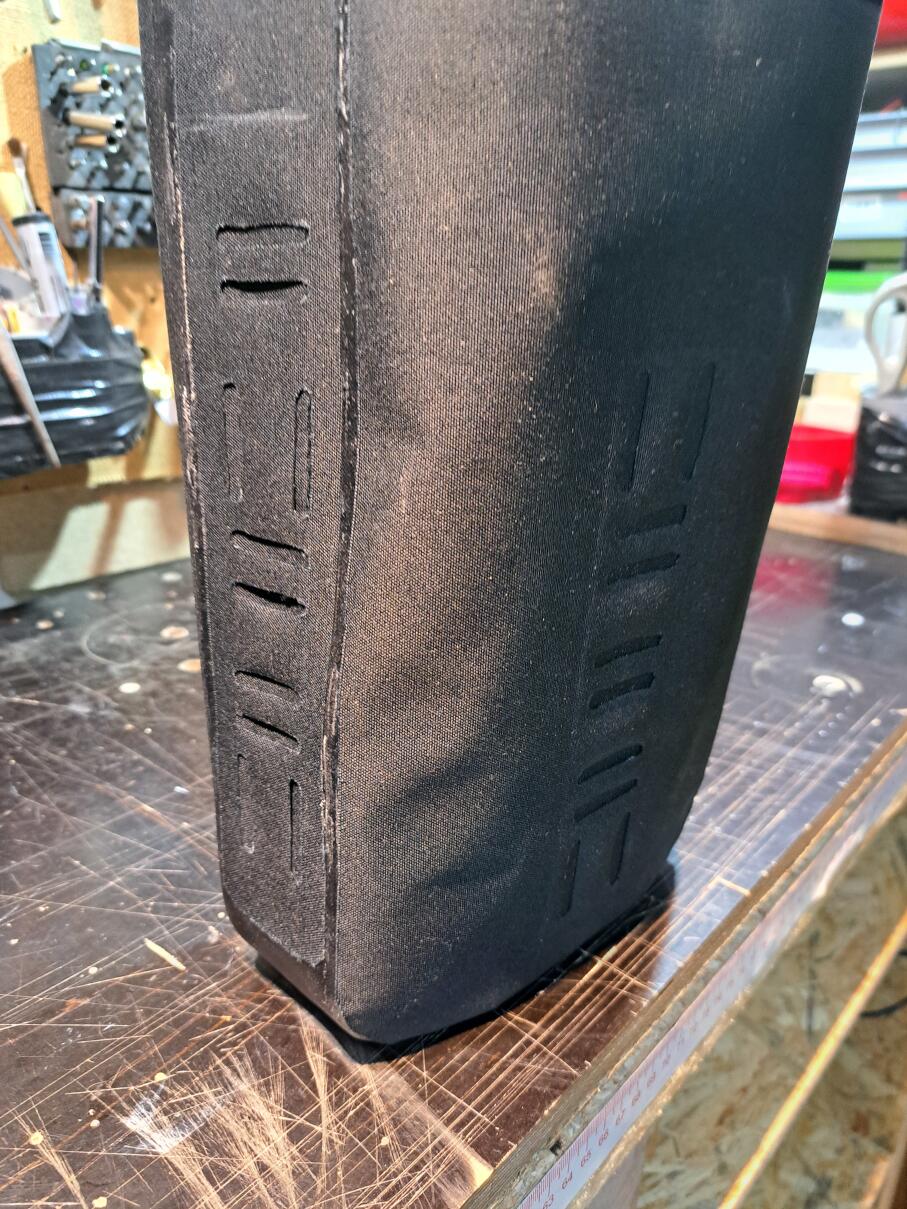
First the back: the slotted holes are marked on the fabric side at the desired position.

A sufficiently large patch is welded onto the TPU side at the same point. Once the elongated holes have been cut out, the TPU side looks like this.
The additional patch only serves to reinforce the fastening and can be omitted if necessary.
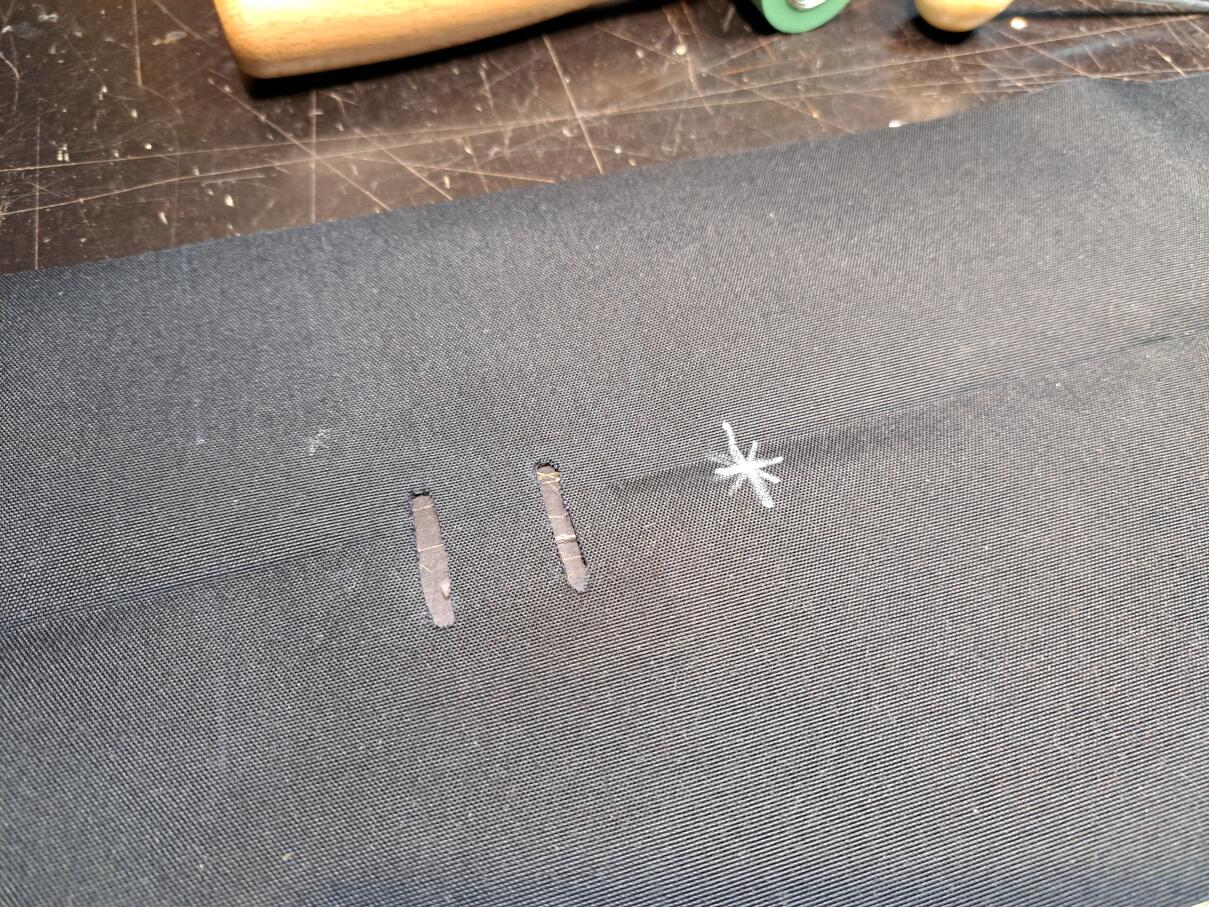
The fabric side looks like this.
The marking is for hanging the bag later.
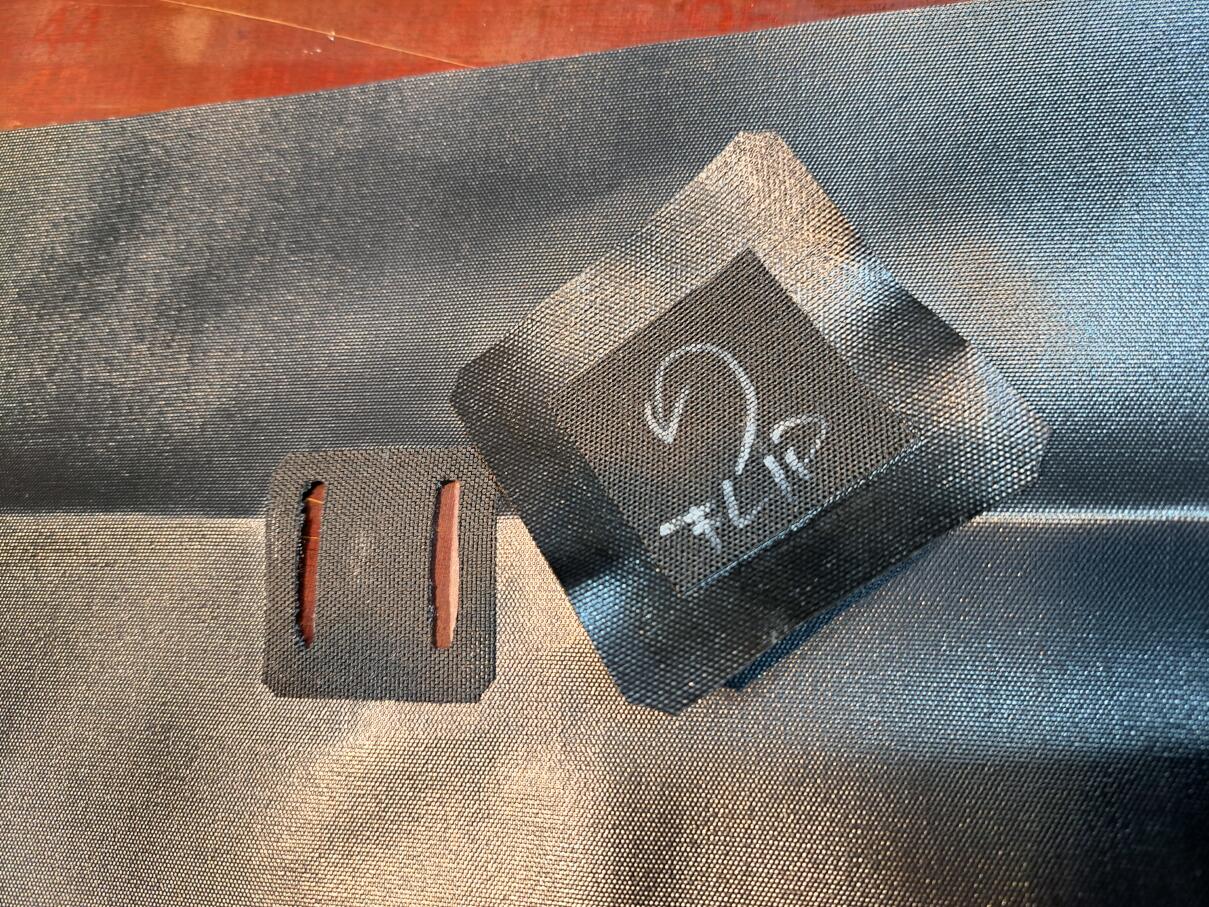
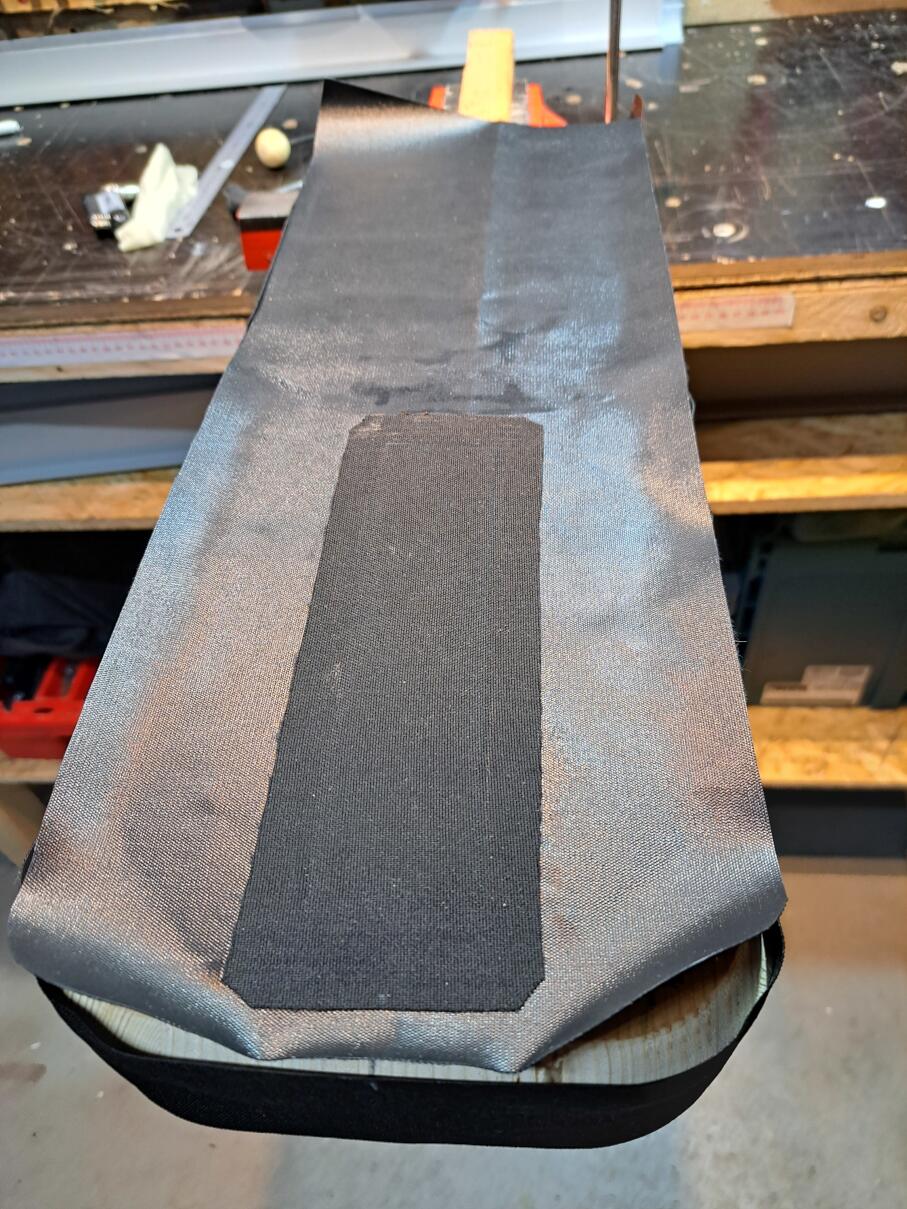
To keep the bag waterproof, we now need to weld a sufficiently large patch onto the TPU side.
The small patch welded in the middle serves to stabilise the TPU layer and prevent excessive abrasion from straps.
Align the patch well and weld it on.
On the inside of the bag, the whole thing will look like this when finished.
The later outside.
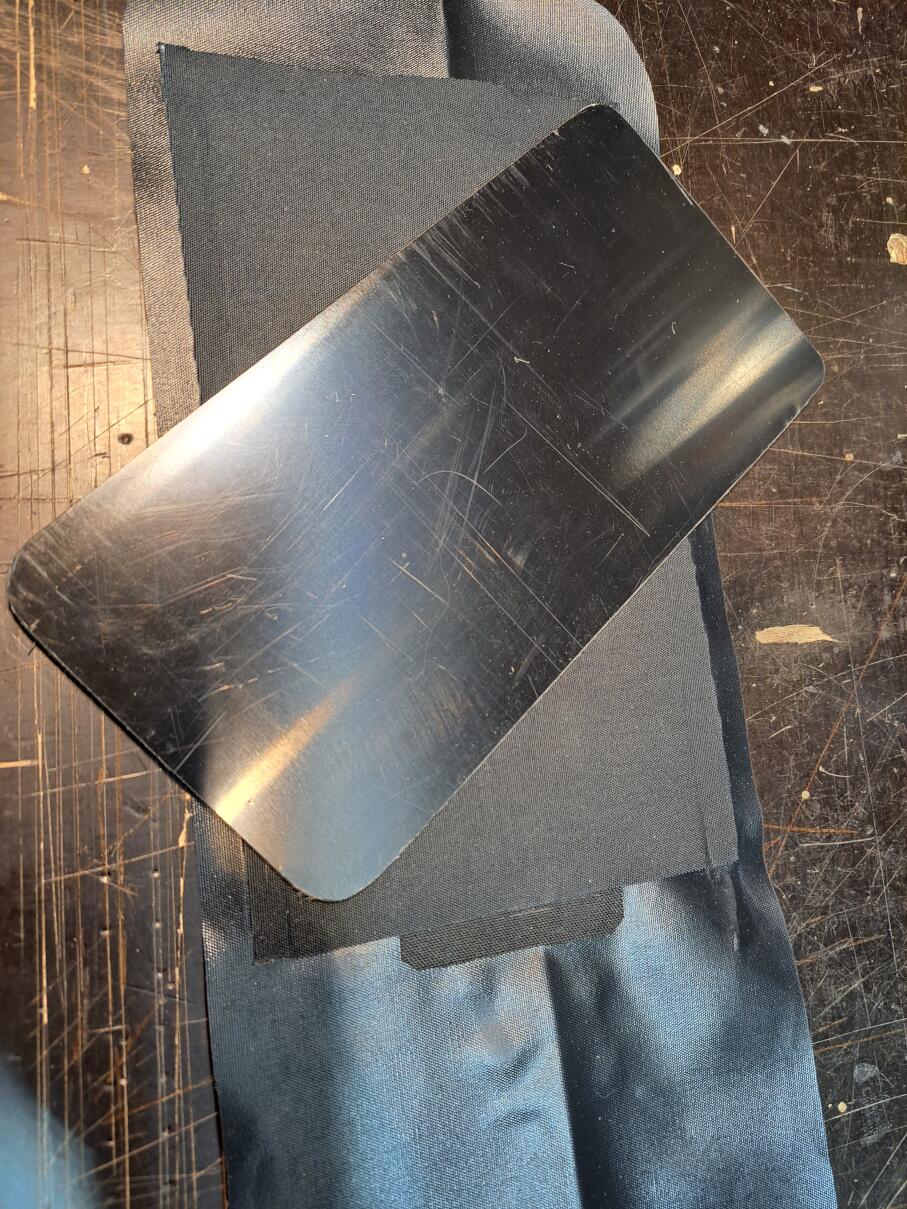
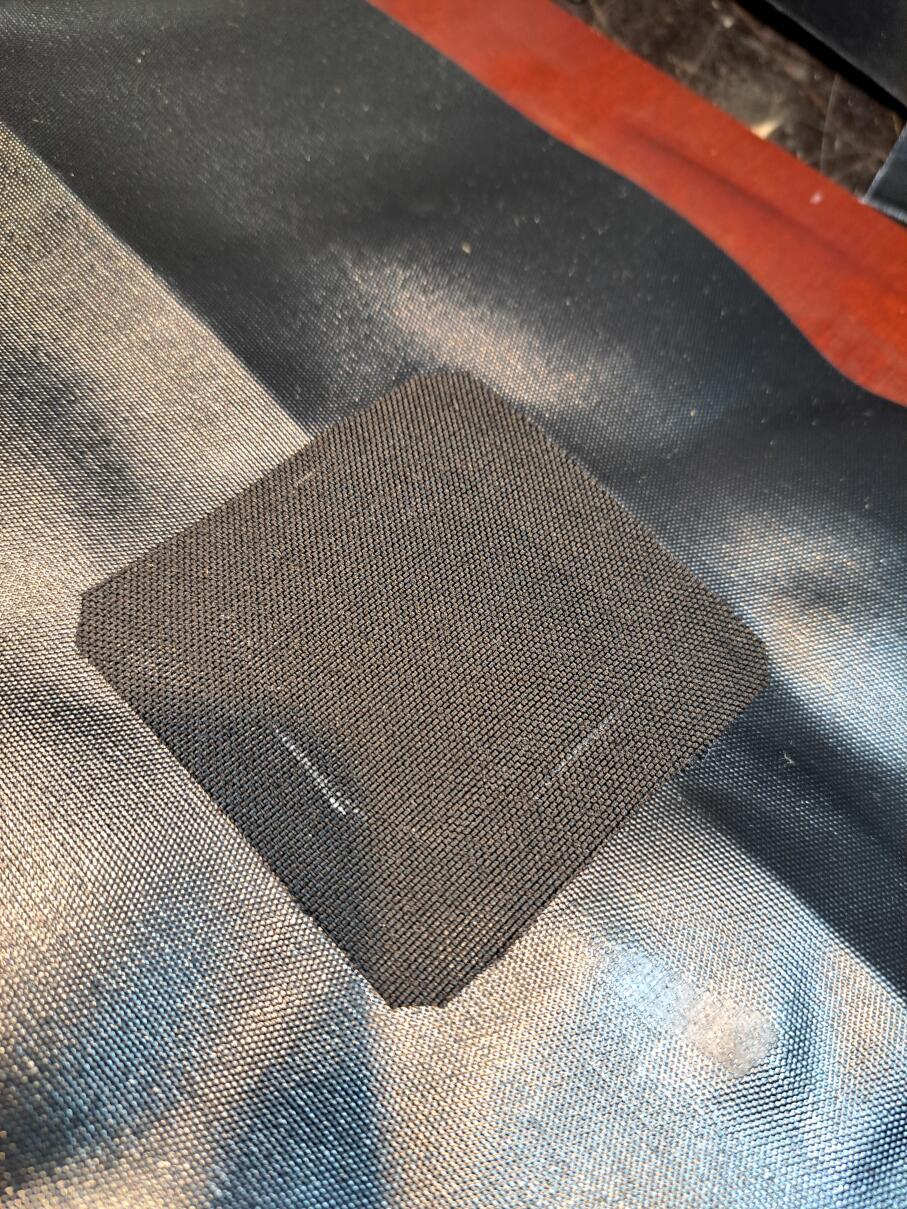
A plastic plate (PVC 2mm) is used to reinforce and stiffen the back of the bag.
The pocket that holds the plate is at most wide enough to leave at least approx. 10 mm to the edge on both sides.

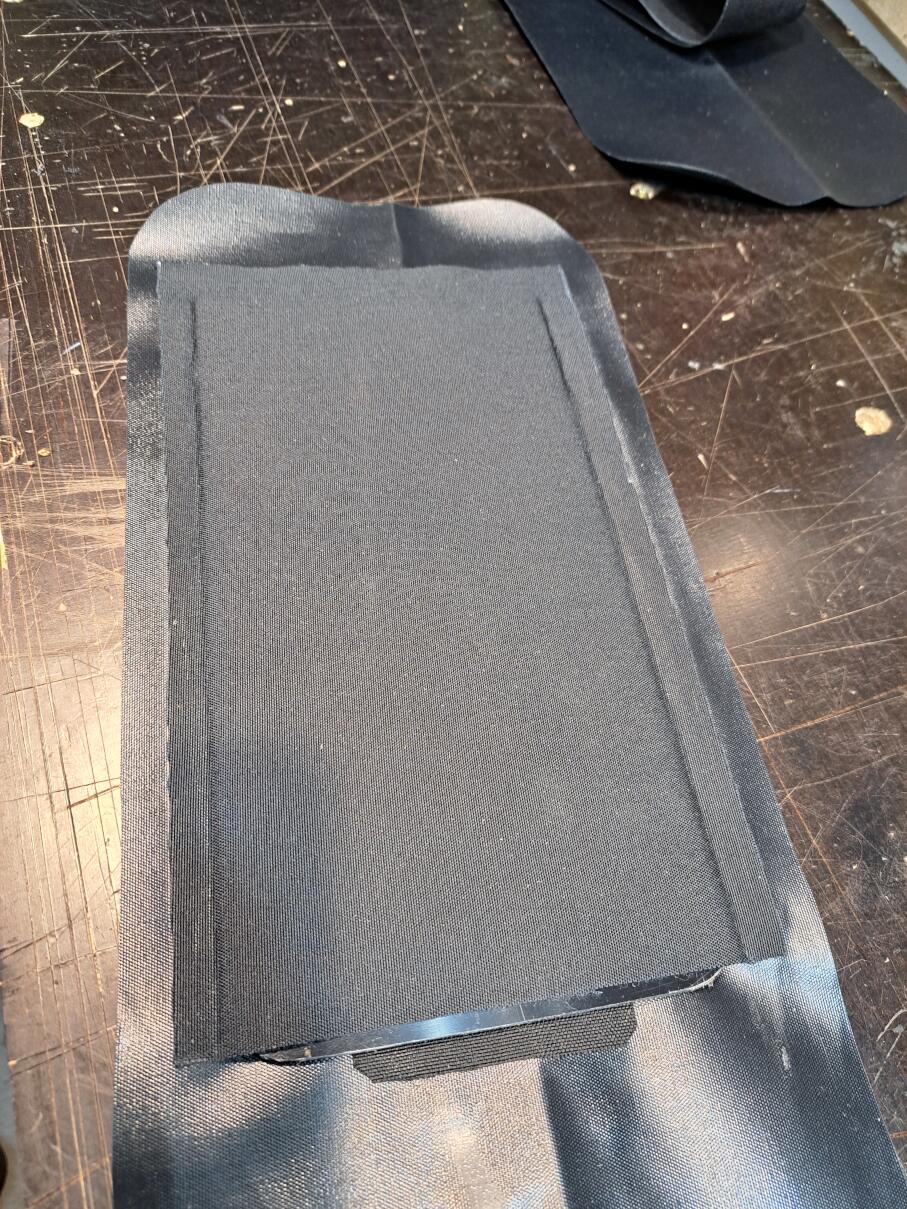
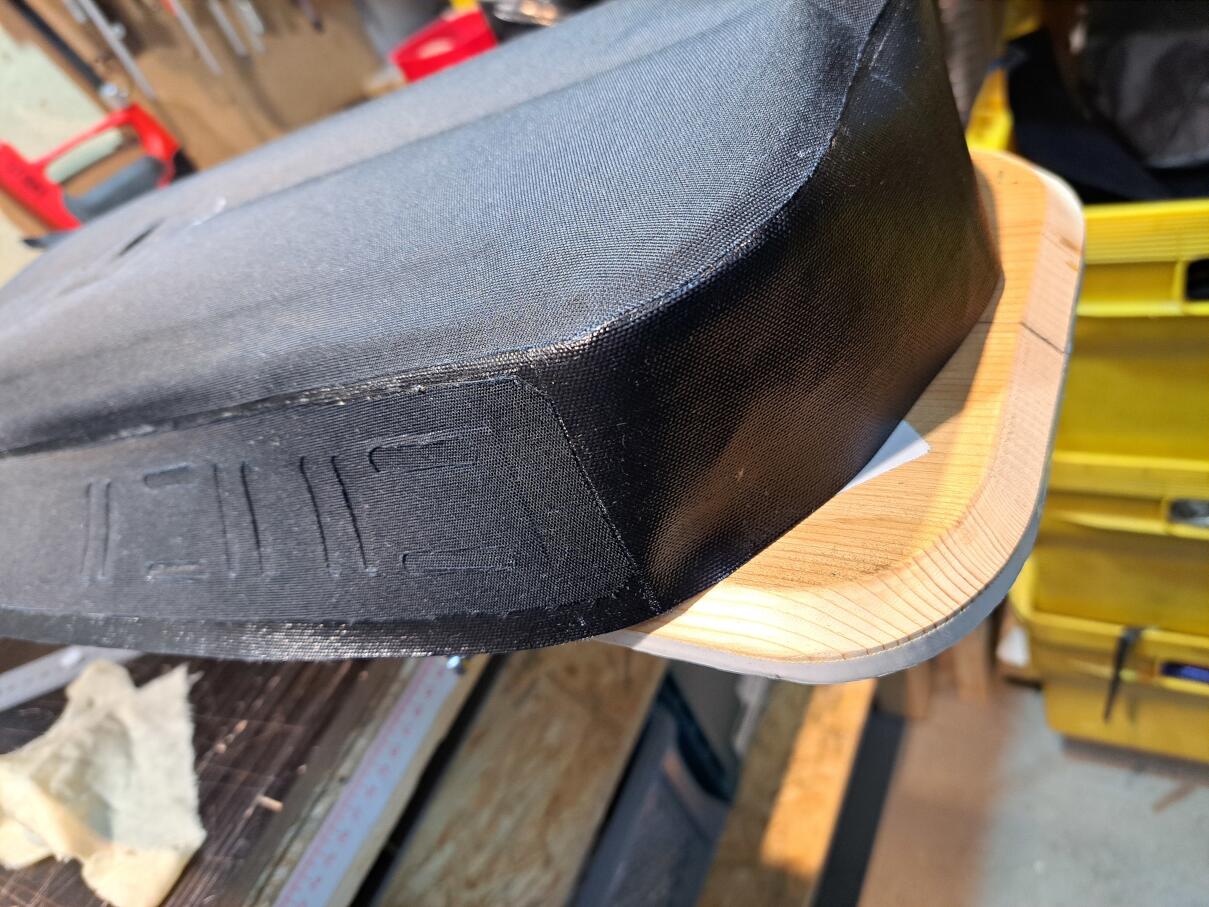
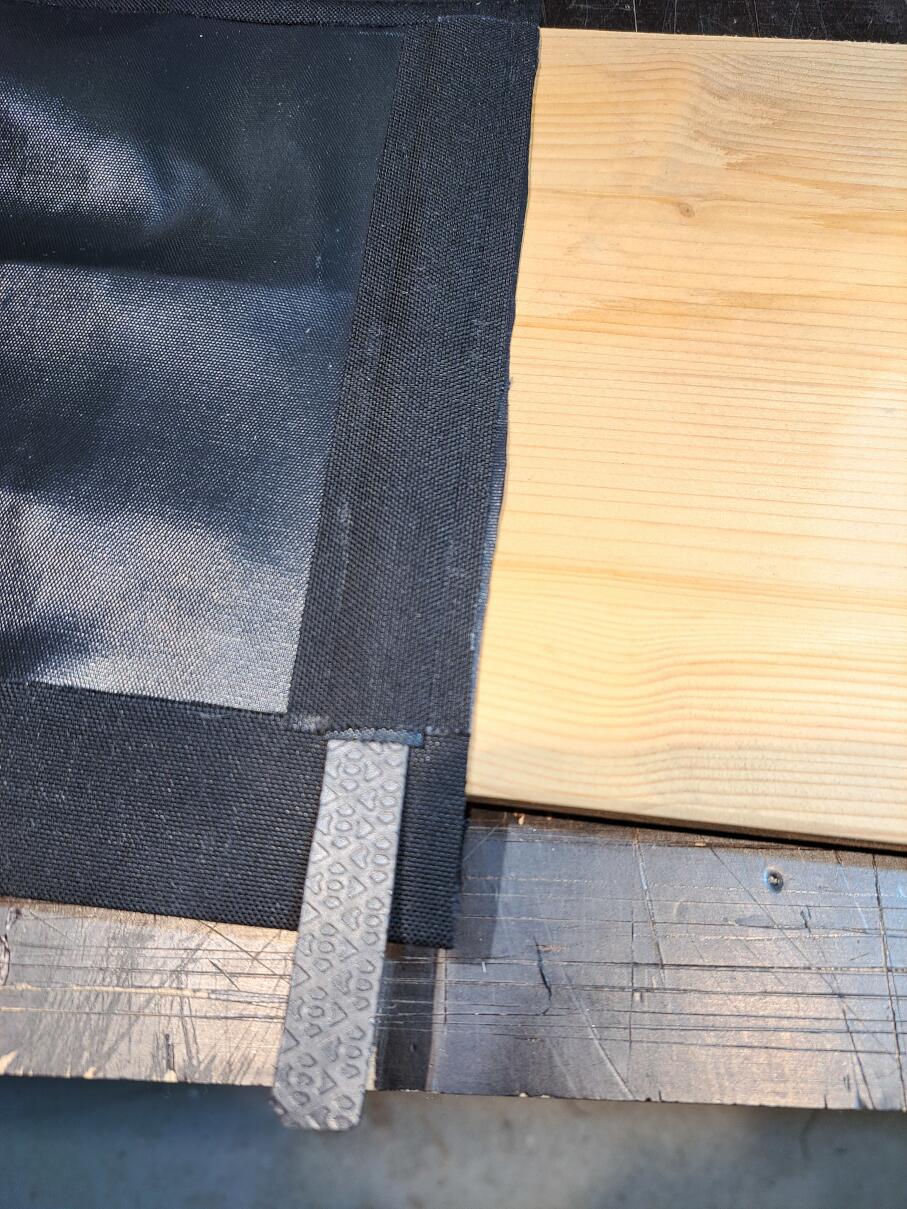
Similar to the rear section, fastening options are also installed on the side strip.
Reinforcement is placed behind the holes, the strip extends above the elongated holes up to the edge of the pocket.
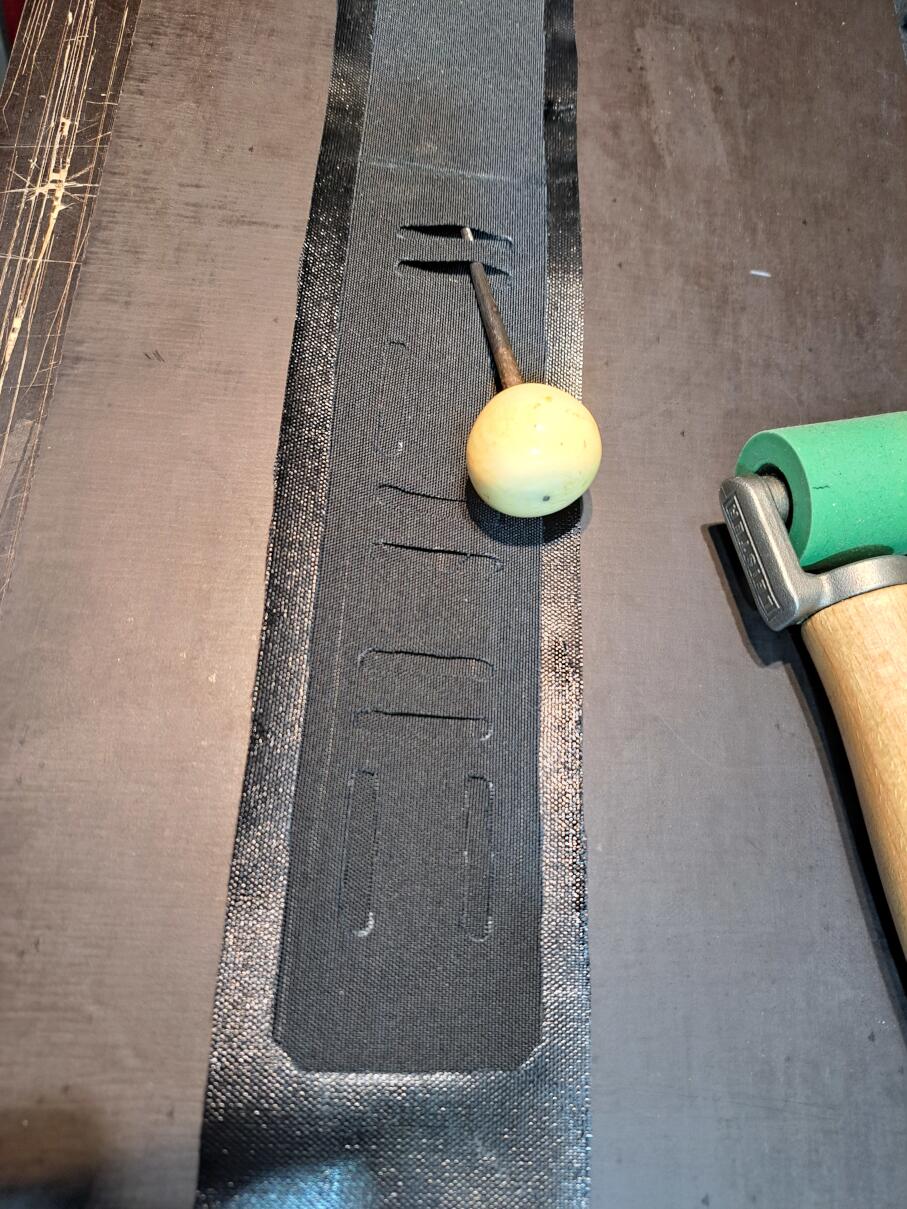
Once welded on, everything should look like this.
Once the front side has also been given fixing points similar to the rear side, everything is ready for final assembly.
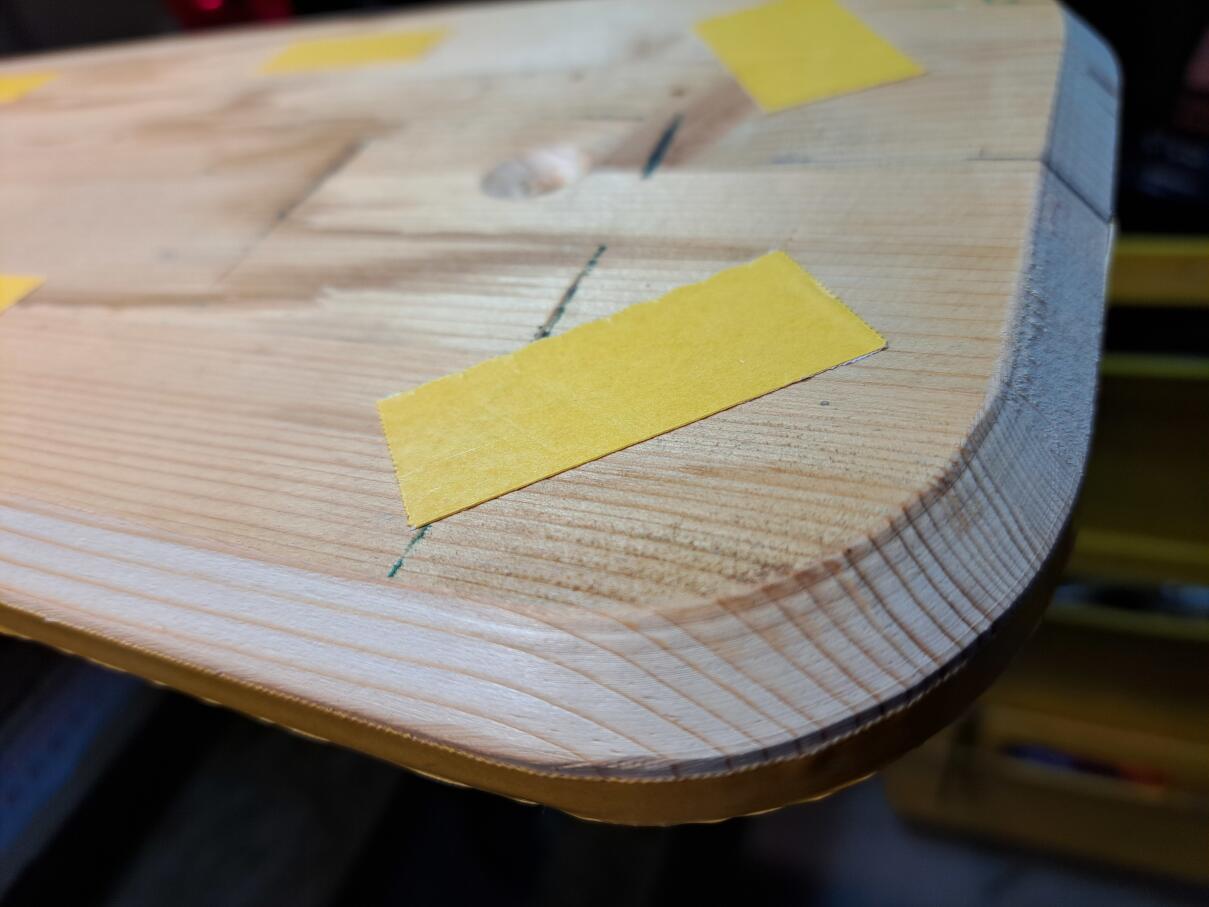
The template is now fixed in place with the help of a screwed-on block and the vice so that it can be easily accessed from all sides. It is then covered with double-sided adhesive tape. The tape holds the individual parts in position so that they do not slip. The circumferential edge below the 45° bevel and a few areas on the top must be taped.
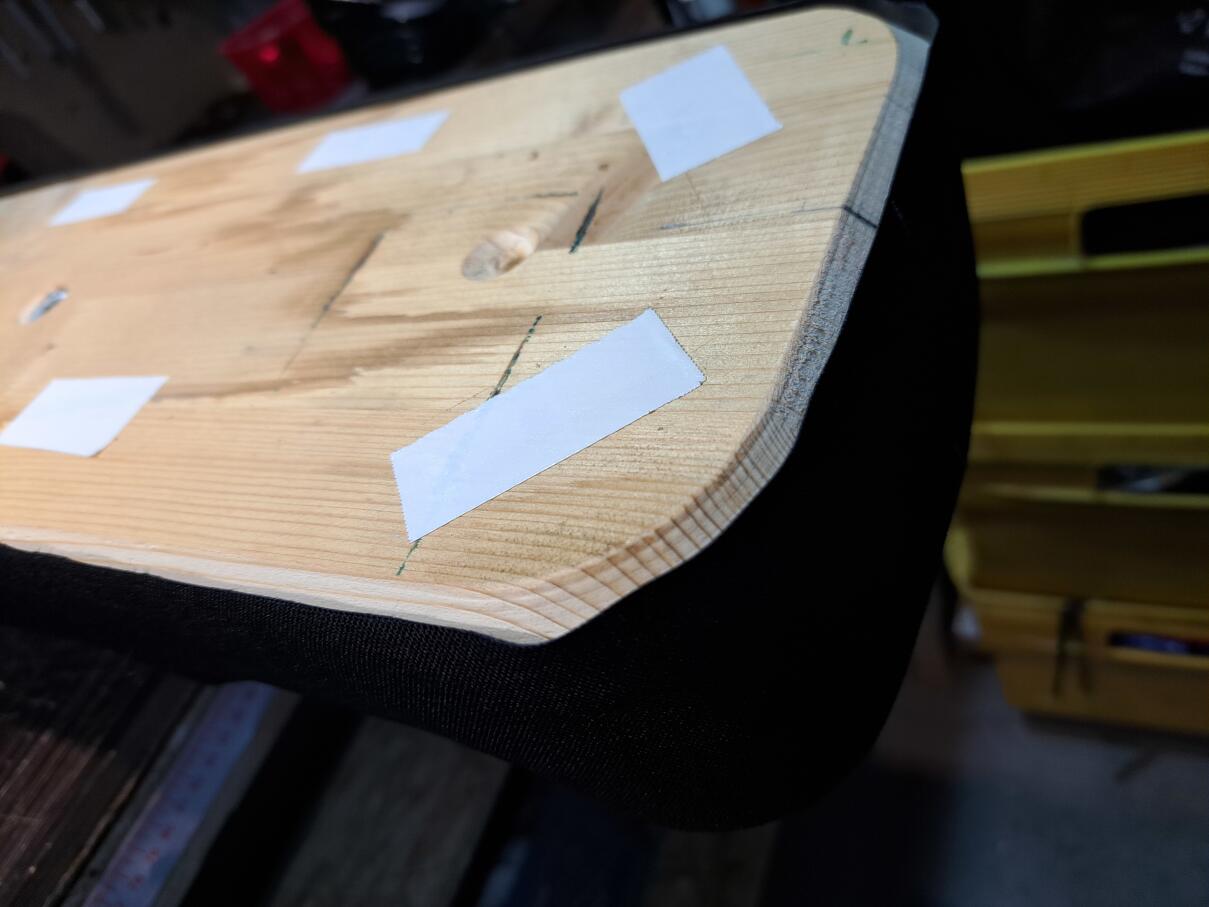
The first step is to position the side strip. The TPU side faces inwards towards the board.
Attention! When welding, the bag is turned inside out, which means that the outside of the bag will still be facing inwards. Do not get mixed up!

Then place the back and align as accurately as possible. The more time you take, the more accurate it will be and the neater and straighter the seams will be.
The edge of the side strip should not protrude above the level of the top of the template. This makes the seams sufficiently wide and straight. I hope the pictures show what is meant.
Once everything is well fixed in position, welding can begin.
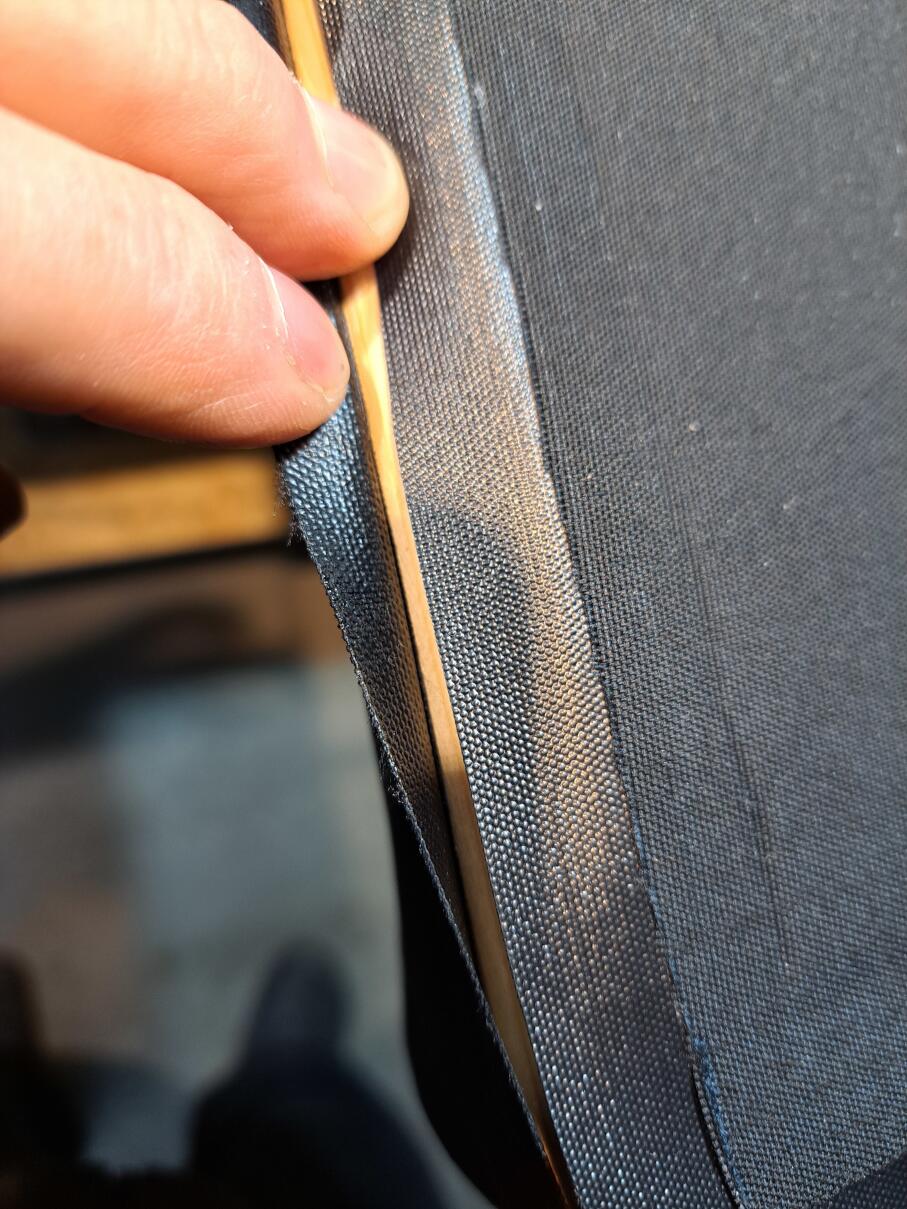
To do this, the edges are folded to the 45° bevel so...
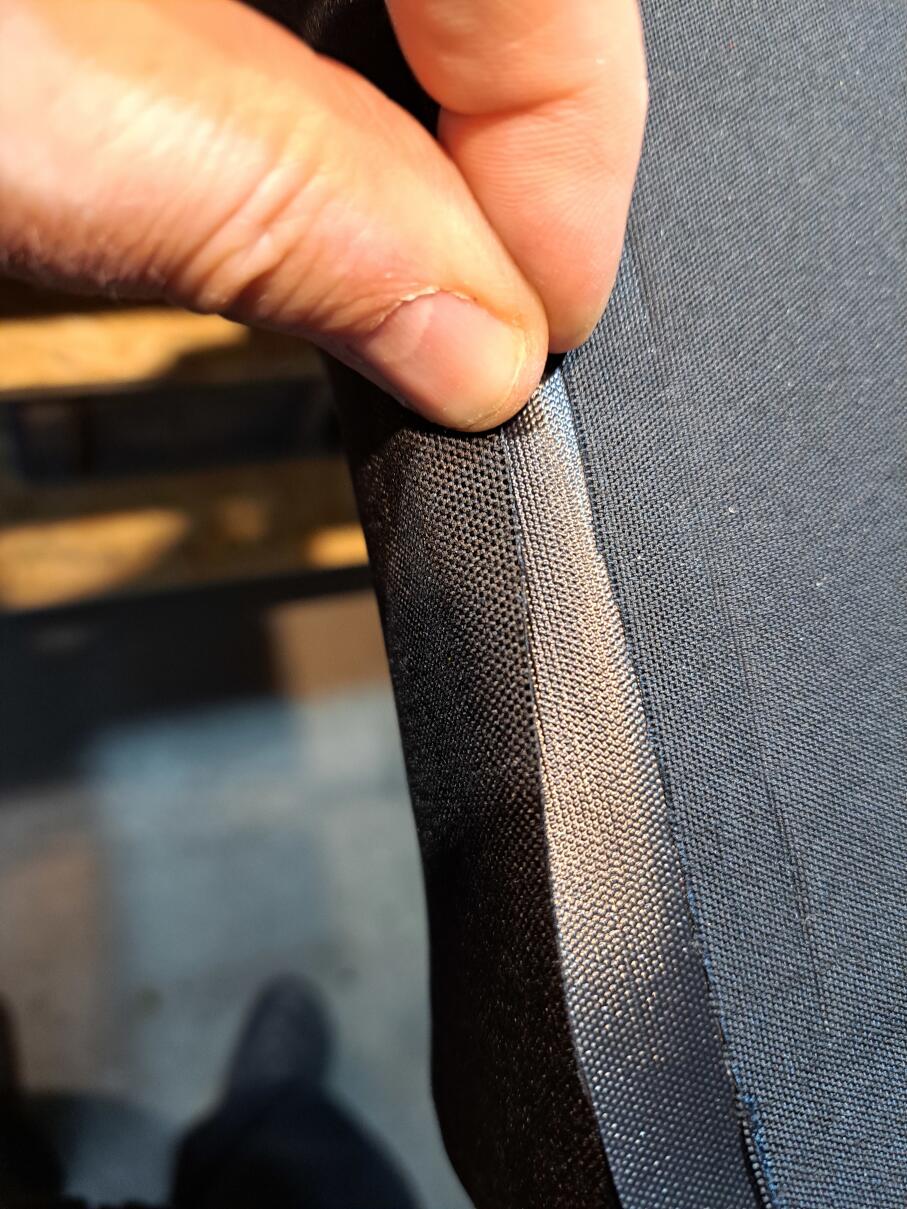
...that the TPU sides lie on top of each other when overlapping.
It's best to stapling in several spots all round first. You can then see whether everything fits and whether you have prepared it properly. If necessary, you can heat the stapling points again and carefully separate them again.
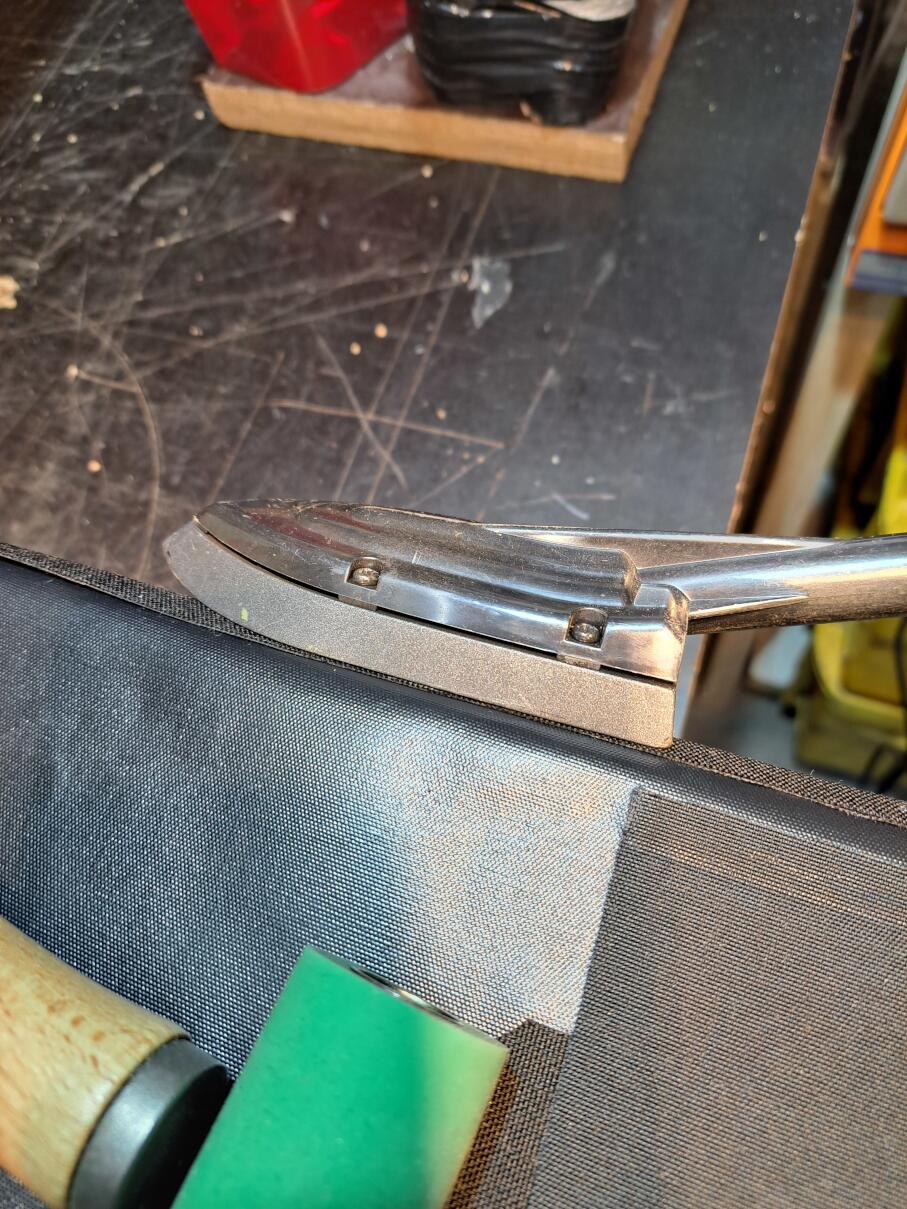
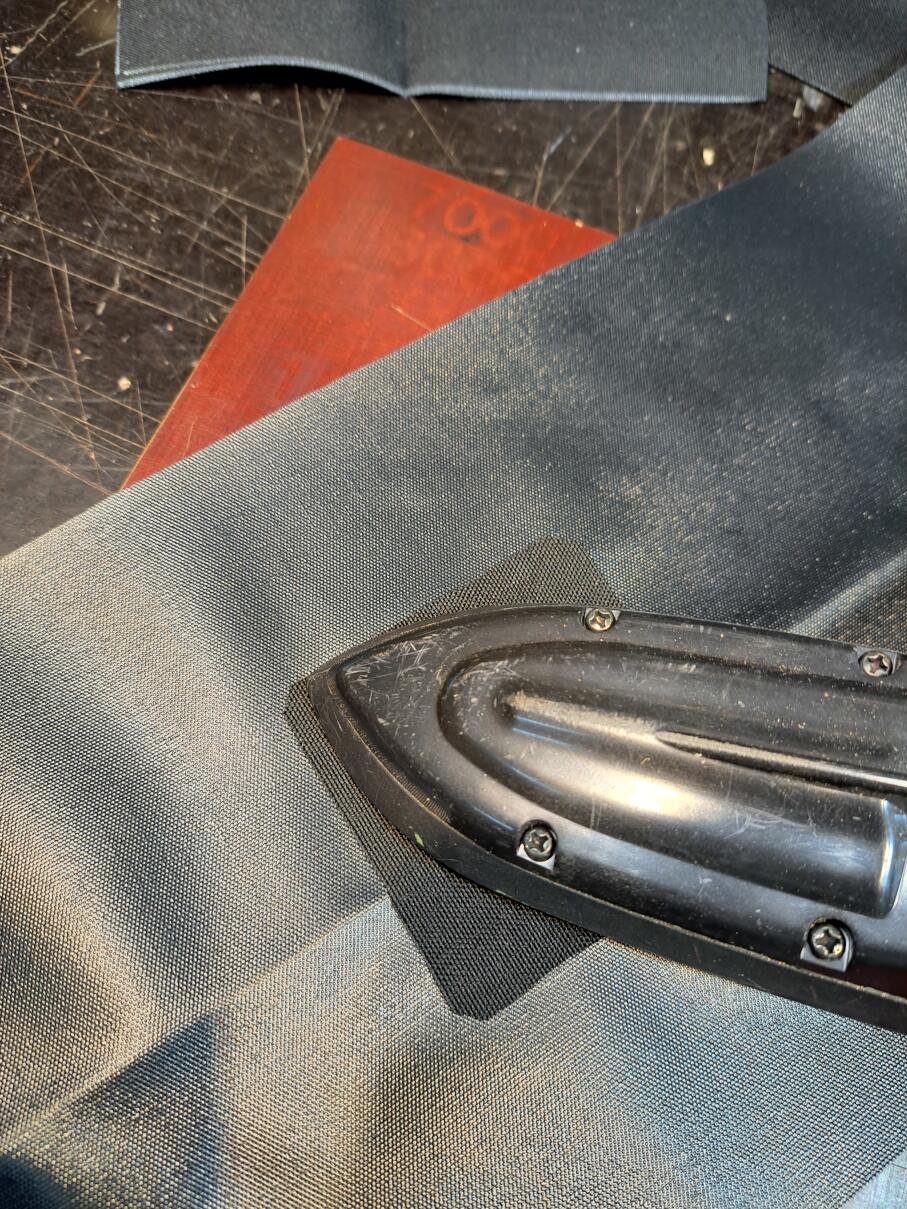
If everything fits, weld through. On the straight sides close along to the edge of the fabric side. The iron should not be tilted too much. It takes a bit of feeling. You should practise a little beforehand.
Also be careful with tilting at the curves, otherwise you will end up with unsightly spots on the other side. This is only a cosmetic problem, but it doesn't have to be.
There is a video on welding curves here.

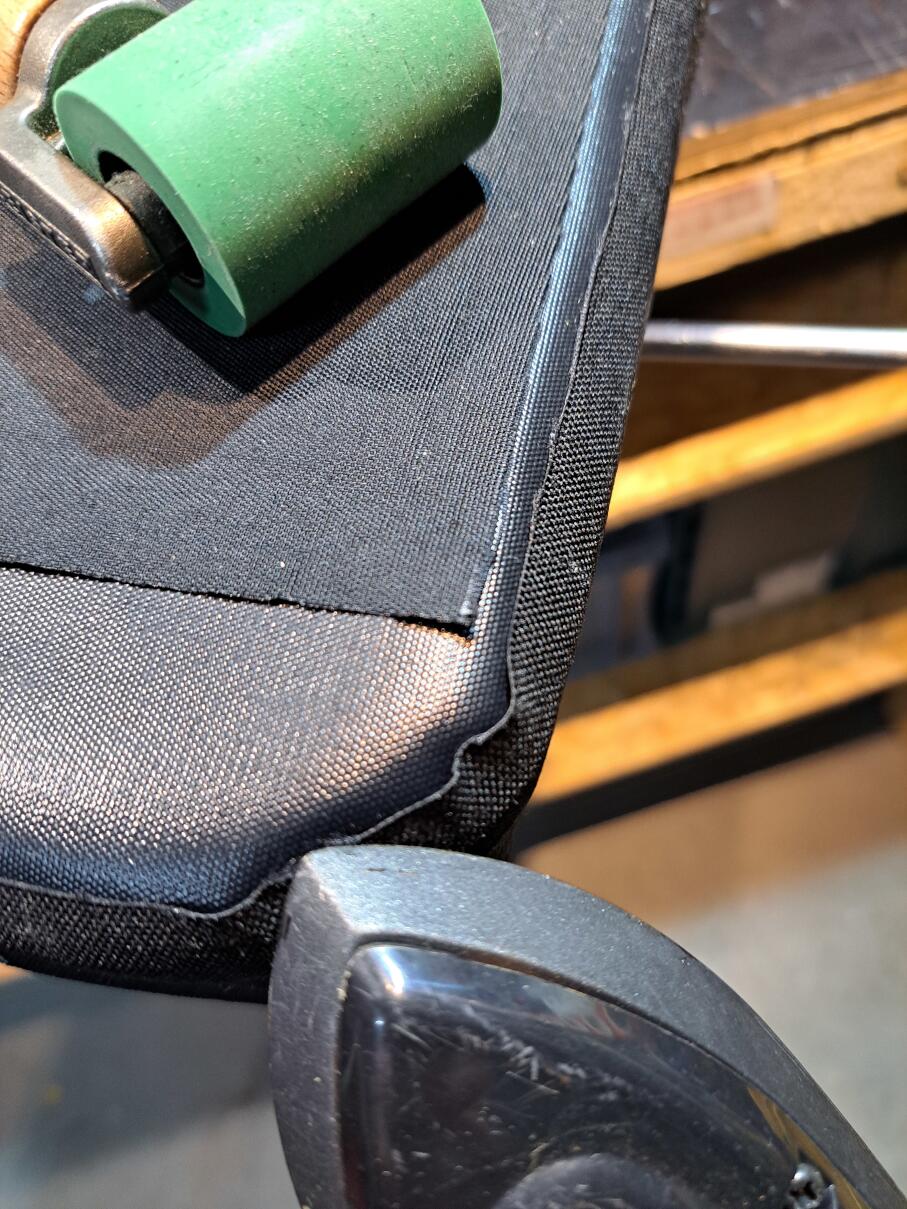
The rear side is welded to the side strip.
Now carefully remove everything together from the template.
Then align and fix the joined parts to the template again from below. Place the front side on top, align and fix in place.
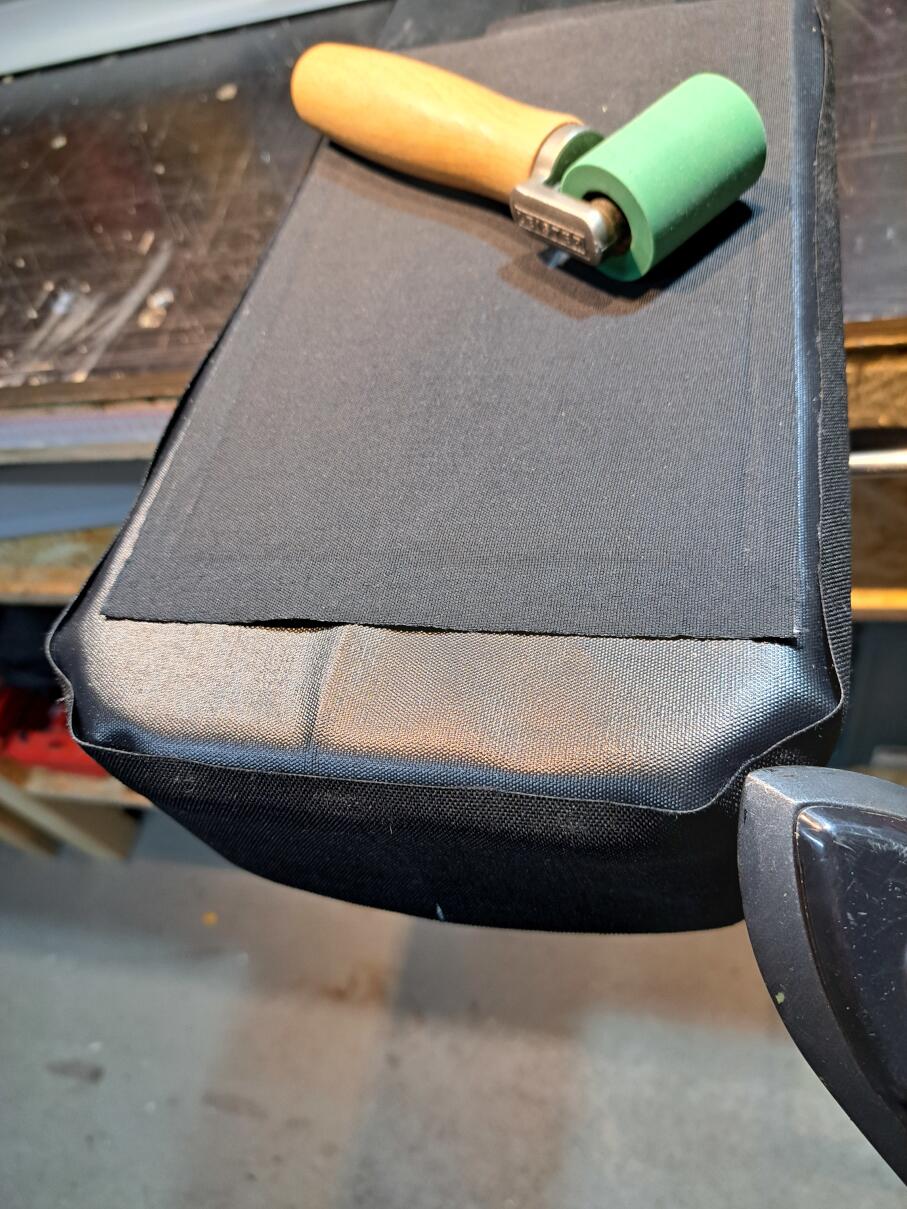
Everything welded together. Almost there...
If you turn everything to the right, you can already see what it will become.
Now the upper edges for the roll fastener need to be reinforced.
But first, the side strip is given a "ironed crease" on the left and right. As this area of the side strip shows the inside and outside of the fabric (we had welded on the strip with the elongated holes and it goes up to the top), you can fold the area in the centre and iron it firmly over without anything sticking together unintentionally.
In the final state, this keeps the opening in good shape and closing the bag is easier.
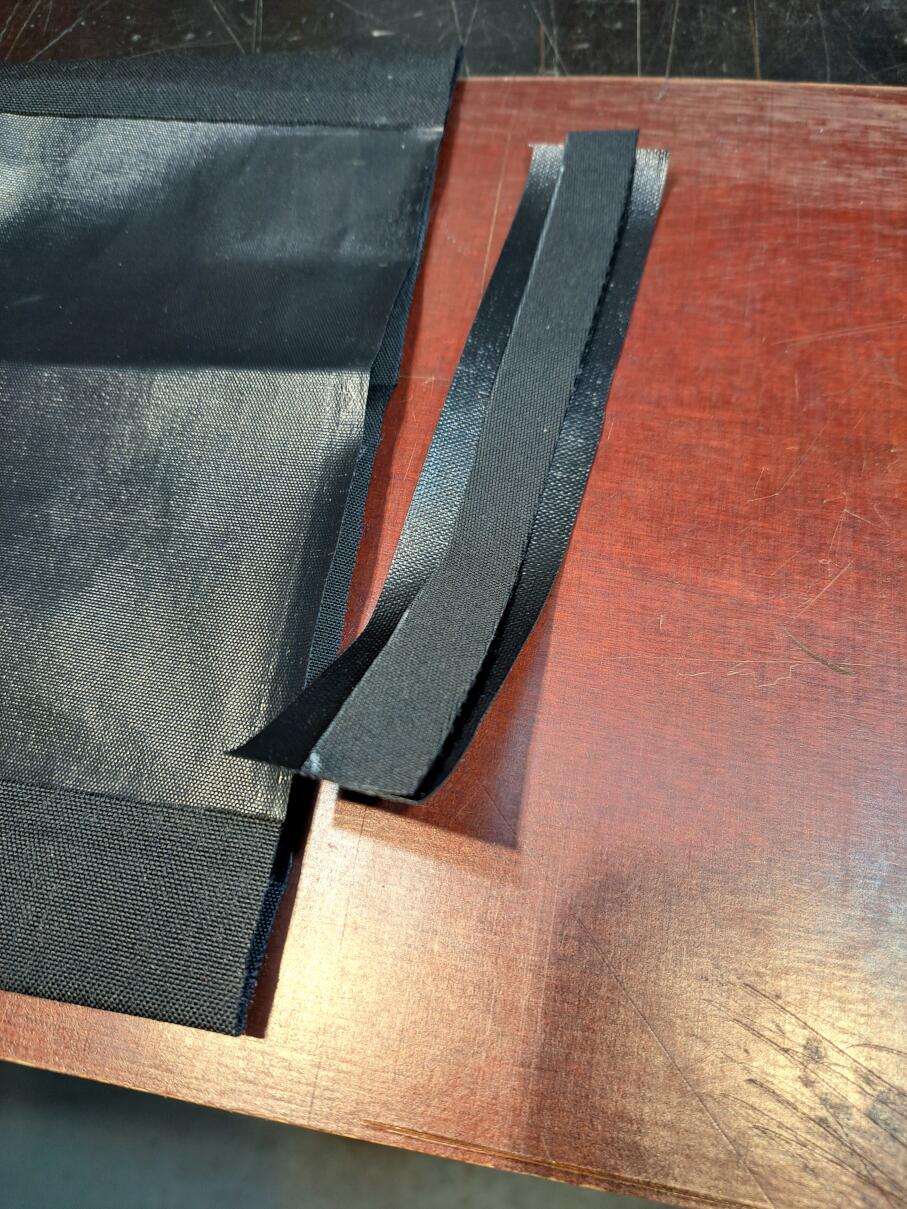
Now cut two strips as shown and weld them together. All for the front and back, of course.
Weld the whole thing onto the upper edges to create a tunnel. A strip of plastic is then inserted there.
Note: You can also sew something on at this point. This would not affect the waterproofness of the bag. However, my domestic sewing machine has great difficulty sewing cleanly through the TPU material. That's why I weld it.

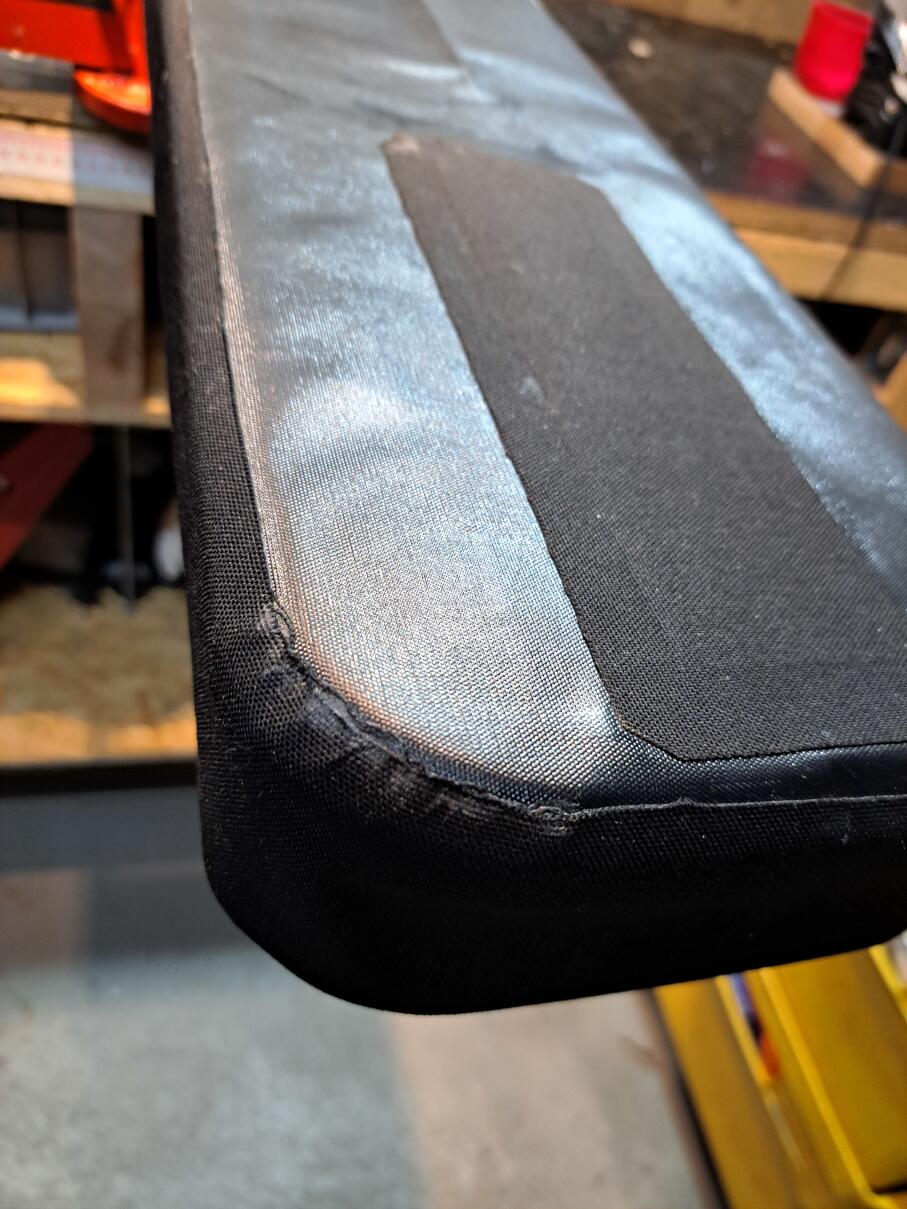
Now turn the pocket right side out.
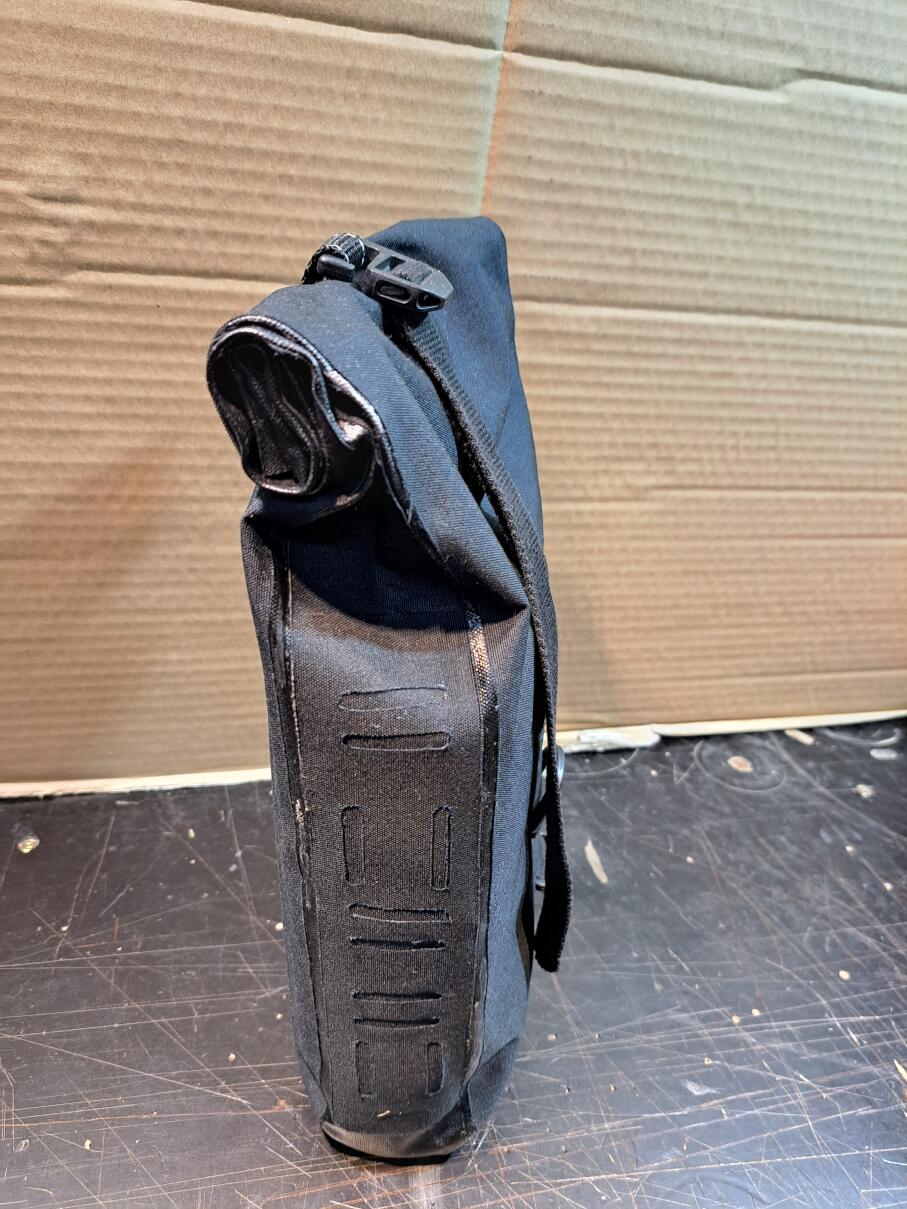
This is the finished closure from above.
I hope you recognise the purpose of the "ironed creases".

Now attach a fastener with a little webbing, eyelets and hooks. There are no limits to your imagination.
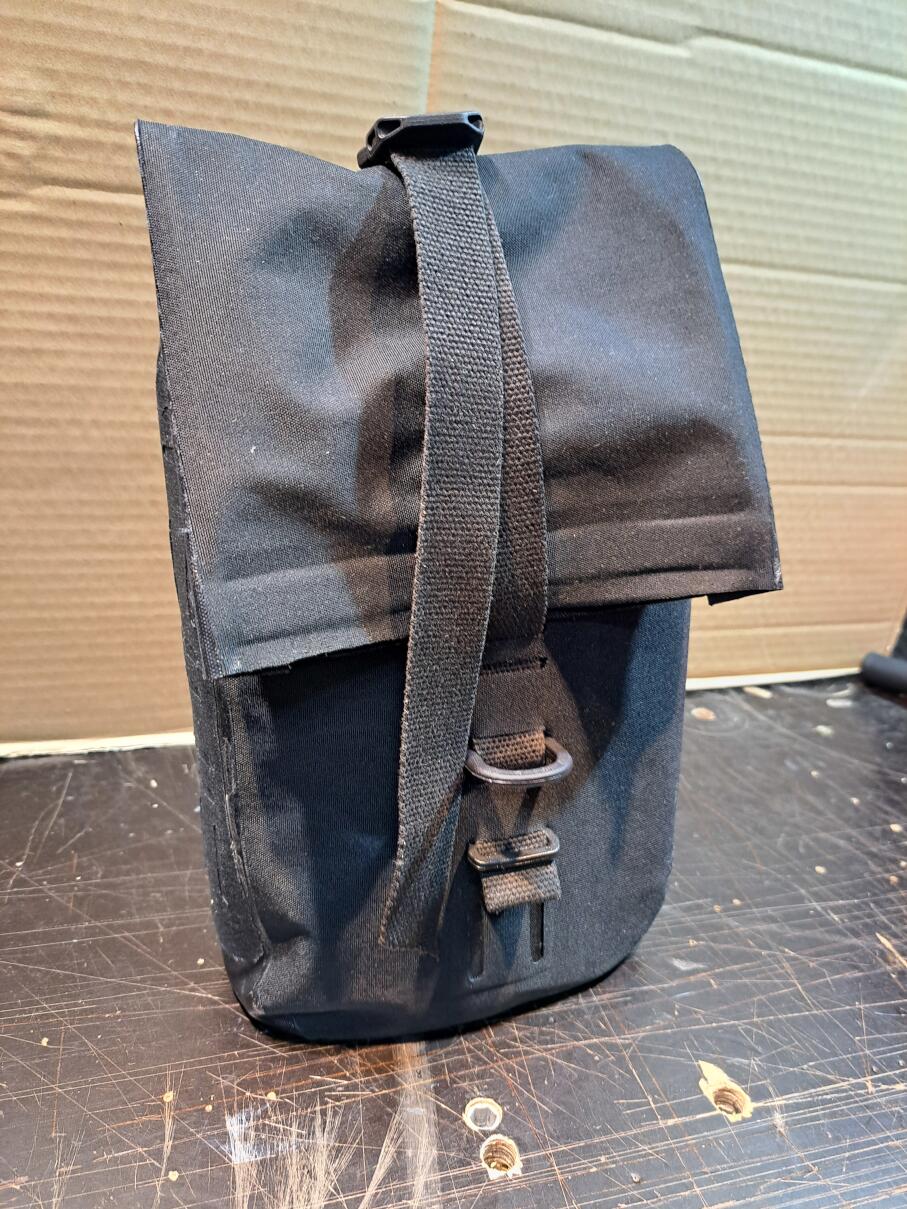
Done!
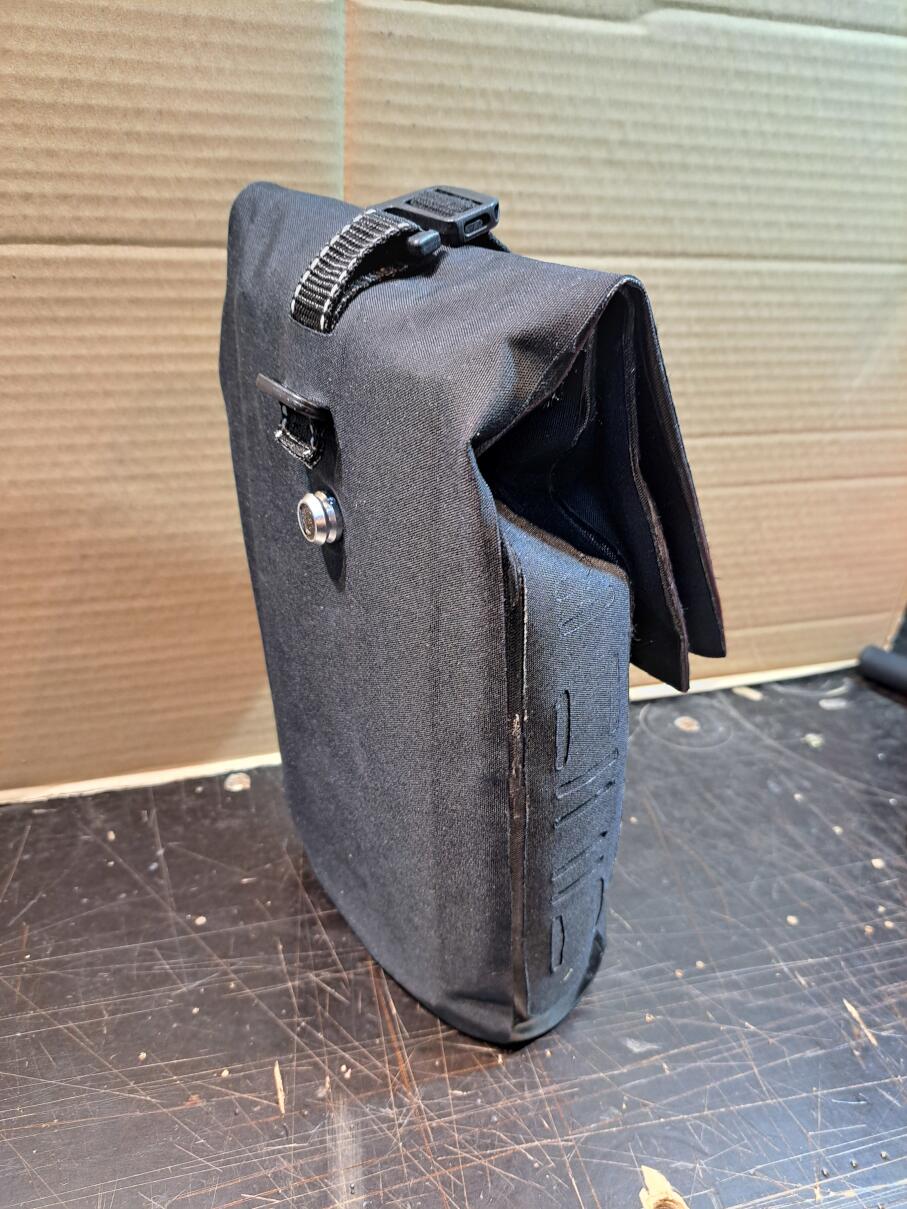
I chose a magnetic quick-release fastener from Fidlock for the suspension. Here too, everyone can attach whatever they want. Don't forget the SeamGrip for sealing.
Of course, you can also roll a roll closure.
diy@einbeispiel.de