Pimp My Iron
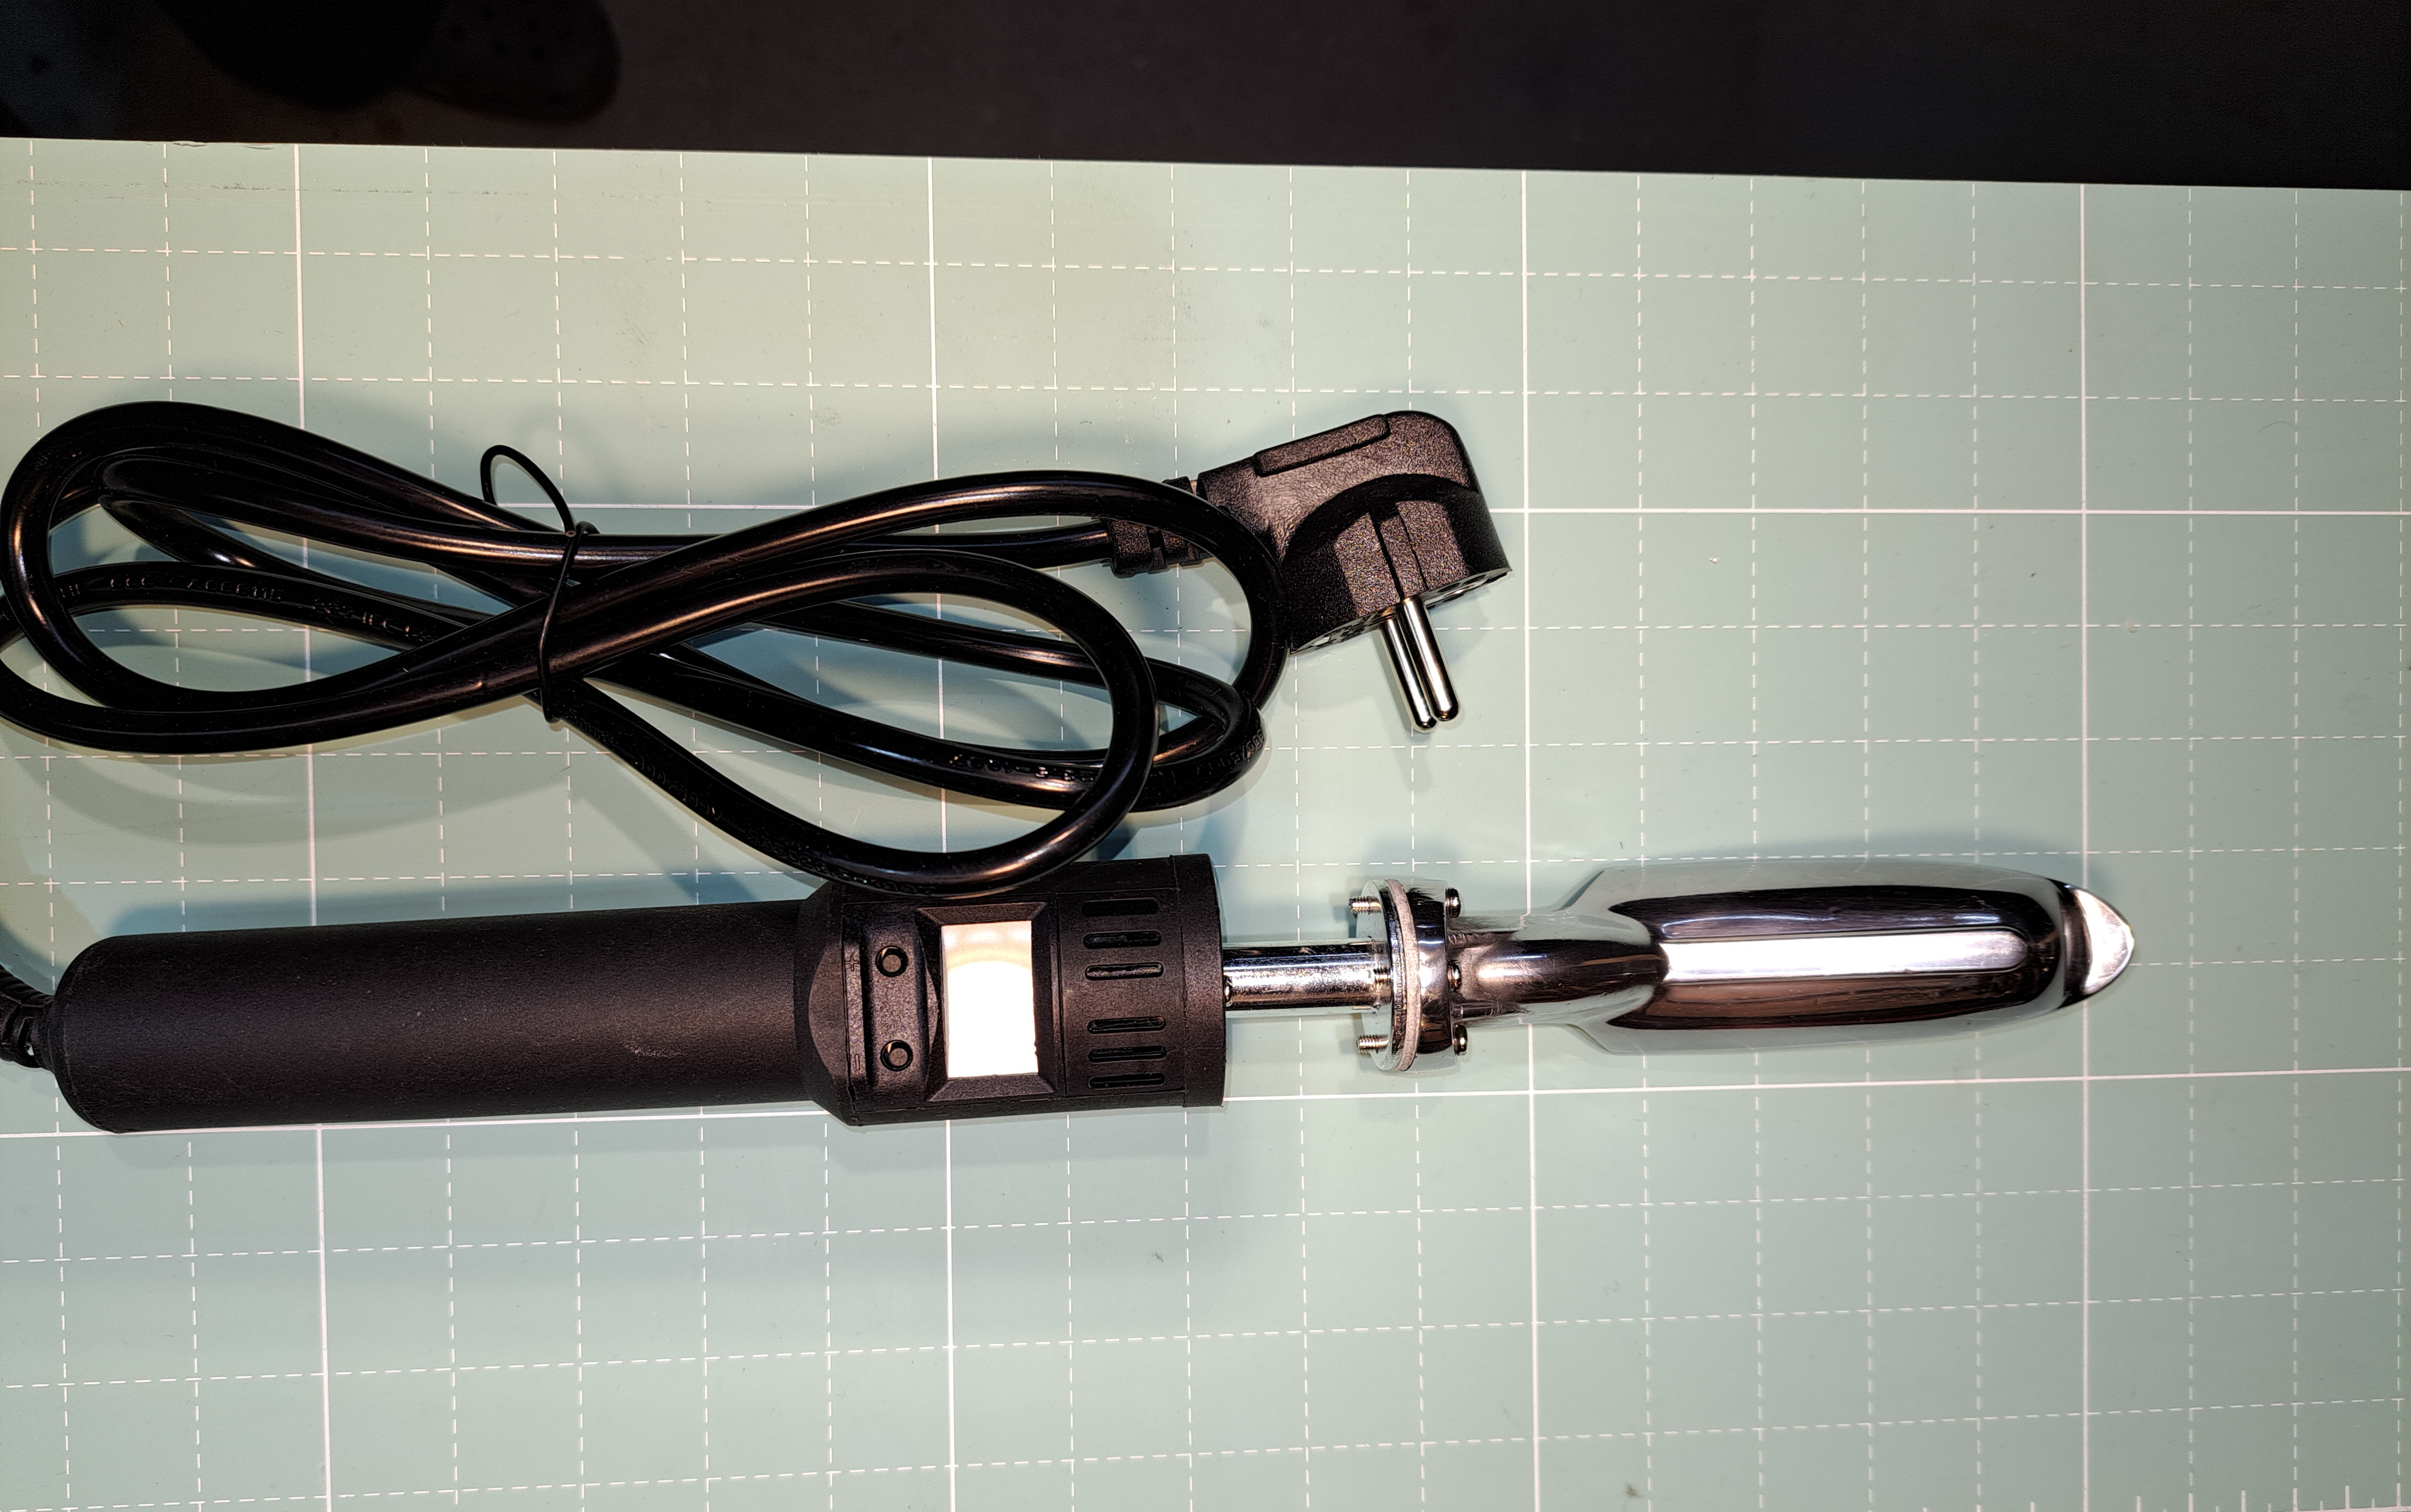
After reading the recommendation for an iron on DIY Packraft, I ordered one.
I have to say I was a little disappointed at first as I couldn't use it for my purposes as I had hoped.
However, it reaches the working temperature much faster than any iron before. The fact that the temperature can only be changed in 10°C increments is also not so serious.
The main problem is the iron's welding head. It is far too wide and too rounded for my purposes.
Matt Pope from DIY Packraft recommends sanding the bottom of the head smooth.
However, as the seams on my bags are nowhere near as wide as on Matt's packraft boats, this is only a sub-optimal solution for me.
But after a look in my aluminium scrap box, I had the right idea.
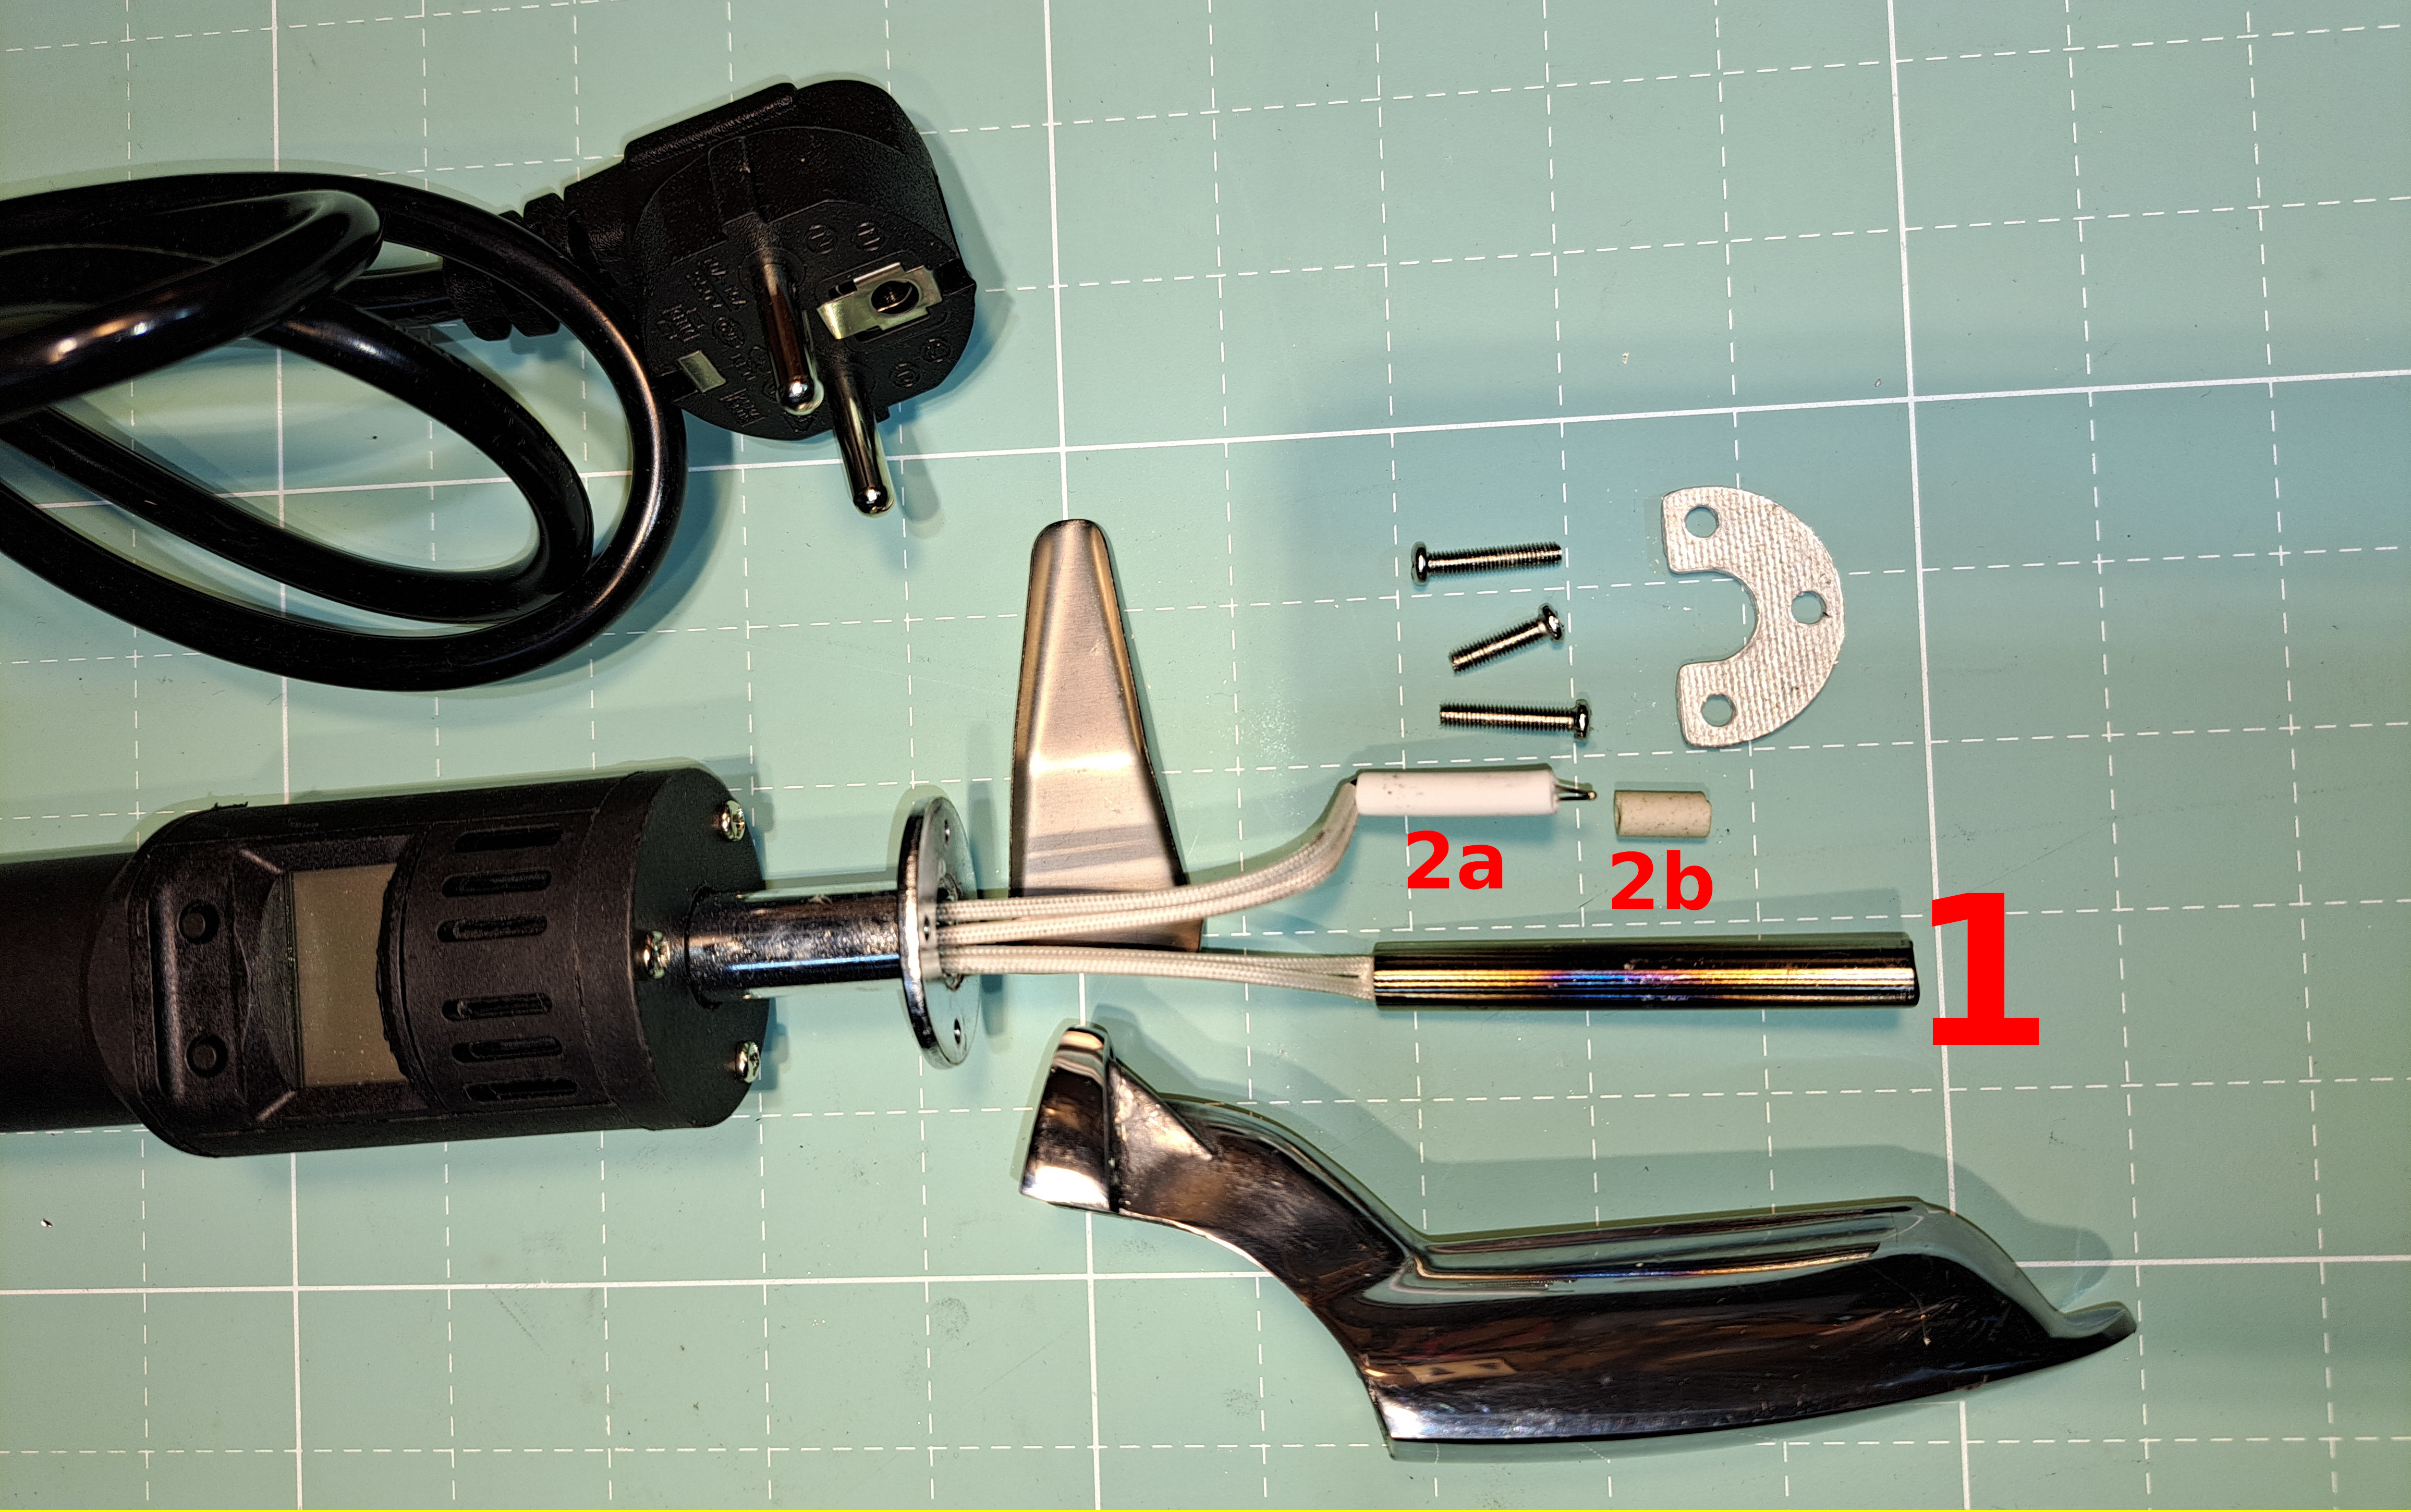
Dismantling the iron reveals the heating rod (1) and the sensor (2a/b), among other things.
It is important that the ceramic tube (2b), which forms the tip of the sensor, is not lost.
We no longer need the head and the cover plate.

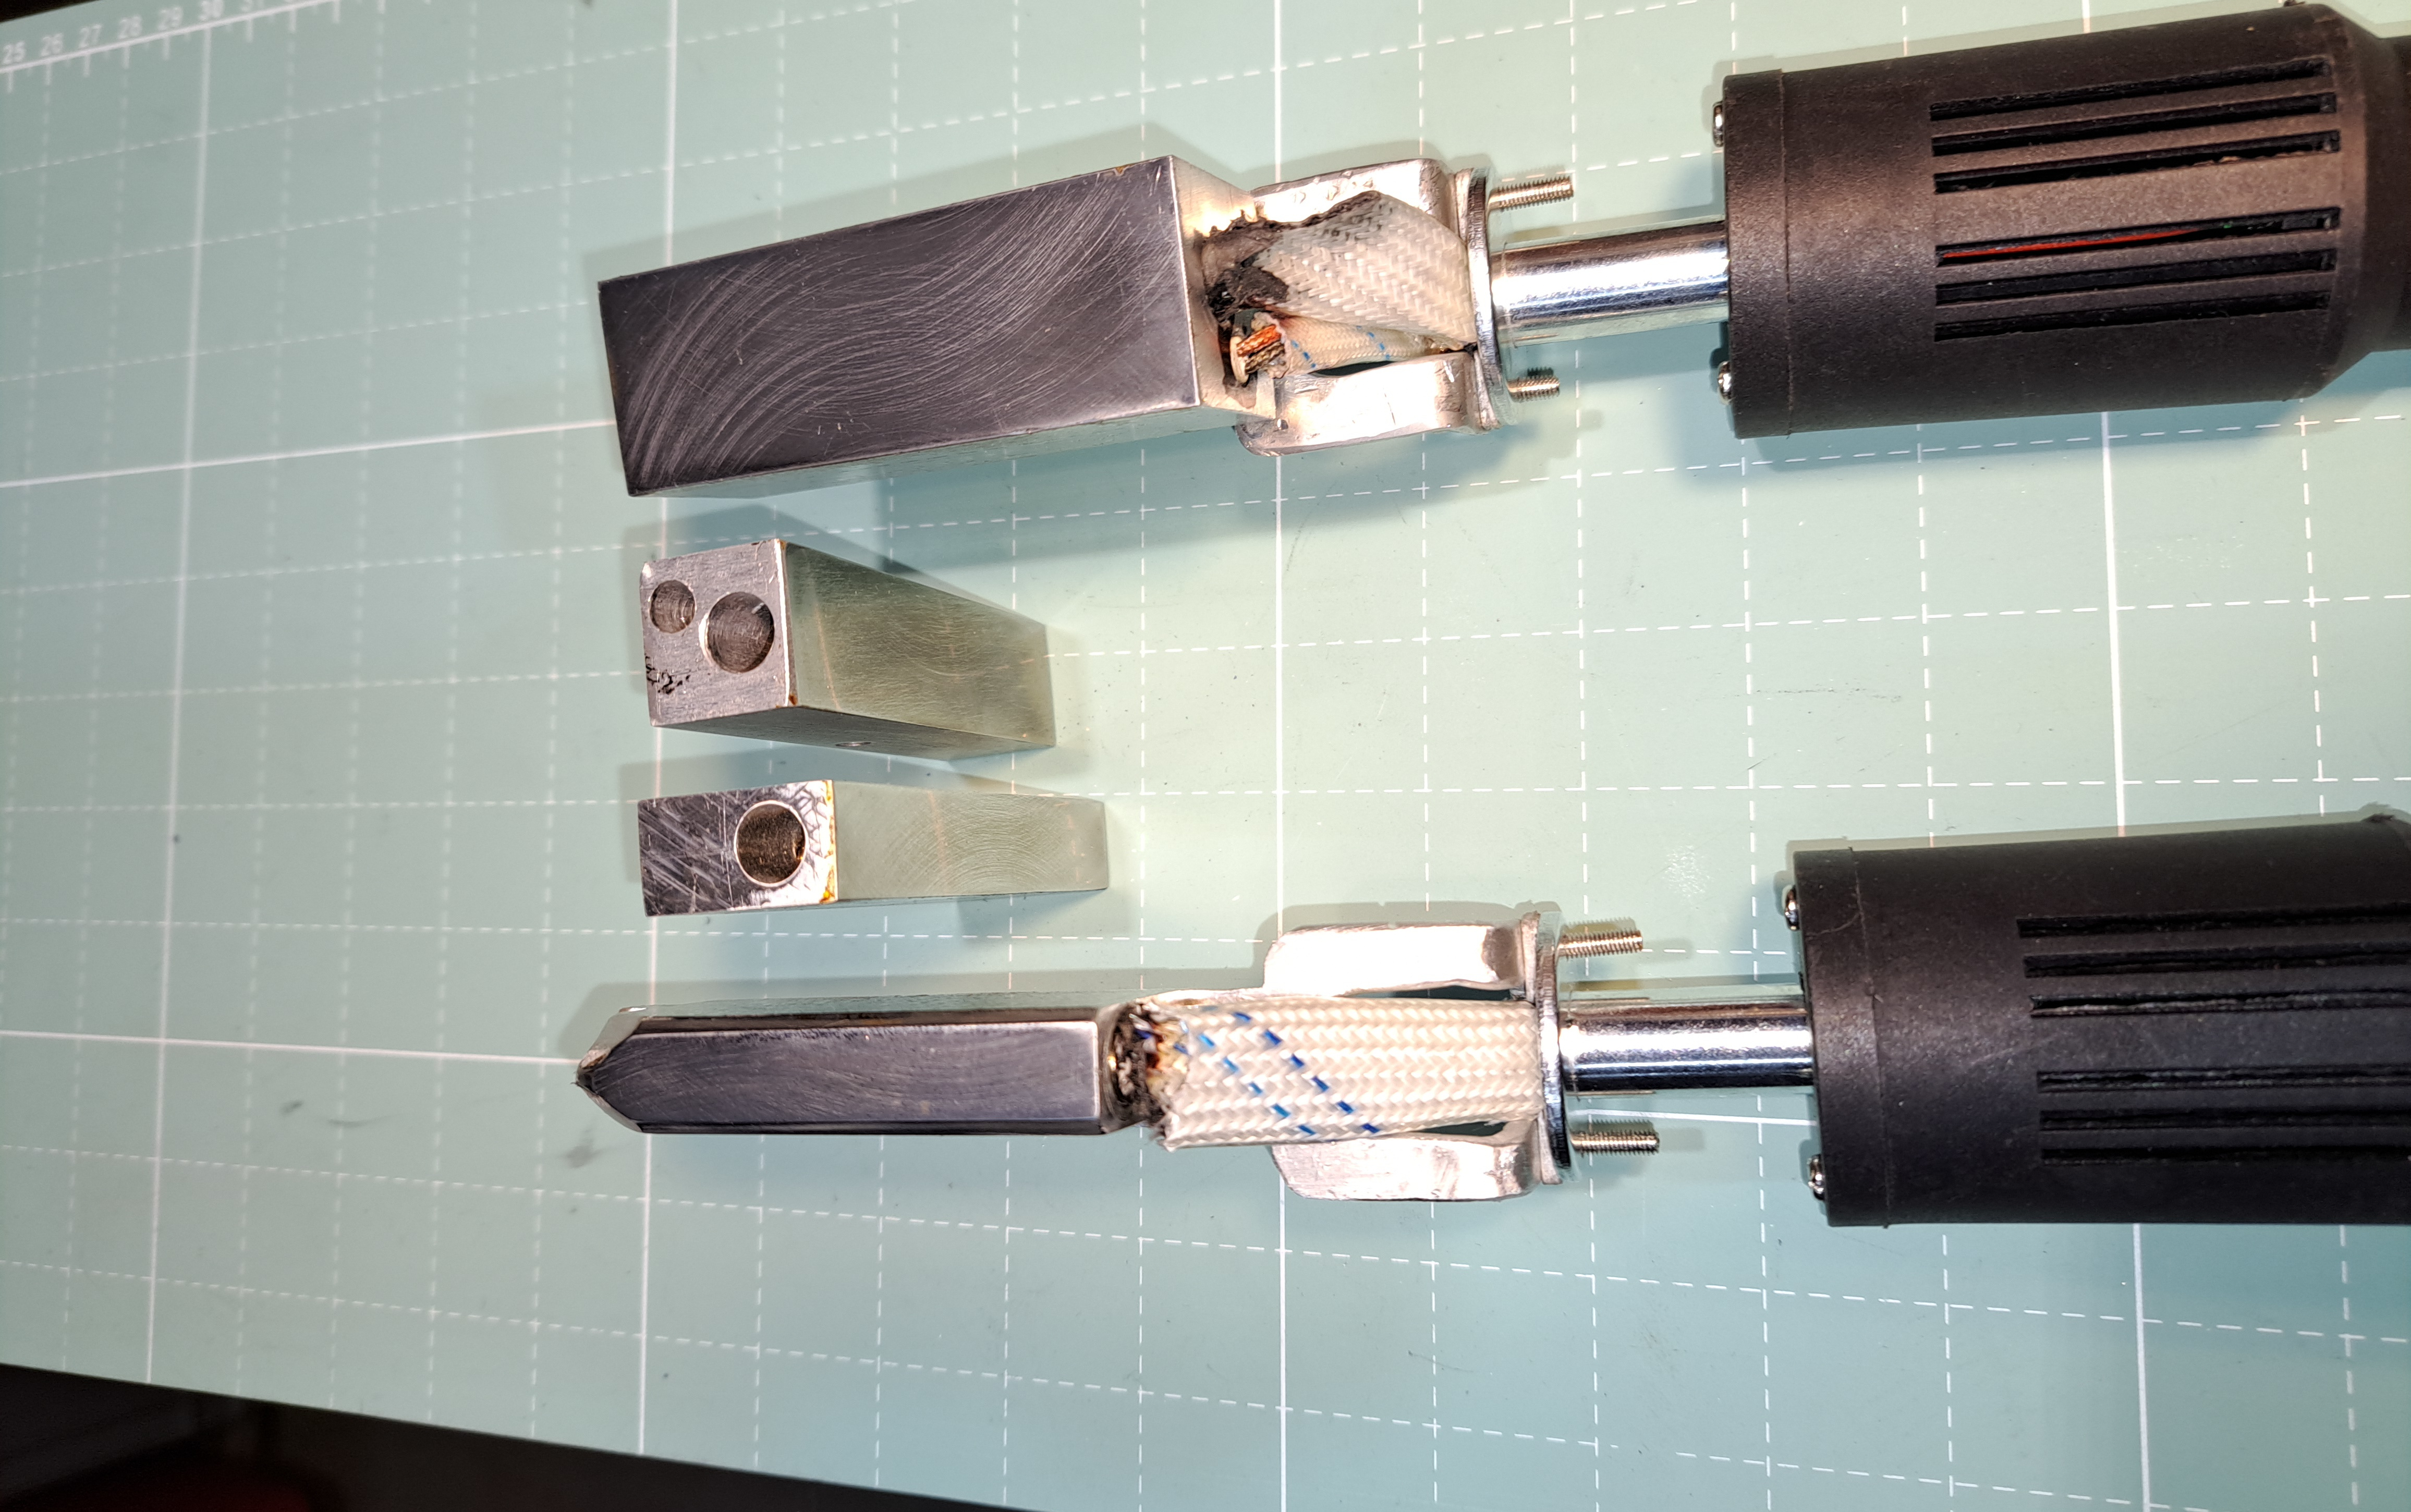
We cut, drill, file and bend a holder for the new welding head from a scrap piece of aluminium sheet (3 mm thick).
The head itself consists of an aluminium block, approx. 7 cm long, 2-3 cm high and in the desired or required width (12.5 cm in the picture).
An 8 mm longitudinal hole is drilled 2-3 mm above the base for the heating rod.
Next to this is a 5.5mm hole for the sensor. The wall thickness between the holes should also be 2-3mm.
Two threaded holes are drilled in the top to connect the head and the mounting plate.
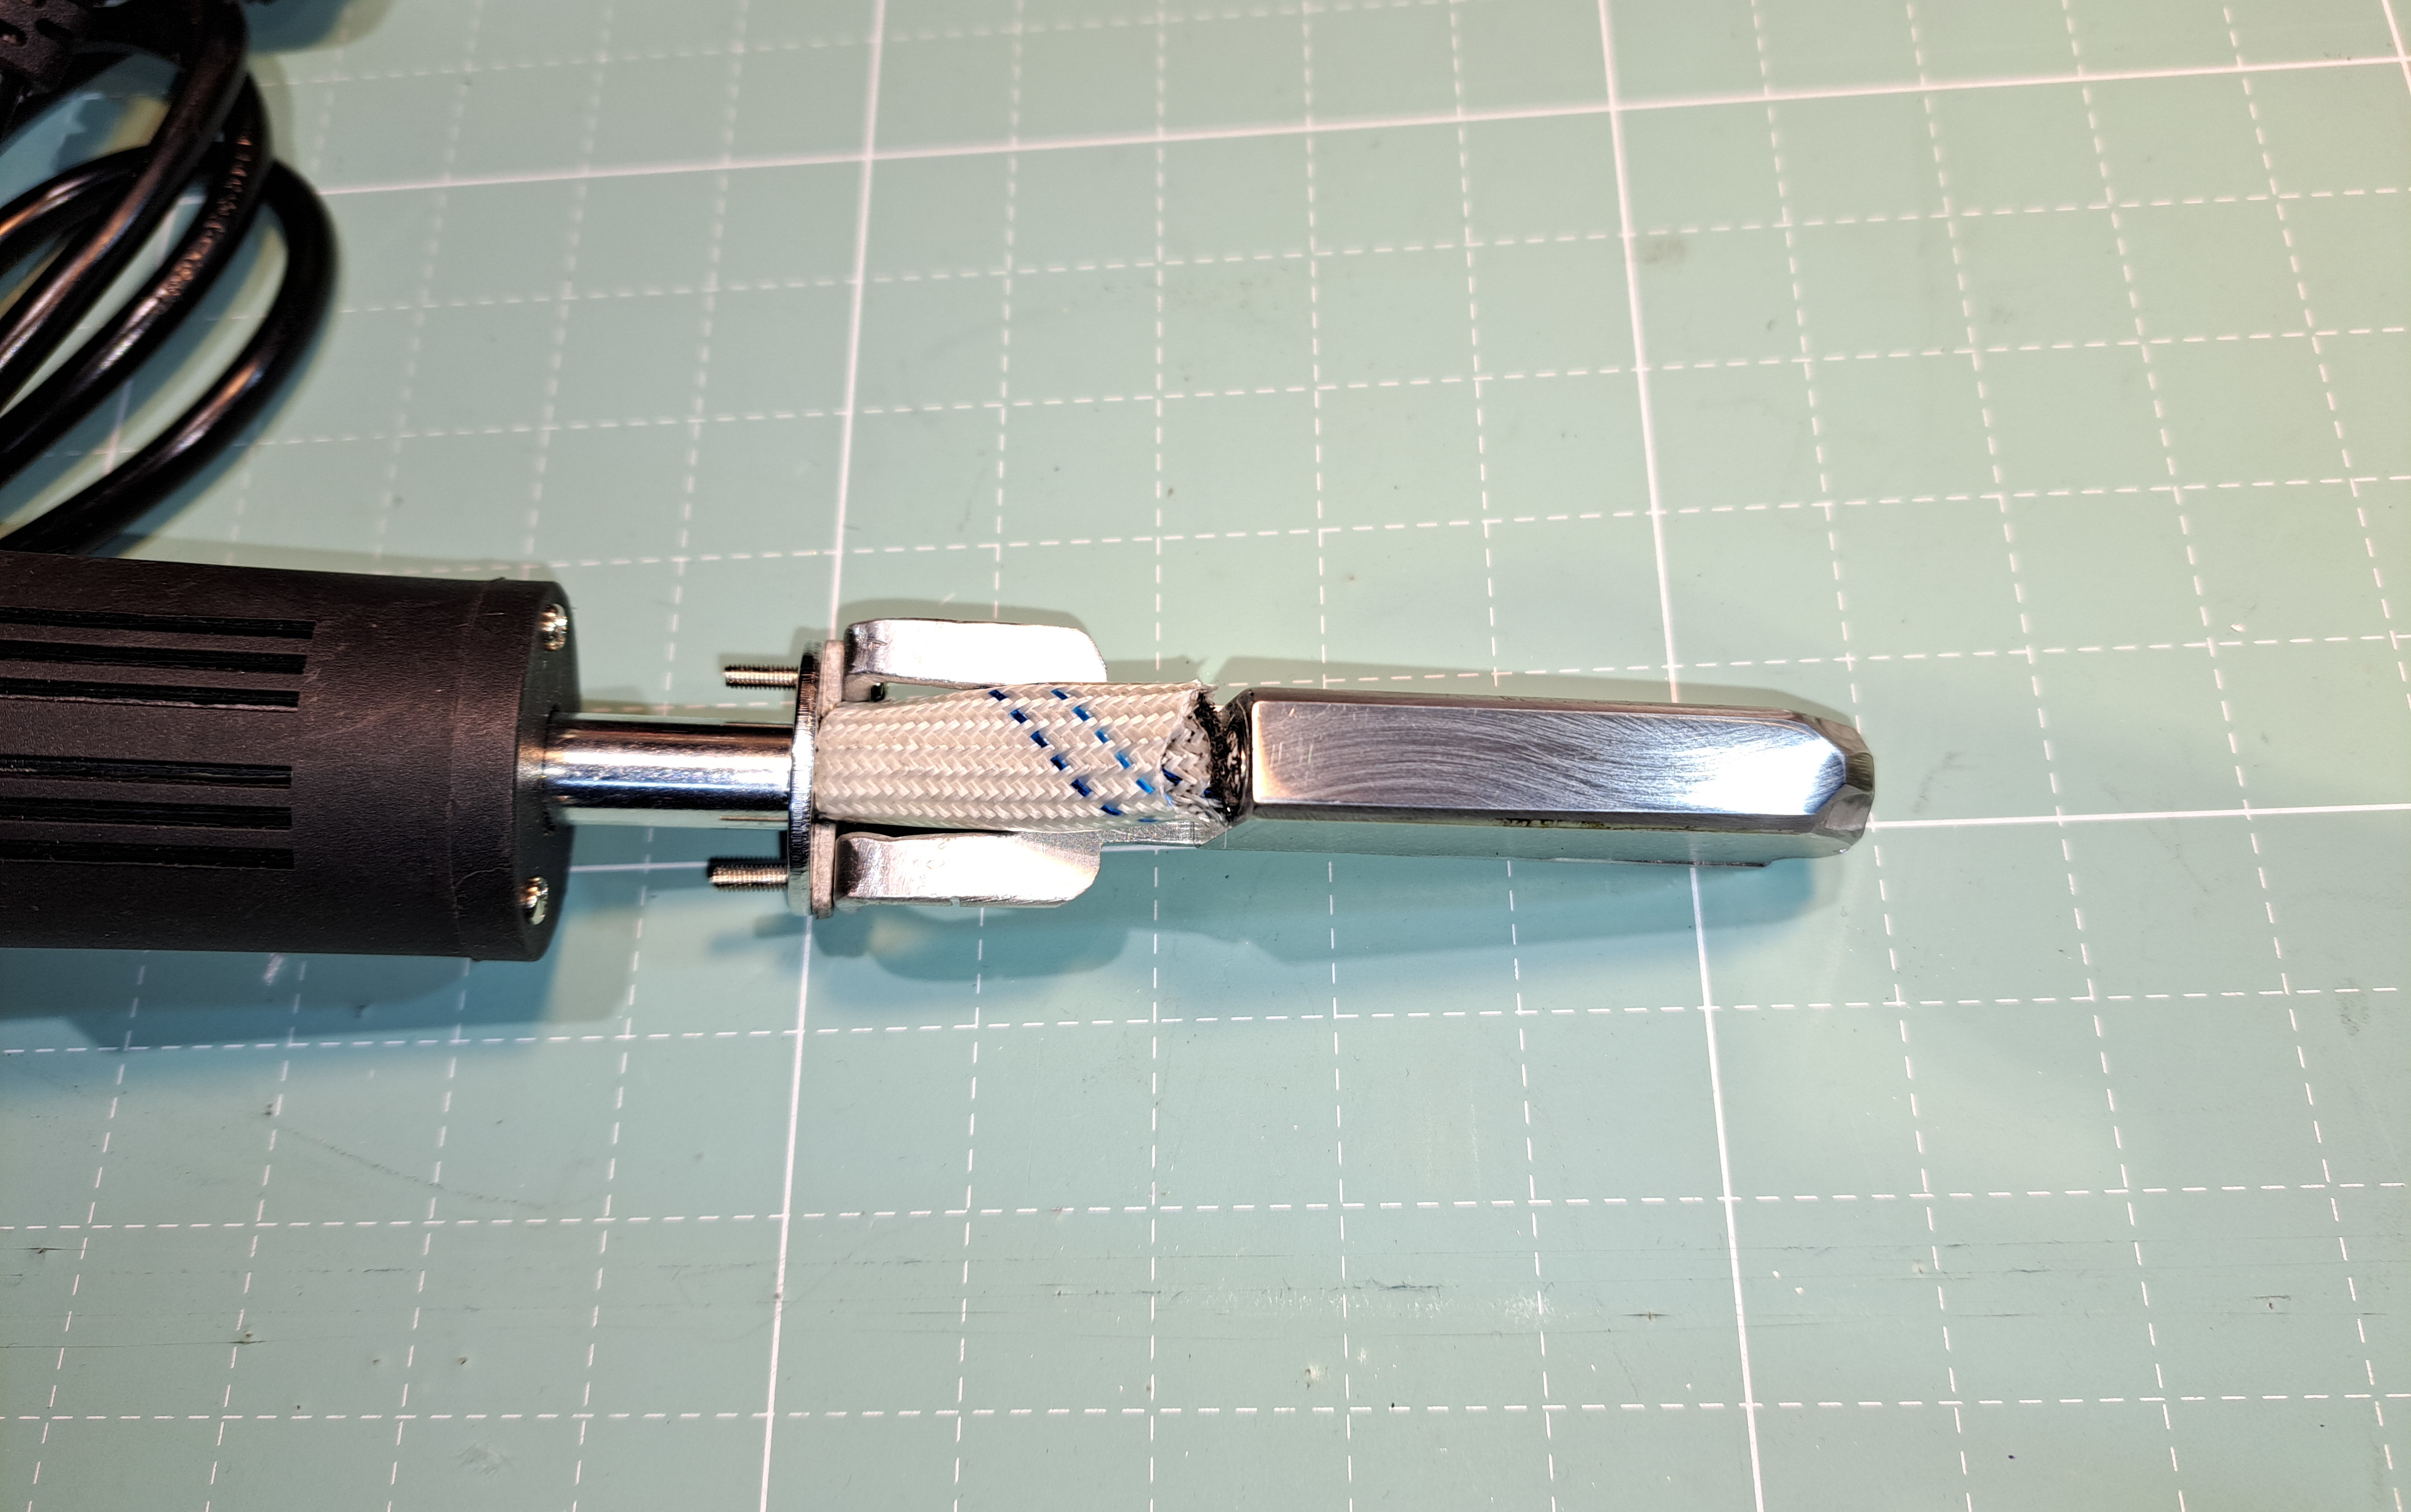
I have additionally protected the electrical supply lines for the heating rod and sensor with heat-resistant insulation tubing and silicone.

Assembled, the result looks like this.
I polished the base of the welding head with 3000 grit sandpaper. If you have regulated the temperature correctly, nothing sticks.
If it does, it can be easily removed.
After my first very satisfactory welding jobs, I ordered a second iron and modified it too.
Four welding heads of different widths (25, 18, 10 and 12.5 mm) now cover all my application requirements.
diy@einbeispiel.de